*** NOTE: ALL INFORMATION IS ACCURATE AT DATE OF PUBLISHING ***
If you’re going to host a webinar, there is a lot of planning involved. First, you need a topic! What subject are you going to focus on? Second, you need a speaker! Who will be your subject matter expert? Once you’ve got that sorted, you then need to promote it, get people to register and then keep them informed. In the first part of a series, I’m going to focus on how you can plan out the entire thing using Dynamics 365 Marketing. This is by no means the ONLY way to approach this, but hopefully a good starting point for anyone considering what the right approach is for them. In this post, we’ll look at setting up your registration form.
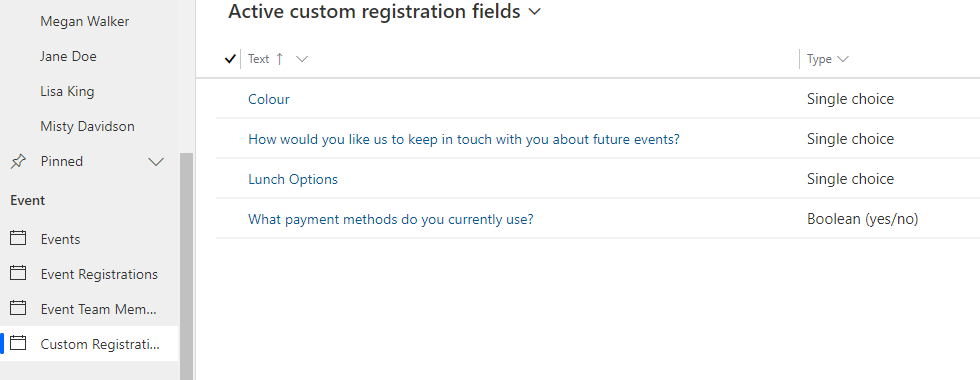
Our entire process for registration is going to be done by creating a form designed to then be embedded on an organisation’s website. That means all we need to do is create a form asking for details which we can then embed in a nice page on our own corporate website. First, you must have authenticated your domain within the D365 Marketing App. If that’s already done, great, you will be able to add this to your website later on. Next, we need to continue what data we want to collect when someone registers for the webinar. Don’t ask for too much in terms of personal data. In fact, for this webinar, we just want to get First Name, Last Name, and Email Address. However, let’s say we want to gather info that is RELATED to the topic of the webinar. We don’t want to map it into any fields on a Contact or a Lead, but we do want to understand a little more about our audience. For this, we can set up Custom Registration fields from the Events section of the app.
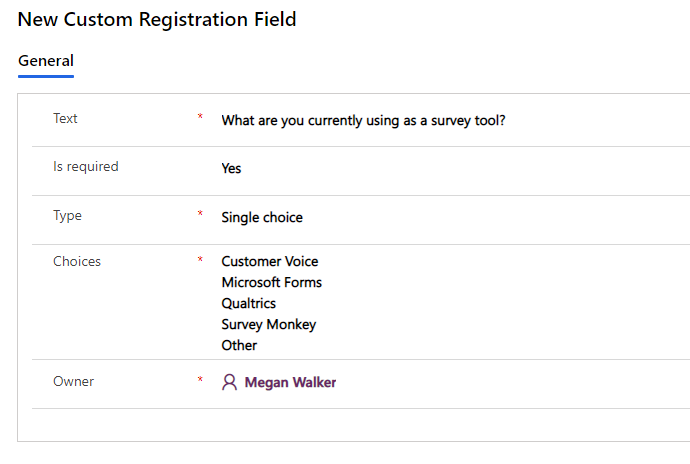
We can add a new field and put in the text for the field. Here we will ask what tool someone is already using for surveys. It can be made required if needed. Then, we can pick a type and choose from simple text, boolean (yes/no), single choice, or multiple choice. For single or multiple-choice, each option then needs to be added to a new line in the Choices field. Save the new custom registration field.
Next, we will create our marketing form. You can use any template you wish for this, but you will want to make sure the form type is set as Event registration.

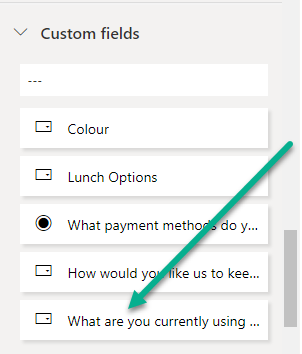
Once you have chosen the form type correctly, you will then see a new custom fields section on the toolbox on the right side of your marketing form. This shows any of the custom registration fields you’ve added. Drag your field(s) on to the form.
As this is going to be embedded onto a web page on a website, all other text areas are removed from the form, leaving it clean and free of any clutter. The marketing form can then be published by clicking the Go Live button at the top. Typically at this point, you would click on the Form hosting tab and create a new form page. This is where it differs when using a form for event registration. For now, your work is done on the marketing form. In the next part of this series, we will look at adding team members and speakers for the event.

- Part One – Creating Your Registration Form
- Part Two – Adding Team Members & Speakers
- Part Three – Adding Your Webinar Event
- Part Four – Creating Your Marketing Emails
- Part Five – Building Your Webinar Customer Journey
- Part Six – Understanding Event Registrations
- Part Seven – Reviewing Insights Post Webinar
Check out the latest post:
Send Unique Event Registration Response Emails For Each Event Using No Code
This is just 1 of 448 articles. You can browse through all of them by going to the main blog page, or navigate through different categories to find more content you are interested in. You can also subscribe and get new blog posts emailed to you directly.
Hi Megan,
Is there any way to configure an Event Registration form as what our Marketers are describing as a “blind form”? I’ll try to explain:
1) we create an Event Registration form with the Prefill option set to Yes.
2) we add a few contact-related fields to that form (First Name, Last Name, Email Address) and these fields also configured with Prefill set to Yes.
3) we email a set of existing contacts as event invitees with a link to register to the event.
4) when a contact clicks on the registration link in that email they are redirected to the Event Registration form, the fields are prefilled, and the form is automatically submitted.
Many thanks!
Hi Michael,
I don’t know of a way (unless perhaps with some javascript on the page) that you could force the form to be submitted automatically. I’m not a developer so maybe there is a way technically, but really shouldn’t be something that you try and enforce. The person visiting the web page should be the one to take that action and press the button.
It should be easy for you to test all points within your system and try it with some test people. Have you done that? Again, point 4 I can’t help with, sorry 🙁