*** NOTE: ALL INFORMATION IS ACCURATE AT DATE OF PUBLISHING ***
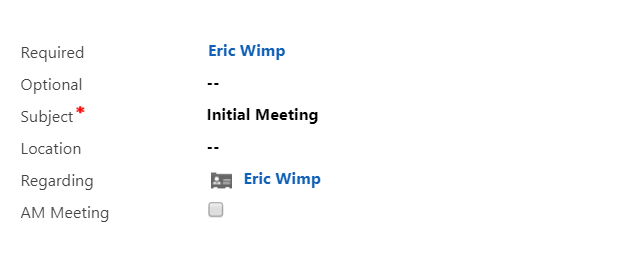
I was recently asked if there was any way to populate the appointment location in CRM. If you are using Server-Side Synchronisation for Appointments, any created in CRM will be emailed out to the attendees, and update your calendar in Outlook. Makes sense you might want to location in there right? So here is the appointment as standard… blank location field that you would have to manually populate if required.
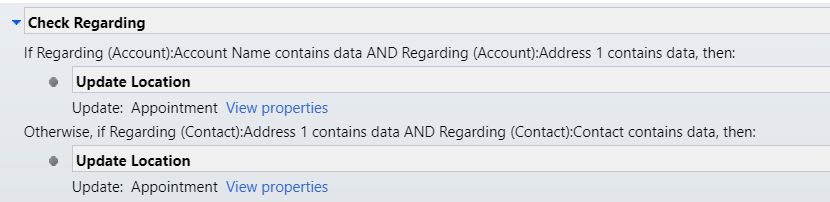
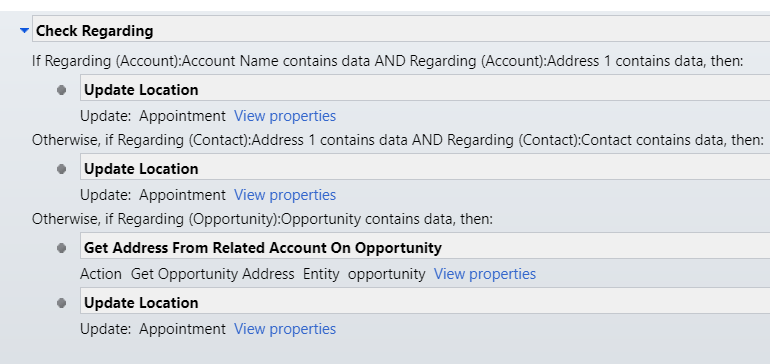
So, let’s start with a workflow. Create it to run against the Appointment entity, and run as a real time workflow upon creation of the record. An appointment could typically be set up against a few types of records; Accounts, Contacts and an Opportunity. To take this in to consideration, we need to add in these conditions and check what is in the Regarding filed to get the correct address. The Account & Contact is pretty straightforward. If the appointment is regarding an Account, update the appointment with the address 1 composite field from the regarding account record. If the appointment is regarding a Contact, update the appointment with the address 1 composite field from the regarding contact record.
Then comes the situation when the appointment is regarding an Opportunity, as it has no address directly on the record. A little more challenging! I felt like I was missing something obvious, and it was a Friday… 🙂 so I asked a few other CRM people for their thoughts on the best approach. I ended up with two awesome suggestions which I am going to share.
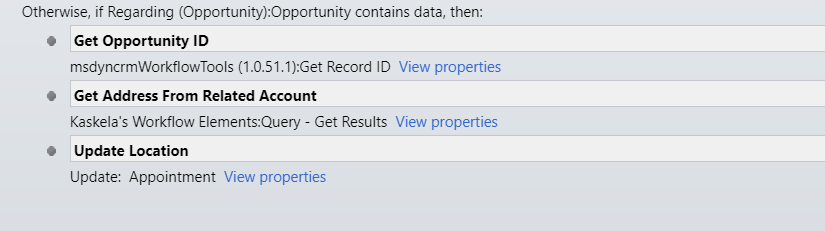
The first was from Ryan Maclean, who has a fantastic blog here. He and I have a similar approach, preferring no code solutions where we can, designed to help other non developers. So, the first step is to use Demian Raschkovan‘s awesome Dynamics 365 Workflow Tools and select the”Get Record ID” step to retrieve the GUID of the Regarding Opportunity. Next, use Aiden Kaskela‘s brilliant Workflow Elements solution and select the “Query-Get Results” Step to get the address from the related account. The following FetchXML query will work:
<fetch version="1.0" output-format="xml-platform" mapping="logical" distinct="true">
<entity name="account">
<attribute name="address1_composite" />
<attribute name="accountid" />
<attribute name="name" />
<order attribute="name" descending="false" />
<link-entity name="opportunity" from="parentaccountid" to="accountid" alias="aa">
<filter type="and">
<condition attribute="opportunityid" operator="eq" value="YOUR_GUID_HERE" />
</filter>
</link-entity>
</entity>
</fetch>
Make sure you replace the YOUR_GUID_HERE with the string that was retrieved in step 1. Finally, Update your appointment with the “Single Value – Result as Text” output from Step 2. That worked a treat, so it was a great suggestion from Ryan.
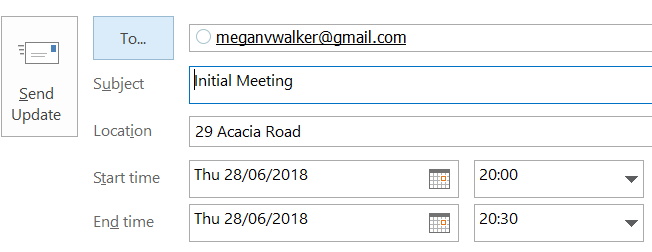
Now you can see the location is updated once an Appointment is created: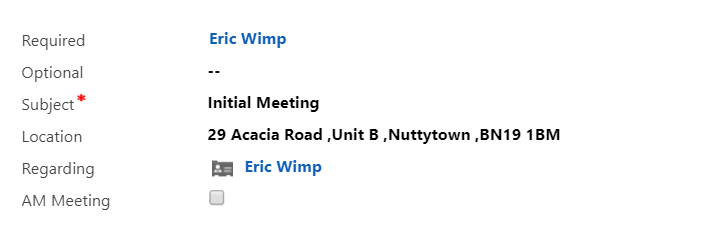
After the suggestion from Ryan, a different suggestion was provided by my good friend Elaiza Benitez. She is Australia’s first female MVP, and just generally a cool chick. Check out her blog here. Her suggestion involved creating a new action process which was a great way to ease in to using actions if you haven’t already. This will allow you to grab the address from the related account to the opportunity and use it in a workflow. She made this quick video to show me how to do it which you can view here. You must watch to the end 😉
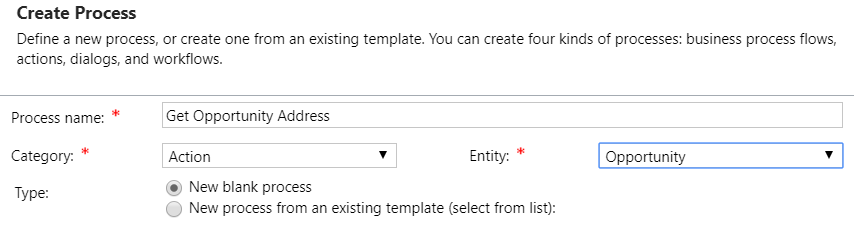
Here are the steps you need to follow. First, create a new process with Action as the Category, and Opportunity as the Entity
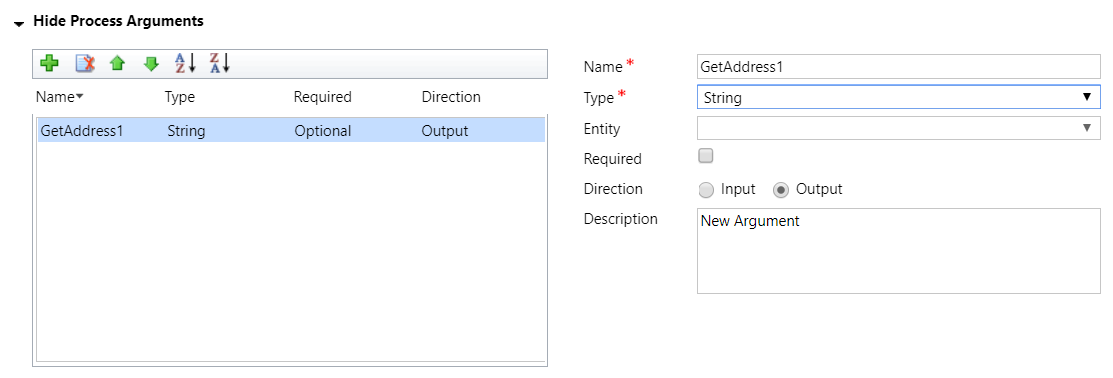
In the process, add a new string type argument, with the direction of Output.
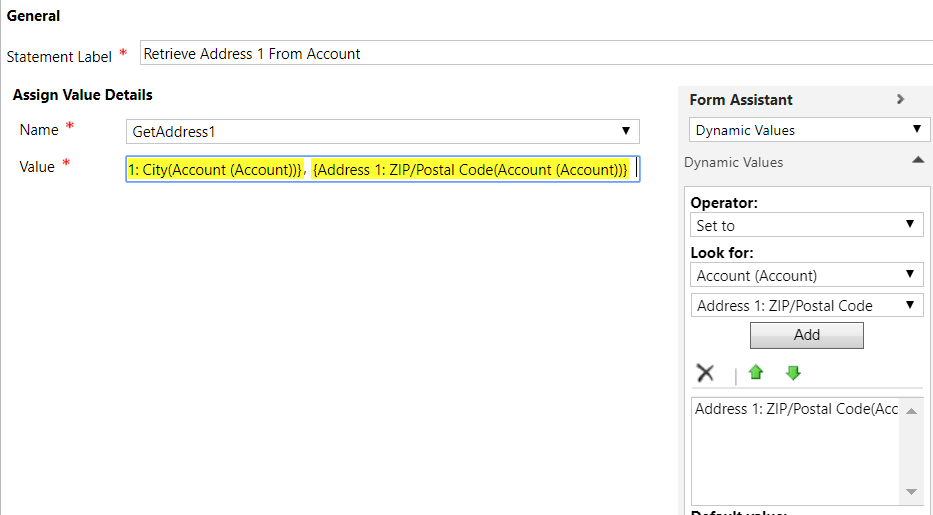
In the bottom section of the process add in step and select Assign Value. Give the step a name, which will default in to the Statement Label. This is what you will search for later when we add the action back in to our main workflow. Add the address value(s) in to the Value field. Save and then activate the action process.
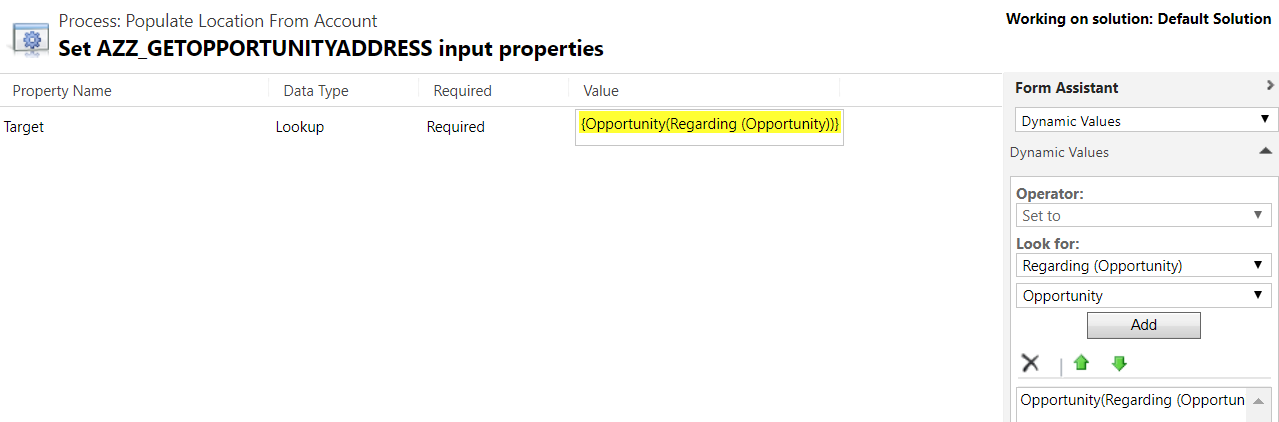
Go back to the original workflow you created. remove the steps for the Opportunity section, and add in a new Action step. You should see the new action you created in the last process. In the properties add the value for Regarding (Opportunity) then the Opportunity and add this in to the value field.
Finally, update the appointment and add the GetAddress1 string and add it to the Location field.

Here is what your final workflow will look like:
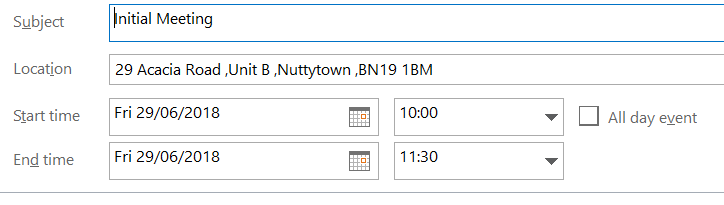
And here is an appointment in Outlook….. but wait! Notice anything strange?
After first setting it up I noticed that only the first part of the address (or Street 1) was showing, even though the Address 1 Composite had been used, and it was showing perfectly in the Appointment in CRM. Even stranger, the reminder pop up showed the full address, just not on the Appointment itself. You might have noticed that in the last section where I created the action process, I used the individual Address 1 fields just to see what would happen. Happy Days! The whole address now shows up on the Appointment in Outlook. Phew! Who would have thought there were so many parts to something that should be so simple!
Check out the latest post:
Removing Issues With Mobile Phone Numbers On Realtime Forms
This is just 1 of 447 articles. You can browse through all of them by going to the main blog page, or navigate through different categories to find more content you are interested in. You can also subscribe and get new blog posts emailed to you directly.