*** NOTE: ALL INFORMATION IS ACCURATE AT DATE OF PUBLISHING ***
Any small and growing business or fellow blogger knows that without much of a budget, getting your website and marketing efforts off the ground can be a challenge. Then there is the lack of time, trying to do everything yourself. You want to write and share your blog on social media, but want to make sure your social shares are a little more personal than seems possible with a lot of WordPress plugins out there. Enter WordPress to Buffer Pro by WP Zinc. I love Buffer and have used it for years so didn’t take much to sell me on it. There is also a free option but at $39 (or around £30) for the license, you can’t go wrong here. Below is how I set it up to work for my needs, but there are a lot of options available.
How does it work?
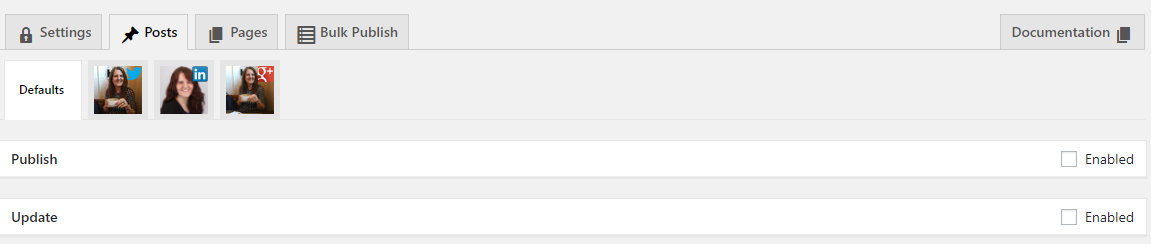
Once you have purchased the plugin and installed it, be sure to add the license key. In the settings area, you can determine when new posts will be sent to your Buffer account (if you haven’t ever used Buffer, check it out here). The social media accounts associated with your Buffer account will be displayed. For Posts, I have the Publish and Update options disabled:
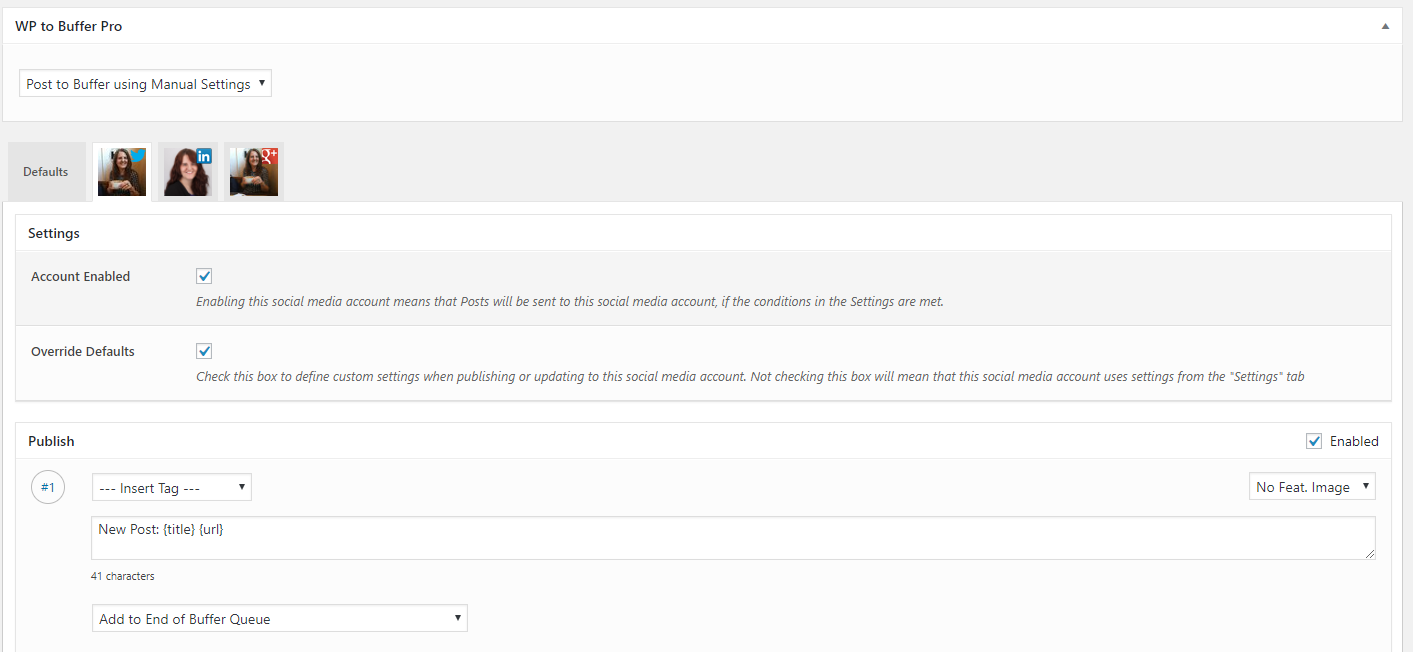
Once you’ve finished writing your masterpiece, scroll down past the article to the WP to Buffer Pro settings. Change the option to ‘Post to Buffer using Manual Settings’. Don’t change anything in the Defaults section. Instead, click on the first social media profile (Twitter in my case). Leave the ‘Account Enabled’ and ‘Override Defaults’ ticked. Then, tick the Enabled box for Publish.
You can then customise your update. I find this really helpful for Twitter, being able to customise the post with other users Twitter handles and tag people. While this might not be the only post I tweet about an article, it’s great to know that the first one will go out as soon as the article has been published.
Create your custom social updates
Go through each of your profiles, ticking the Enable for Publish box. You can add additional posts should you wish. Then Update and schedule your blog post. Once it’s published, your social shares will be sent off to Buffer and added to your queue. Then sit back and wait for them to go out according to your own Buffer schedule.
As mentioned earlier in this post, there are a great deal more features from WordPress to Buffer Pro, but these are the ones I wanted to use for my needs. Be sure to check them out! This isn’t a promotional post, just sharing a great tool I found. What do you use? Let me know in the comments below!
Check out the latest post:
Send Unique Event Registration Response Emails For Each Event Using No Code
This is just 1 of 448 articles. You can browse through all of them by going to the main blog page, or navigate through different categories to find more content you are interested in. You can also subscribe and get new blog posts emailed to you directly.