*** NOTE: ALL INFORMATION IS ACCURATE AT DATE OF PUBLISHING ***
You can set up email templates to use when sending out emails requesting feedback via one of your Dynamics 365 Customer Voice surveys. They are pretty easy to create, but did you know you can use HTML you’ve perhaps created elsewhere and just add that in to create a new custom template? Let’s look at how to do this in Customer Voice.
First, go to the survey you wish to create a new email template for, and click on the Send tab. Then select Email.

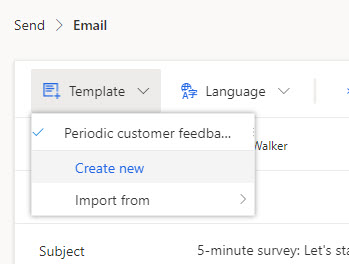
Click on the Template drop down and then select Create new.
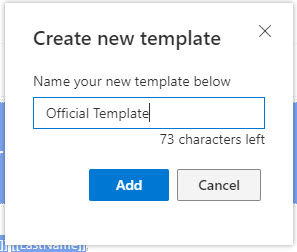
Next, give your new template a name, then click the Add button.
You will then need to click on the Template option again and select the new template you created.

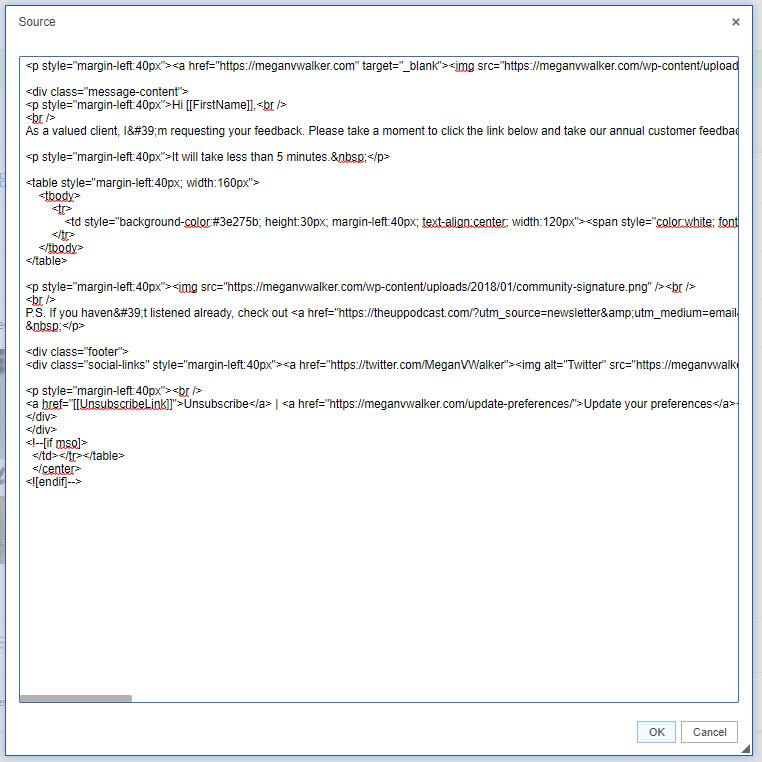
Now we can start to edit it. Click on the Source button at the bottom of the template.

This is where we can remove everything you find in the Source, and paste in your own HTML. This could be something you’ve taken from another email marketing tool. One thing to keep in mind, if you are using images in this, make sure those images are hosted on YOUR server, rather than pulling from your marketing tools servers. Once you’ve added your HTML, click OK.
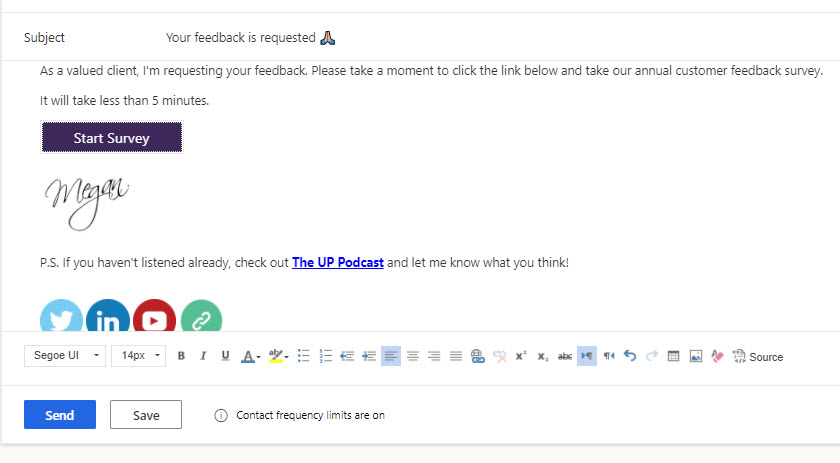
We can now see our new template, but we need to do a few things to it before it’s complete. If you want the template to be customised, make sure you click the Personalize dropdown and add in the variables you want displayed on the template.

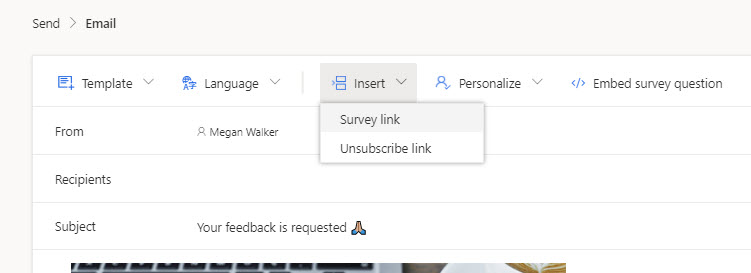
You also need to make sure the Survey link and the Unsubscribe link are on your template. You can use the unsubscribe link by adding the following, and replace the word Unsubscribe with whatever you want it to say instead (although Unsubscribe kinda makes the most sense!). The [[UnsubscribeLink]] is the part that creates the link that’s needed.
<a href="[[UnsubscribeLink]]">Unsubscribe</a>
For the survey link, if you want it to look more like a button rather than a link, you can create a table to do this. The [[SurveyLink]] is the part that creates the link that’s needed.
<table style="margin-left:40px; width:160px">
	<tbody>
		<tr>
			<td style="background-color:#3e275b; height:30px; margin-left:40px; text-align:center; width:120px"><span style="color:white; font-family:Segoe UI,sans-serif; font-size:12.0pt"><a href="[[SurveyLink]]" style="text-decoration:none;color:white">Start Survey</a></span></td>
		</tr>
	</tbody>
</table>
Once you’ve got all that added and you are happy with your template, click Save.
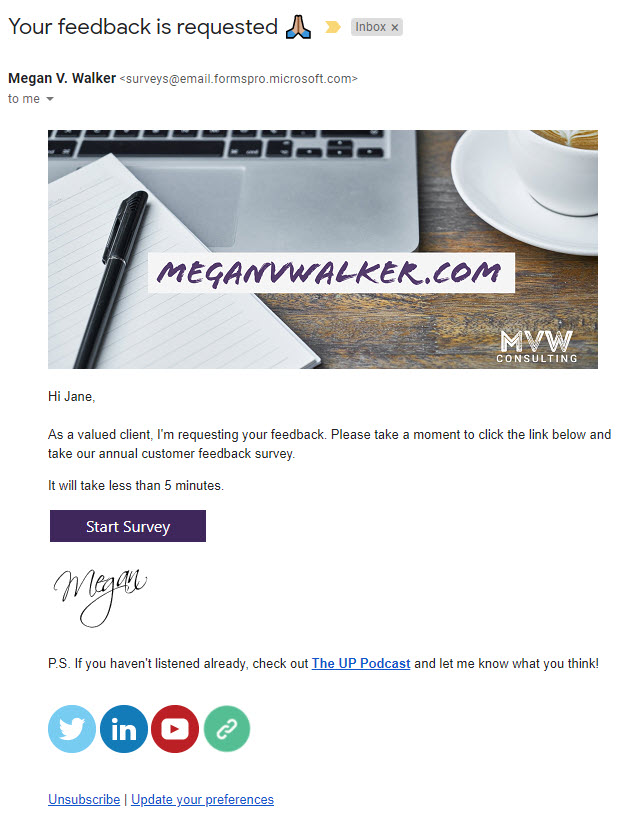
We can now send it out, and the recipient gets a nicely formatted custom HTML email! Hooray!
You can watch a vide on this here.
Check out the latest post:
Removing Issues With Mobile Phone Numbers On Realtime Forms
This is just 1 of 447 articles. You can browse through all of them by going to the main blog page, or navigate through different categories to find more content you are interested in. You can also subscribe and get new blog posts emailed to you directly.
Very interesting ! Thank you for this article.
I am struggling with one of my form which is not apparently WCAG compliant, the visually impaired person cannot see the questions and cannot tick the box to validate the form through a screen reader.
Any idea?
Thanks a lot!
Hi Paulette, there is no way that I am aware of to change things related to accessibility, other than of course making sure you don’t have badly contrasting font and background colours. You could try posting your issue here on the Customer Voice forums https://community.dynamics.com/365/dynamics-365-customer-voice/f/dynamics-365-customer-voice-forum – or submit a support ticket to Microsoft to ask for assistance that way?