*** NOTE: ALL INFORMATION IS ACCURATE AT DATE OF PUBLISHING ***
You’ve got a great website, perhaps it’s brand new and you are dipping your toe into the world of blogging? Maybe you are working on a project and implementing a Power Apps Portal and your client wants to track visits to the site. Whatever your website situation, using Google Analytics is a great option for tracking the visits and gaining insight into the behaviour and paths those visitors take. There are powerful features to be leveraged here, and best of all, it’s FREE! This is the first in a 30 part blog series, so let’s jump right in!
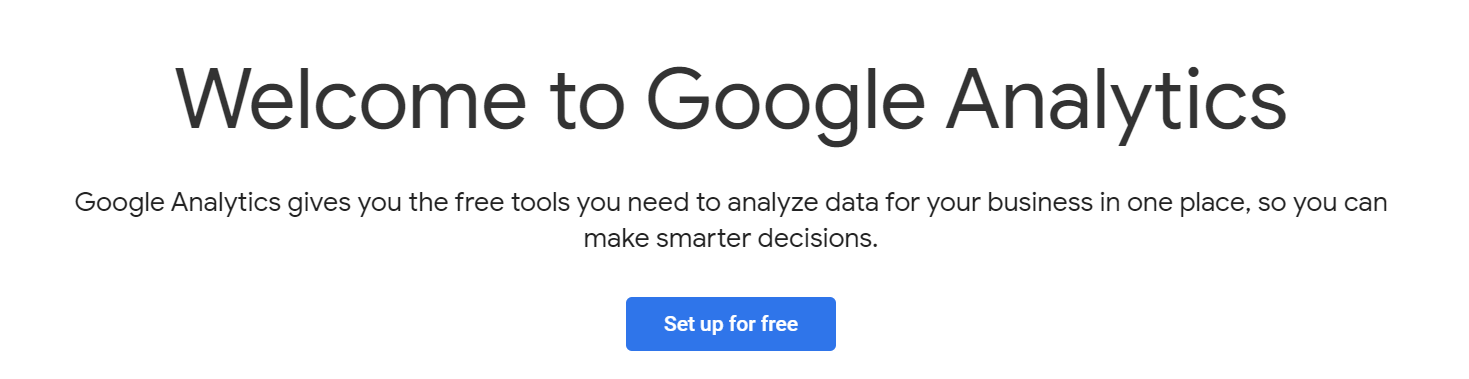
The first thing we need to do is set up a Google Analytics account. You can visit https://analytics.google.com/ to get started. You will need to have a Google account to do this. If you have a Gmail address, you’ve already got a Google account, and if not, it’s quick and easy to do. Click the button to ‘Set up for free’.
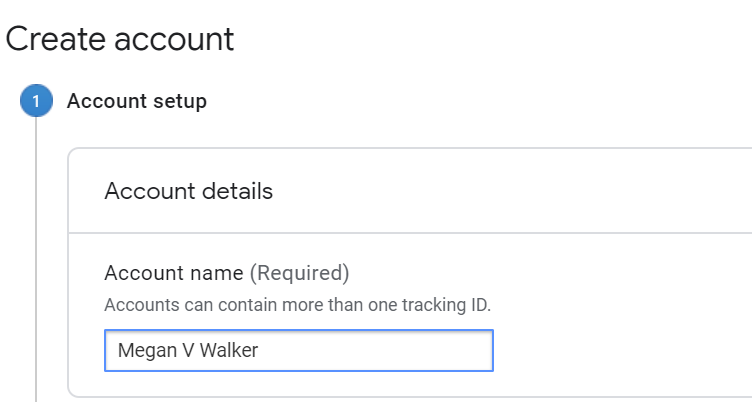
Now we can create the account. You can call this whatever you like, and you can add multiple sites or apps to the same account. So, if you have a company or specific project you can name it something generic and place multiple properties (your site or app) here.
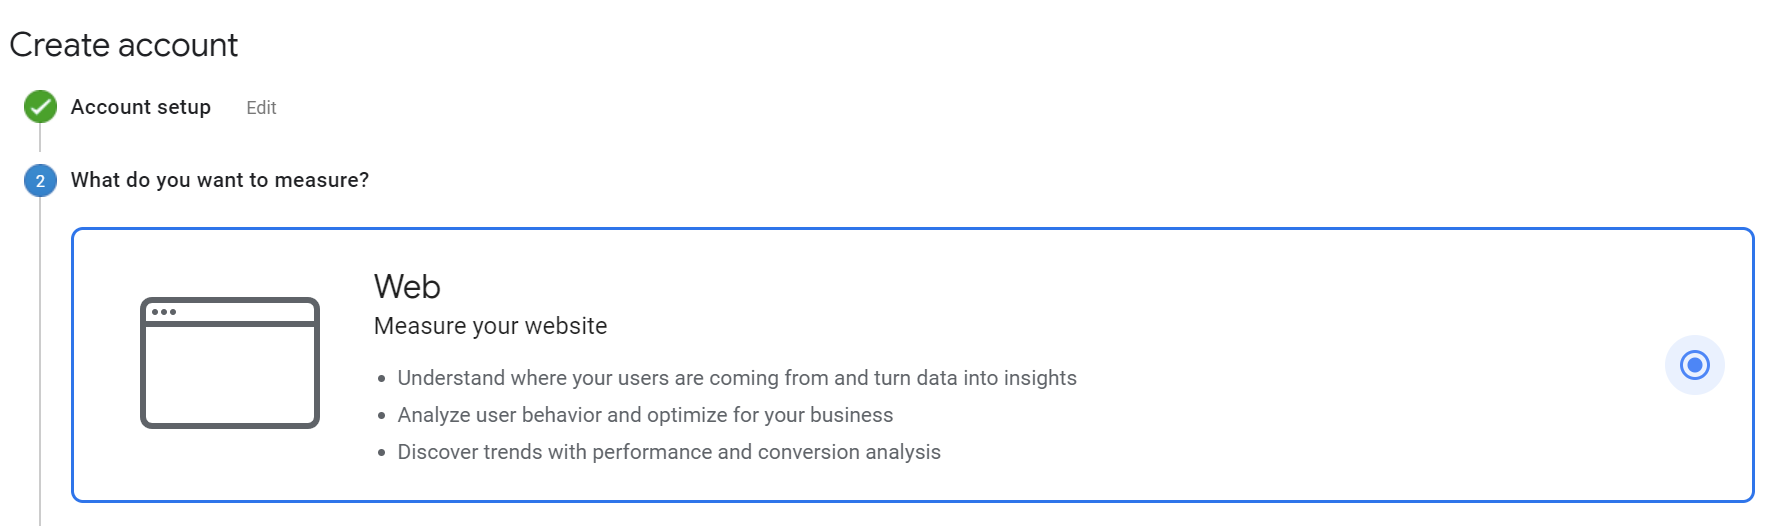
There are three options for what to measure. You can measure your website, an app (iOS or Android), or you can measure both. For this series I will focus on analytics and activities for a website. Whatever we pick to measure, this is known as a property.
Now we add the details. The website name is your own generic name, so you could just put My Website… but again if you are going to measure multiple sites, make it something descriptive and obvious. Next we add in the URL for the site. Ideally your site is set up with an SSL and uses https (where you see a padlock next to your web address in the browser), and all traffic is redirected to that version of your site, rather than showing http. Set the industry and reporting time zone.

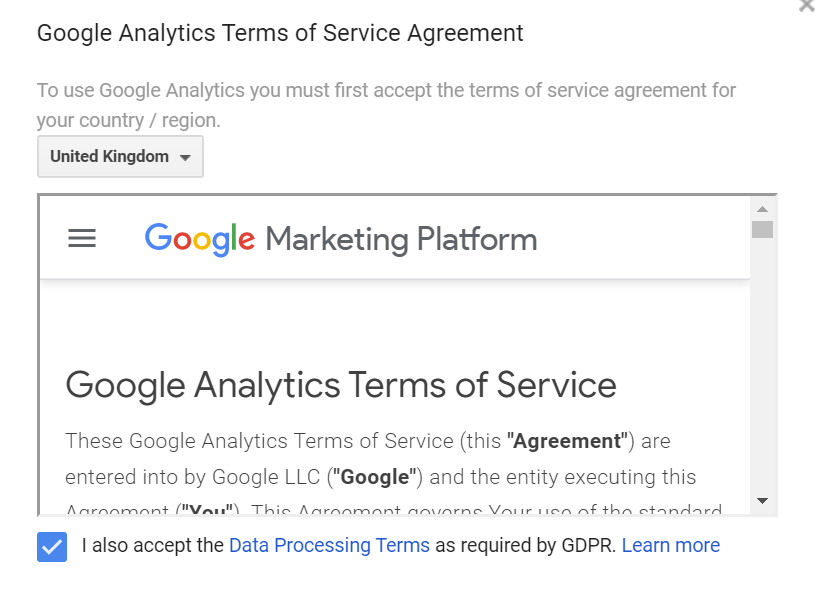
Now you’ll see some terms of service and will need to accept them. Happy reading!
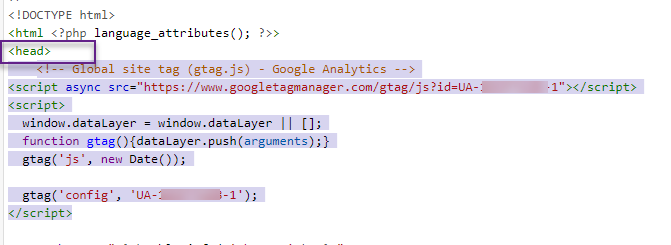
Finally, you will be provided with your website tracking code. This code is unique to your account and the property you just created, and will need to be added to your website.
If you aren’t sure how to do this, ask whomever manages your site (or someone who DOES know what they are doing) to add the code just below the <head> tag on all pages you want to have tracked. Most websites now have a global header file so it can be added there, once, without having to add it to a ton of different pages.
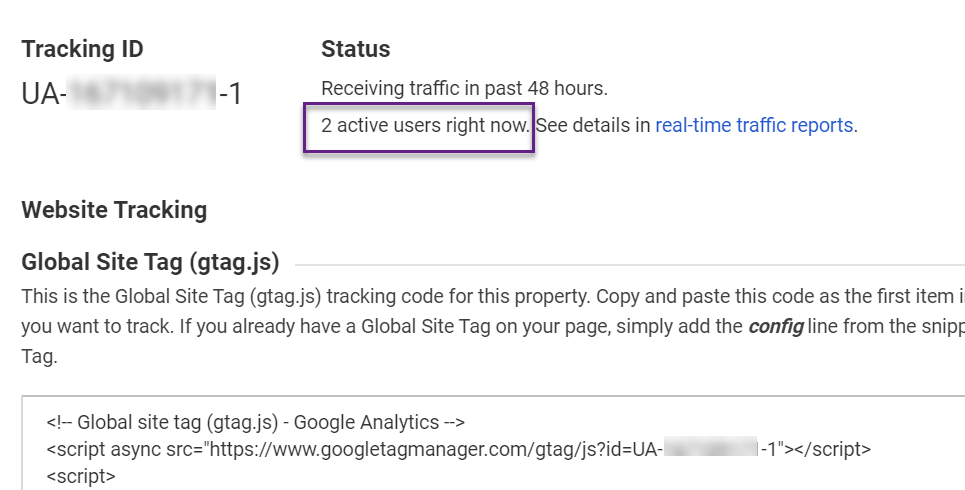
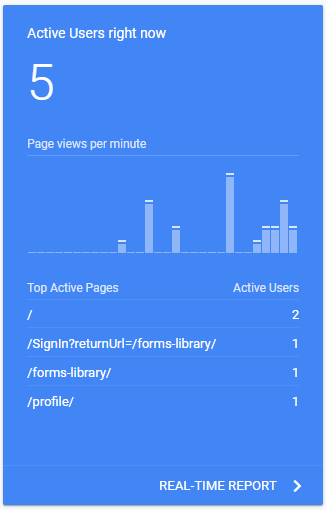
Once you’ve added the tag code, open up your website, then come back to Google Analytics on the Tracking Code page. You should see it show at least 1 active user (that will be you!). Once you see that it’s working and receiving traffic you are all set up!
That’s it, you are now set up and Google Analytics is tracking the visits and interactions on your website.
*UPDATE* I was asked about adding the Google Analytics Tracking Code to a Power Apps Portal, which is important. So, here is a quick overview for you!
Once you have set up your Google Analytics Account and have your tracking code, go to the Web Templates section of your portal. Find the Header web template and paste the code right at the top of the source section for the header record. Ideally we want to get that tracking code as high up in the web pages as possible. Save and close the file.
With the tracking code added, you should then be able to open up a browser then see the active users section update with at least one user recognised.
Want to just watch how to do this? Check out the video: https://youtu.be/e1uHeGbNdAc
Check out the latest post:
Removing Issues With Mobile Phone Numbers On Realtime Forms
This is just 1 of 447 articles. You can browse through all of them by going to the main blog page, or navigate through different categories to find more content you are interested in. You can also subscribe and get new blog posts emailed to you directly.