*** NOTE: ALL INFORMATION IS ACCURATE AT DATE OF PUBLISHING ***
I’ve written about importing contacts and variables, and then recording anonymous feedback while still capturing values at the same time. In this post, I’ve covered how you can take question responses, and still capture it in the personalised data tab on a survey response. So in the case of doing an Employee survey with SOME responses coming from a personalised survey invitation, while others being submitted from an anonymous URL with no way to populate the variable values, we can still get all of that data in the same place. Let’s look at how you can do this.
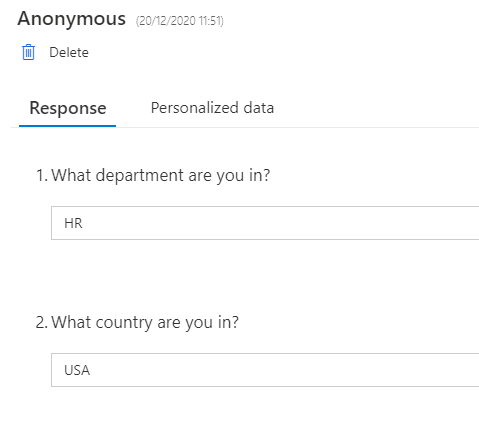
Going back to to the scenario discussed here, for an Employee survey we might have some responses where personalised data was used, and a survey invitation generated and sent to the respondent. Then others may fill out the survey from a kiosk, where it’s a direct link to the survey, without any variables populated. In that instance, we can show questions and ask for demographic data like we see here.
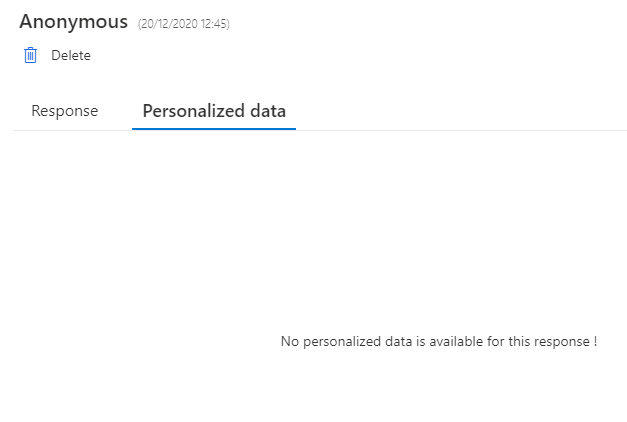
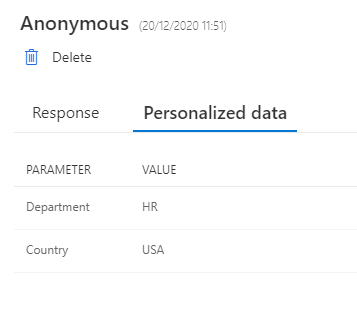
However, when they fill out those questions, the personalised data will be empty. Those who submitted their responses from a personalised link, you will be able to see the values populated here.
The difference can be seen here on the survey response question in Dataverse using a Model-driven app. For the anonymous survey, the Context Data parameters is null.
For those with the variables, we can see the Context Data is populated, so we know the Department and the Country of the respondent. The goal would be to get the answers from the questions asking for the Department and Country to be populated in the same way on those responses.
To do this, we can set up a simple flow in Power Automate. The trigger will be from the Common Data Service (Dataverse) current environment connector. The trigger condition is Create, and the entity is Customer Voice survey responses, with the scope being Organisation. You can see how to trigger it to run only for a specific survey here. If you don’t do that, it will run every time you get a response from any of your surveys. In the next step, we use the Get response details action from the Microsoft Forms connector…. yes, Microsoft Forms is still the connector that gives you the information needed at this point. In the response id field, use this as the expression:
int(triggerBody()?['msfp_sourceresponseidentifier'])
Next, we will do a condition. When you click in the first field to add the value to review, you should then be able to select from one of the questions pulled back in the Get response details step. For this, I have added the question What department are you in. If this is equal to null, the flow will end.
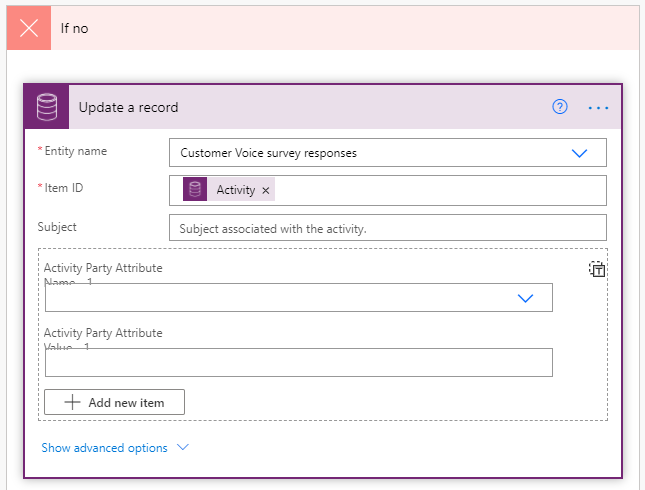
If it’s not equal to null, we will do an update a record action on the Customer Voice survey response. Use the Activity id from the trigger step to update the original response.
Click on Show advanced options then scroll to the Context Data field. We can update this field with the following, where Department and Country are the names of your variables. Then, add the question from the Get response details step to populate where the VALUE shows in the example below.
{"EmbedContextParameters":null,"PipeData":{"Department":"VALUE","Country":"VALUE"}}
Your step should look something like this.
Next time a response is received that has the Department question populated, the flow will run and then update the Context Data field. You will then be able to see the information updated on the Personalised data tab for the response within Dynamics 365 Customer Voice. This means you now have the department and country (or whatever variables you are using) for every single one of the responses, giving you options when it comes to reporting and analysis of the data for your survey. One thing to keep in mind, if you export the responses, the values for your variables will NOT be passed back through to Customer Voice but will be stored in Dataverse.
Check out the latest post:
Set A Business Process Flow Stage With Custom Page
This is just 1 of 572 articles. You can browse through all of them by going to the main blog page, or navigate through different categories to find more content you are interested in. You can also subscribe and get new blog posts emailed to you directly.


