*** NOTE: ALL INFORMATION IS ACCURATE AT DATE OF PUBLISHING ***
Microsoft Forms Pro provides you with two options when creating a form. You can either create a Survey, or you can create a Quiz. The Quiz is part of the original Microsoft Forms offering. If you haven’t used it before, hopefully this blog will help as it looks at how to create a simple Quiz. To get started, go to the Forms Pro landing page at https://forms.office.com. From here click the button to create a New Quiz.
Give your Quiz a title, and then add your first question. We are going to add multiple choice questions in this example. Provide all of your possible options.
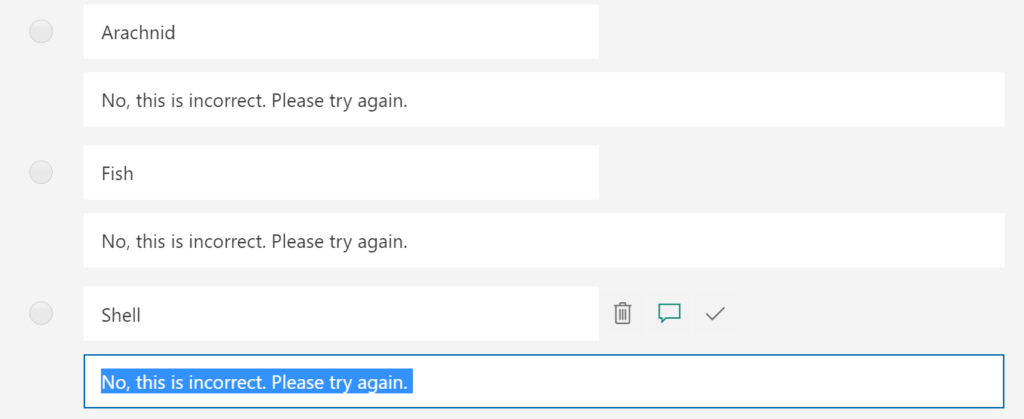
For the option that is your correct answer, select the tick/check mark by hovering your mouse over the answer and clicking on the icon that appears. You can also click on the message icon to add something in that will be displayed to the user once they review their results.
We can also add in a message for any of the incorrect answers. This will depend on the type of quiz you are creating, and if you want the user to see more details even if they have the question wrong.
At the bottom of each question, you can add a number of points that the user will gain if they get the question right. As each new question is added, the last number of points you gave to a question will be pre-populated for you.
Now we can preview the quiz and complete it. The quiz can be shared via a link, but this will be covered further in future videos. Go ahead and complete your survey to make sure it works as you intend it to.
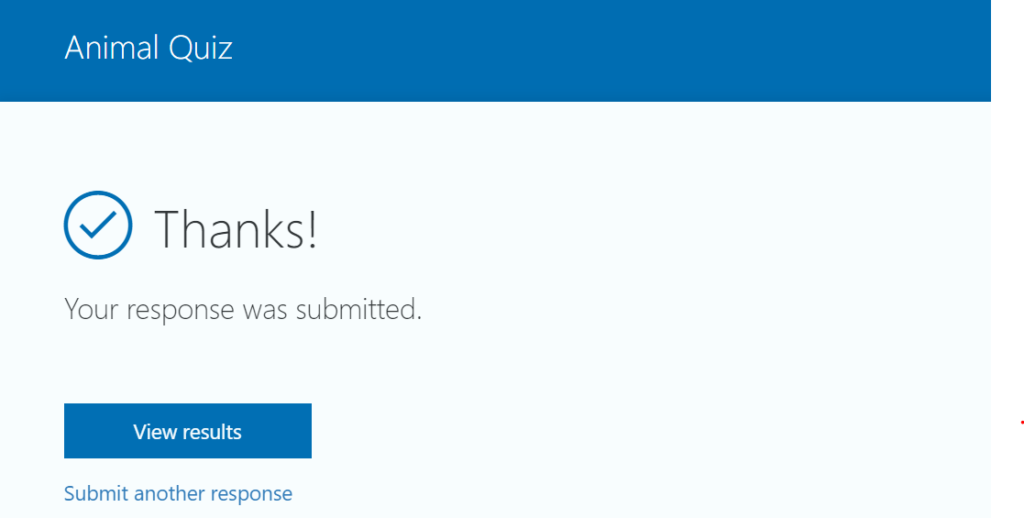
Once you have completed the quiz, you will be taken to a thank you page. Click the button to View results.
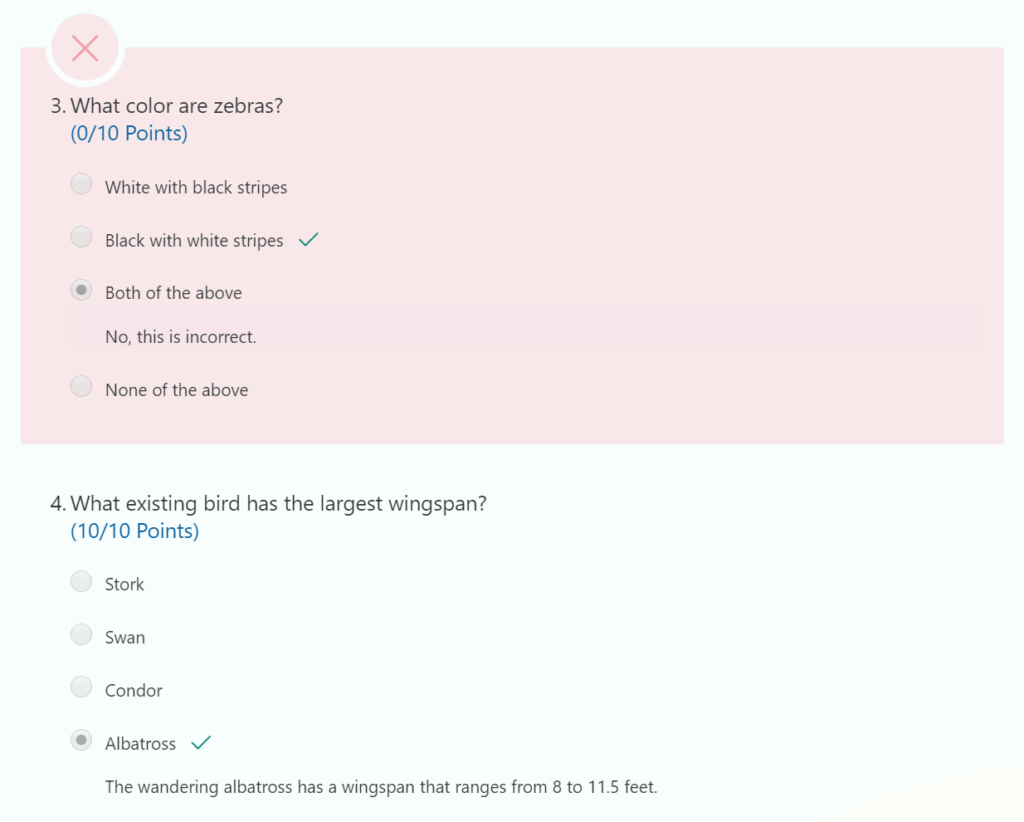
The person who submitted the quiz will be able to see their results by default. Here we can see how an incorrect question is displayed with a red background, and an indication of what the correct answer is. Any correct answers will not have a different coloured background but the number of points gained from answering correctly will be displayed.
Want to just watch how to do this? Check out the video below:
Questions in this blog and video are from ‘We Have Kids‘ website.
Check out the latest post:
Assign Records To A User Or A Team From Your Custom Page
This is just 1 of 571 articles. You can browse through all of them by going to the main blog page, or navigate through different categories to find more content you are interested in. You can also subscribe and get new blog posts emailed to you directly.


Is there any way to create a quiz template, e.g. 20 questions with 4 possible answers, assign a different point score per question. Then populate the template each week with a different set of questions from a CSV or something similar?
Hi Dean, not that I am aware of, no. You would need to create a new quiz each week with your new questions.