*** NOTE: ALL INFORMATION IS ACCURATE AT DATE OF PUBLISHING ***
When sending out your real-time marketing emails, creating emails that include actions is the best approach to take. You want your audience to engage and interact with your messages, so giving them links to pages on your websites or buttons as a call to action is a smart approach. D365 Marketing emails have the option to link directly to many different ‘things’ with an interesting one named ‘anchor’ being available. Anchors give you a way to link to different locations within your email to provide a quick way to navigate through the content. In this quick post we will look at how you can create and then use anchors in your emails.
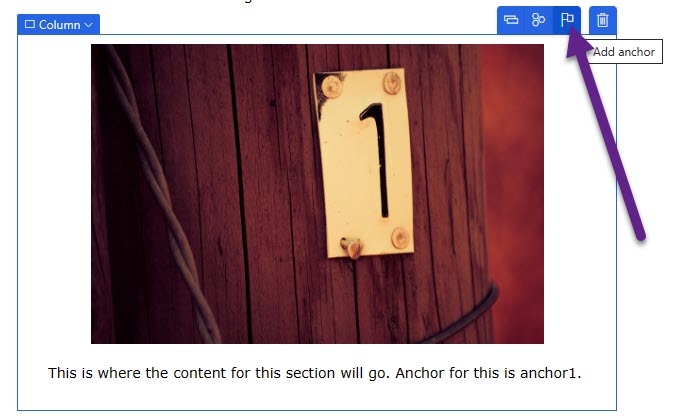
So first things first, create your Real-time marketing email. I’ve put one together with some basic images and text just to give you an idea. We have three sections that might contain information about different events, products or services for example.

Now we need to add an anchor to each area we want to link to. When someone receives the email, I want them to be able to jump to (click on a link to) section one, two or three. I need to create an anchor for each section now. Click on the element you want to make the area to take the recipient to. I can do it by clicking on the text or the image and then clicking on the little flag option you can see below.

You might have better results though if you add the anchor to the column or the section. That way the recipient sees the entire block of content rather than perhaps being taken lower in the email than intended.
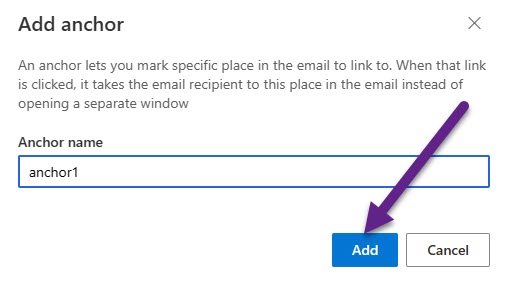
Once you’ve clicked on the option to add an anchor, it’s as simple as giving it a name. Make it something logical that you will remember. If the anchors are for information about different events for example, name your anchors the name of each event. Once you’ve given the anchor a name, just click the Add button.
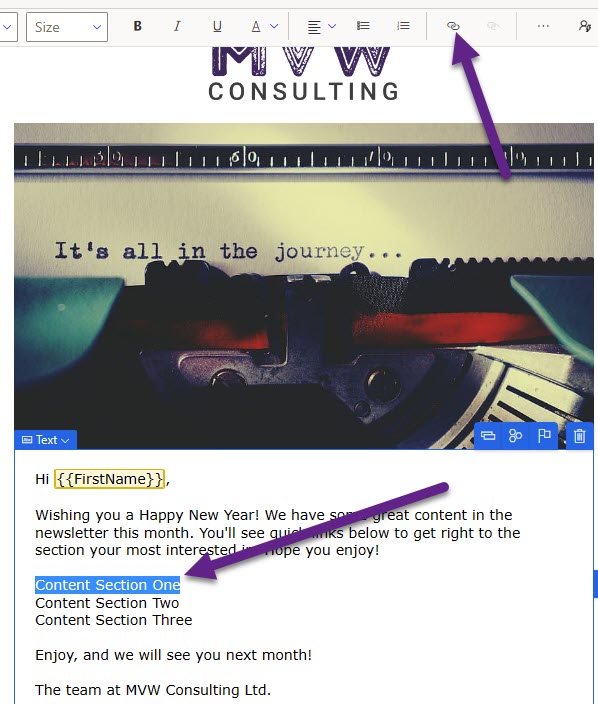
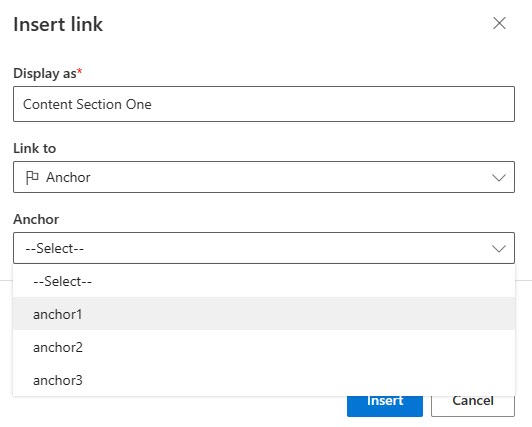
It’s easier to add all of your anchors first, then go and add your links. Here you can see I’ve got three lines of text that I want to make links to go to the specific sections. Highlight the text then click on the link icon from the top editor control.
We can see that anchor is one of the options available to create a link to.
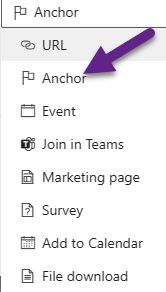
We just added all of the anchors so now we can see them available in the list. Simply click the name of the anchor you would like to link to.
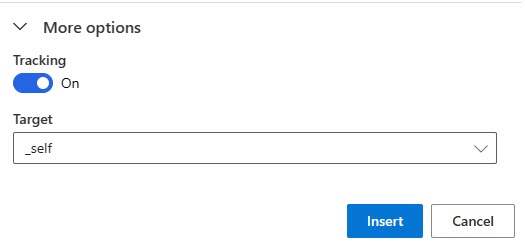
Clicking on More options, you can decide if you want to track this as a click in the email. Keep in mind that these anchor clicks are ONLY clicks within the email itself, and not a link to go to a website or anywhere else. By default the tracking is turned on. There is also a target option available. Honestly, these are little pointless for anchors within the same email… but if you are curious, here is what they mean. This is typically only relevant when adding links on websites or marketing pages.
- _self – this is the default option. The link is opened within the current frame
- _blank – link is opened in a new window
- _parent – link would be opened in the parent frame (or same frame if no parent)
- _top – link would open in topmost part of frame (or same if no topmost part)
That’s it! You can now send a test to yourself and try it out. Keep in mind, anchors in emails are not guaranteed to always work, and in my own tests didn’t work in the Gmail web client. It worked beautifully in Outlook, even in the mobile client on my phone. Do you think you’ll start using anchors in your emails?
Check out the latest post:
Use Custom Event Registration Questions To Branch Your Journeys In Customer Insights
This is just 1 of 603 articles. You can browse through all of them by going to the main blog page, or navigate through different categories to find more content you are interested in. You can also subscribe and get new blog posts emailed to you directly.
thank you for the information
You are very welcome!