*** NOTE: ALL INFORMATION IS ACCURATE AT DATE OF PUBLISHING ***
The idea for this post came from a question I saw on the community forums asking if it was possible to provide a way for users to pick from a list of new articles from a website so they could drag and drop new content while creating a new email. The only real way to do this would be if you had a Content Block with the article on there that people could review first rather than doing a List (which would give less flexibility). So in this post we look at how you could create article Content Blocks from an RSS Feed automatically when a new blog or article is published on a website, then clean them up when they are no longer needed.
First thing you will need to do, create a content block that looks the way you want your new article content blocks to look. Keep it simple and use words that will be easy to find when we work on the process that will create the new ones so we know which parts to replace. Note that you can only have a dynamic image if your RSS Feed contains a link to an image populated in one of the fields you can access from Power Automate. You can find more on customising an RSS feed (for WordPress) in this post. No need to publish the Content Block when finished but make sure you save it.

Now go to the list of your Content Blocks. You will need to add the following columns to it that contain the HTML that is required when creating a record dynamically. Use the standard Export to Excel feature to get access to the data in this columns.

Now we can create a flow in Power Automate that triggers from the RSS Feed connector and use the Publish Date.

Add 3 string variables. In to each one, paste the corresponding HTML you got when you exported your new content block to Excel. I tried to do this all with a series of variables that would make up the HTML but each one is formatted slightly differently, so went with the variables this way to make it easier to read the flow more than anything. You could by pass these and go directly to creating the Content Block and paste in there, but this way makes things a bit cleaner for anyone else reviewing the flow (or your future self).

Now for each variable where you pasted the HTML, you need to find the different sections for your text and a link to the post. Again, I have a custom RSS feed where I am passing through the URL of the featured image of a post and using the Primary feed link for that. So do not just copy what I have unless you have the same. The other items should match, with the Feed title, Feed summary and Feed ID being the logical things to update. Make sure you do this in all three of the variables.

This next step is not needed, but suggested. If you want to have a nice easy way to find older content blocks no longer needed, you can add a Tag to the Content Block which can then be used as a filter later on. The easiest way is to add a tag to your content block template to get it in to the Tags table (msdynmkt_tag). Or if you are a System Administrator you can go to the Default Solution, find the table and then add a new row. Then add a List rows step and something like this to the Filter rows: msdynmkt_name eq ‘Article’ – obviously replace with whatever you named the tag.

Now you are ready to create the content block. Add the variables in to the right places, then use the Feed title in the name. I have prepended with Article just to keep them all together alphabetically if someone is looking for the Content Blocks. You can make it Protected or not, and set the Status Reason as Ready to Send or Draft. If you put them as Draft, someone will need to come in and make each one Ready to Send before anyone knows they exist. Finally, to set the Tag it is a little bit funky to set. Although the Tag exists as a record in the Tag table, it is linked to the Content Block using a key and name pair. You can use the expression below and just change the Find_Article_Tag to whatever you called your List rows step above, then set the name as the name of the Tag like you see below.
[{"key":"@{first(outputs('Find_Article_Tag')?['body/value'])?['msdynmkt_tagid']}","name":"Article"}]

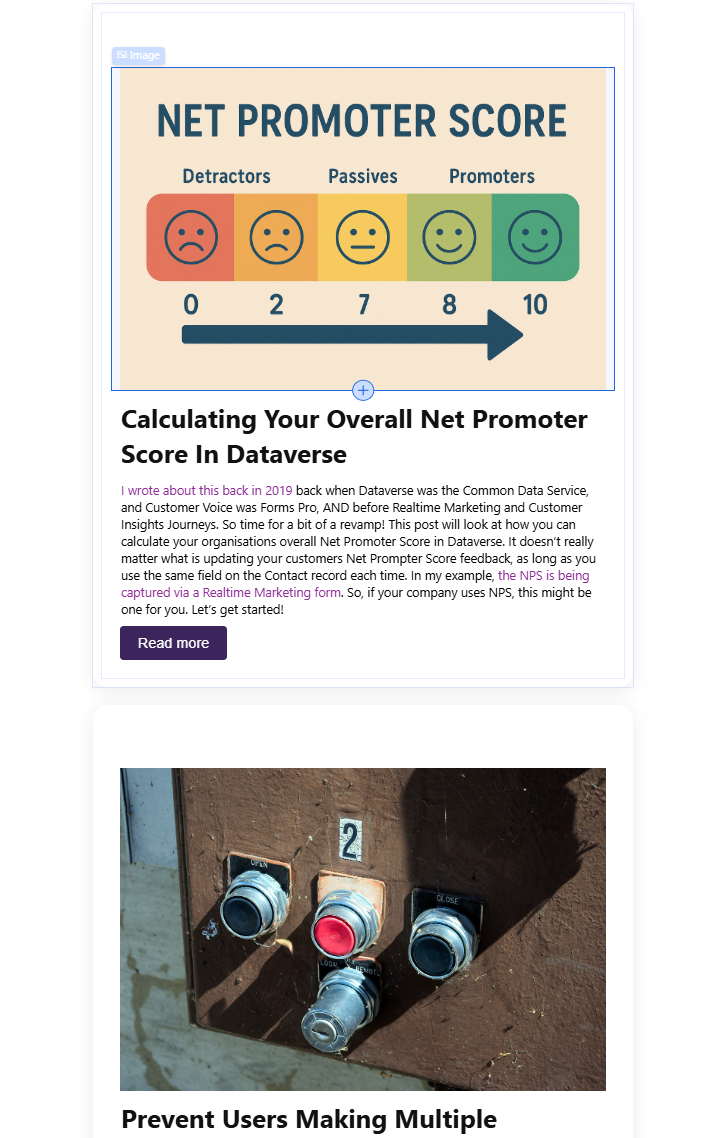
Unfortunately there is no way to test this until you have a new blog post in your RSS Feed. So once that happens, go and check your Content Blocks and see if it has been created. This looks nice!

What we don’t want is Content Blocks stacking up that are old and no longer needed. For this, create a second flow and determine how often you want to run to clean things up with the recurrence schedule trigger. Then add a list rows step to find the Content blocks that are linked to the Article tag (make sure you pick the right one!). You can then use FetchXML similar to below to find all of those that are Active, have the Article tag, and are older than X weeks. Perhaps you want to have content that is fresh and not older than 5 weeks.
<fetch version="1.0" mapping="logical" no-lock="false" distinct="true">
<entity name="msdynmkt_fragment">
<attribute name="statecode"/>
<attribute name="msdynmkt_fragmentid"/>
<order attribute="msdynmkt_name" descending="false"/>
<filter type="and">
<condition attribute="statecode" operator="eq" value="0"/>
<condition attribute="msdynmkt_tags" operator="like" value="%Article%"/>
<condition attribute="createdon" operator="olderthan-x-weeks" value="5"/>
</filter>
</entity>
</fetch>

The last step is to add an Apply to each for the value of each record found, then use an Update a row step to change the Status and Status Reason to Inactive. This means the Content Block can still be found later, and still linked to Emails (you cannot delete one if it has been used in an email), but it will not longer show up when someone is creating a new Email as one of the Content Blocks to add.

Now when users are ready to create an email, they can filter the content blocks with the Article tag (or whatever you used) and see all those that are active and available to use.
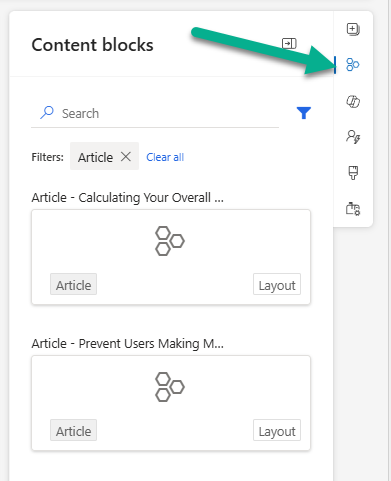
Then simply drag then across to their email and send it to subscribers.
Check out the latest post:
Add Information Buttons To Provide Additional Details For Custom Page Users
This is just 1 of 580 articles. You can browse through all of them by going to the main blog page, or navigate through different categories to find more content you are interested in. You can also subscribe and get new blog posts emailed to you directly.
In relation to RSS-feeds, do you know if it possible to do something similar the other way around?
I want to add an email sent out from Customer Insights to a Sharepoint feed instead. We have a RSS-feed set up for the list already so if possible we could use that. But it seems like there is not that many RSS-connectors/triggers available in Power Automate.
You wouldn’t send something specifically to an RSS feed, but you could create a post/update in SharePoint I would imagine. I am not a SharePoint person so not sure of the exact terminology. It would involve you doing something in Power Automate and some kind of way to know when to trigger the Email to be shared, and might be more effort than you would want to put in. Might be easier just to do it manually 😕