*** NOTE: ALL INFORMATION IS ACCURATE AT DATE OF PUBLISHING ***
*** UPDATE *** – it seems that although you can add the Email Signatures option to your sitemap, the ability to add individual signatures will only be available for Wave 2 2020. So, if you haven’t opted in to it yet, you won’t be able to take this approach until you do that (which you will get the Wave 2 update in October regardless!).
Back in October 2017, I wrote about adding images and hyperlinks to Email Signatures in Dynamics 365. Randomly I have had two people contact me in the past week asking how to get it to work. It still works in the Classic interface, but let’s get with the Unified Interface approach people! We can use the lovely updated Email Signature Experience if using the Customer Service Hub app, or simply add it to a custom Model-driven app to provide a nicer user experience.
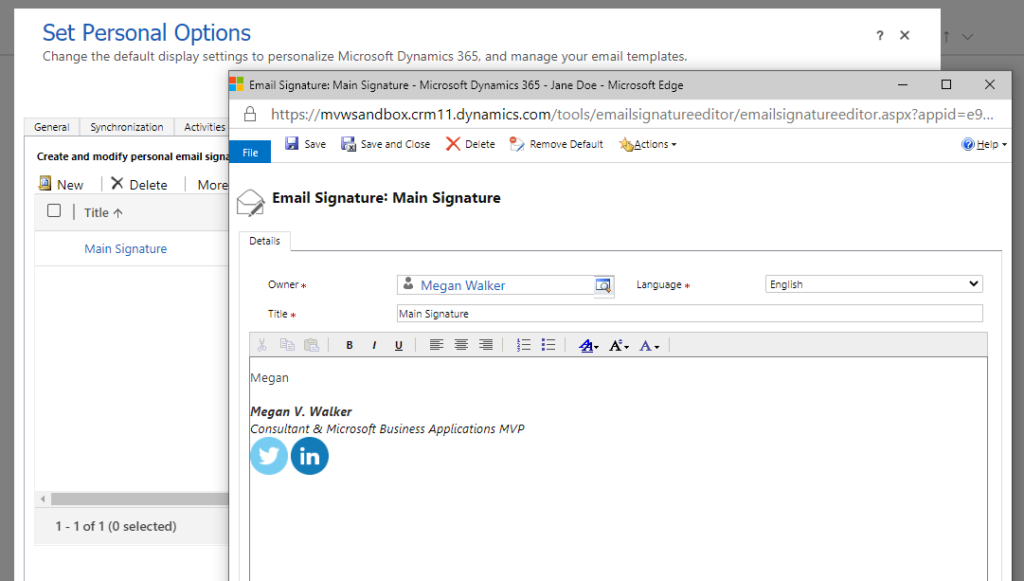
So first, the old way of getting to the Email Signatures. This is done by either going to Advanced Options, then Settings, then Templates, then Email Signatures and adding a new signature from here:
Or, a user can go to Personal Options, then Email Signatures, then add a new signature from here. Either way, I think we can agree, it’s a bit ugly and clunky. And yes, you can still add images and hyperlinks this way, but it’s not obvious or intuitive, and once they are added, it’s not something you can edit easily.
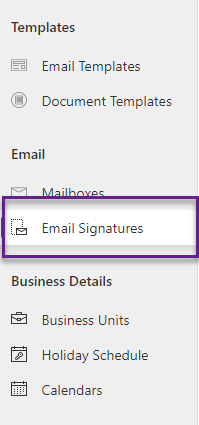
Now let’s look at the nice way in the Unified Interface. If you are using the Customer Service Hub app, they are right at the bottom of the Service area.
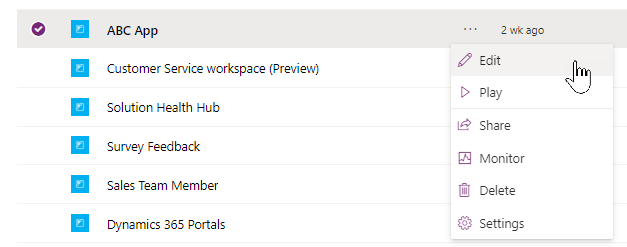
We can add the link to the Email signatures to any other app by simply editing it. This should of course be done in a SANDBOX environment first and added to a Solution, then imported in to your PRODUCTION environment. To edit, the easiest way would be to add the Site Map to your solution, or you can navigate to the sitemap by clicking on Edit from the App.
Then from the app, click the Edit icon on the Site Map.
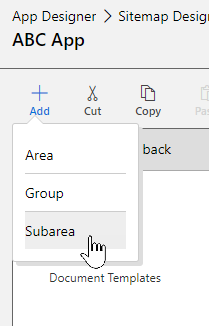
Add a new Subarea to the Group where you wish to have the Email Signatures accessed from.
In the Sub Area, simply select Entity as the type then search for Email Signature. The icon will be set to use the Default image for that entity, and you can change the title if you wish.
Now we can see the Email Signatures have been added to the app.
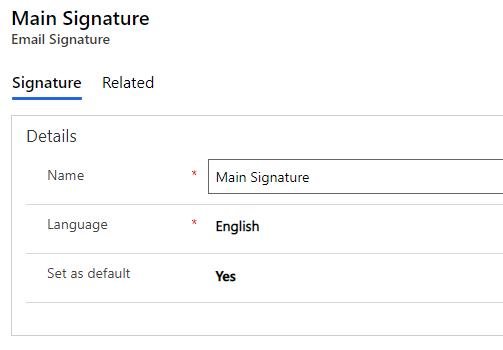
Now adding and editing the signatures is easy. We give it a name and then can set it as the default. This means the signature will be added automatically to all new emails created by the owner of the signature.
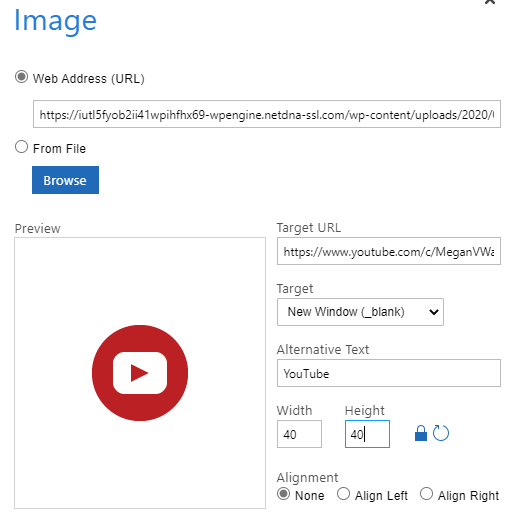
Add a new one, and now you can see an icon to add a hyperlink, and an icon to add an image. We can also add an image with a hyperlink at the same time. Clicking on the image icon we can add in a new link to a social media profile.
We can add an image either from a URL, or browsing out and adding an image that way. Both work fine, but from a marketing perspective, an organisation may choose to set up the images using a URL. The images can then be swapped out directly on the server if needed rather than having everyone manually add in new images later on. We can then set the target URL, with the link opening up in a new window, and then set Alt text (in case the image doesn’t load) and then the width and height of the image.
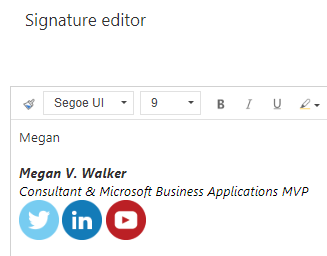
Now we can see the images in the signature. You can then save and close your new signature.
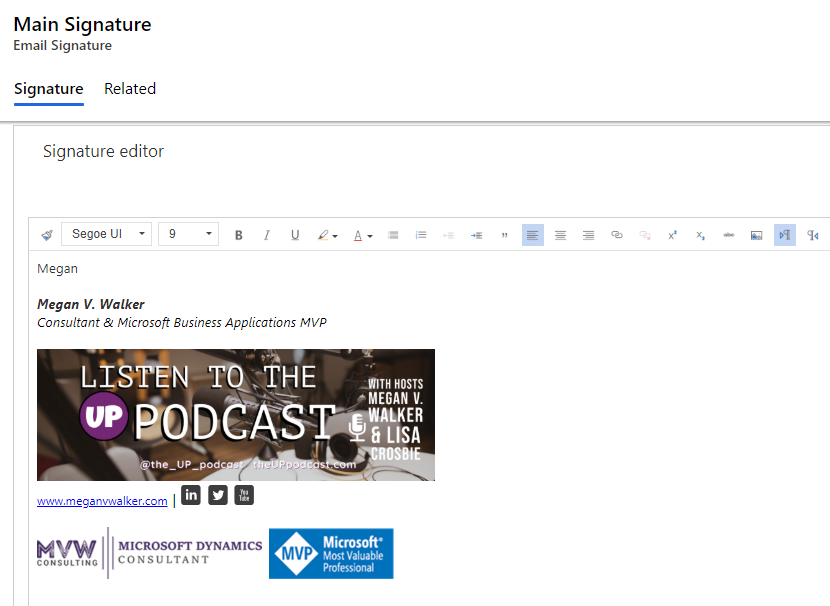
One thing that also STILL works (as detailed in the original post about this from 2017) is the ability to copy and paste images in to the signature. This is my signature in Outlook in Office 365. I can simply copy the entire thing.
Then I can just paste it directly in to the Signature editor in Dynamics 365.
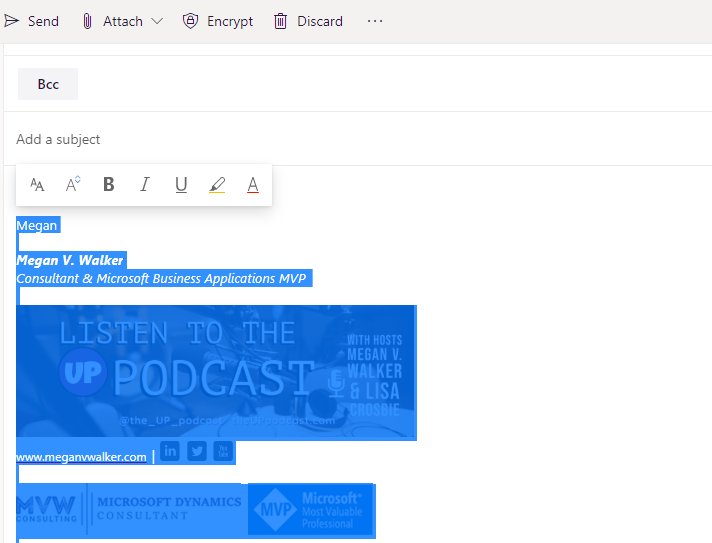
Then when I create an email in D365, the email signature is appended to the bottom of the email.
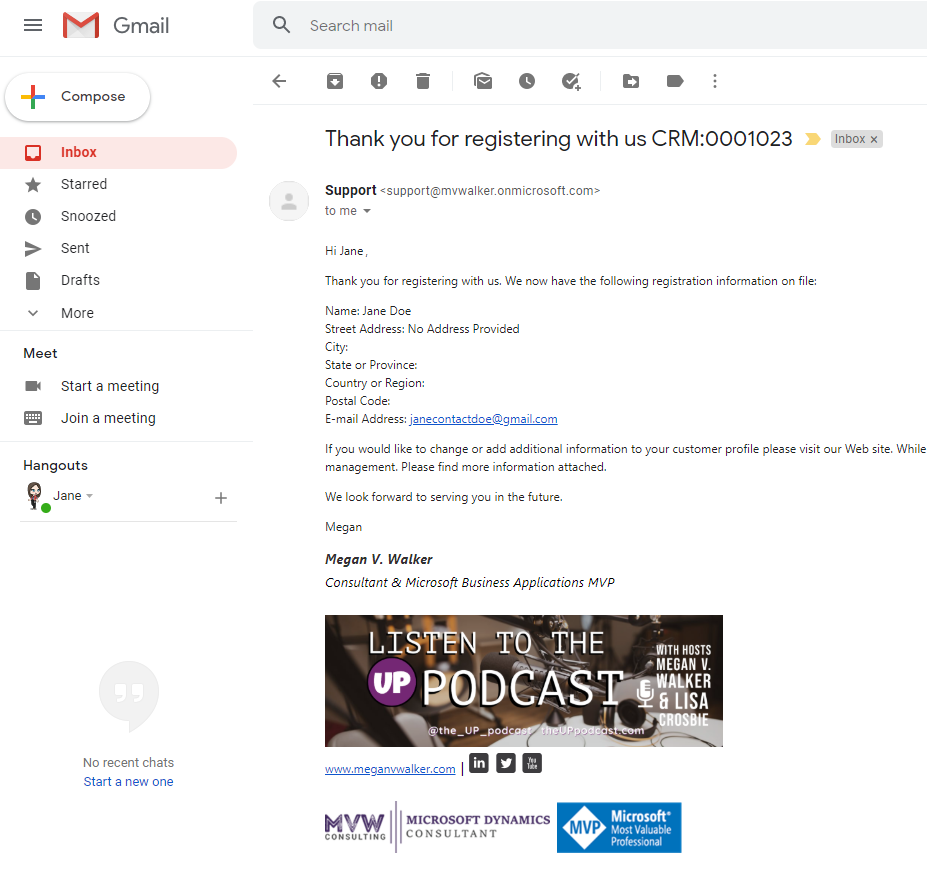
Wondering if the images will show up? Here you can see the email that was sent from D365 to a Gmail address. All images are present and accounted for 😉
Check out the latest post:
Set A Business Process Flow Stage With Custom Page
This is just 1 of 572 articles. You can browse through all of them by going to the main blog page, or navigate through different categories to find more content you are interested in. You can also subscribe and get new blog posts emailed to you directly.







It is very cool, we have been using it since Forms pro and helps a lot. you can also share your URL with a specific language for instance to share a link with French language then add this “&lang=fr-FR” at the end of URL.
Thanks Ahmad… although I am not sure what this post has to do with your comment? Did you mean to post it on another blog?