*** NOTE: ALL INFORMATION IS ACCURATE AT DATE OF PUBLISHING ***
When sending surveys to your customers and prospects via D365 Customer Voice, the emails will come from the lovely surveys@email.formspro.microsoft.com email address. Your name will be displayed, but still, it doesn’t look that great and could confuse some people. Worse, it could even end up being ignored. Did you know you can change that, and actually have these emails go out from your own email address? Let’s look at how to set this up.
You can watch a video on this here.
The first place to go is your Microsoft 365 Admin center. From there, it’s Settings and then the Org settings area. You should see Dynamics 365 Customer Voice as one of the Services listed. Click on this option.

Now we need to add the domain that our email addresses are linked to. Click on Add domain from the bottom of this screen.

Type in the domain, but without www or https or anything else before it.

Moving on to the next step, you will be provided with three records that must be added to the DNS area of your site. Check with whomever manages your website as they should be pretty well versed in how to add these records. One thing to note. For the CNAME records, depending on where your domain is managed, you might need to add the name part a little differently. Apparently, GoDaddy appends the domain to the end of the entry.
So this:
fpeurkey1._domainkey.meganvwalker.com
Was actually being recorded as this:
fpeurkey1._domainkey.meganvwalker.com.meganvwalker.com
I changed the entries and removed my domain from the name so I have fpeurkey1._domainkey and fpeurkey2._domainkey and it verified immediately. So just keep that in mind, and if you also use GoDaddy, just make that change so that it works and verifies without the headache of waiting and getting errors.

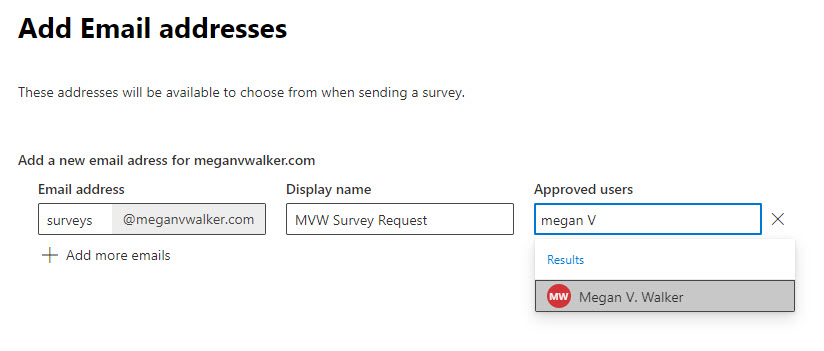
Once the domain is verified, you can now add the email addresses that you want to be able to send survey invitations from. The email account need not be a functioning account to send emails; however, a mailbox must be configured if the account is expected to receive replies. You can then determine the display name to be used, and then indicate WHICH users are allowed to send on behalf of that email via Customer Voice.
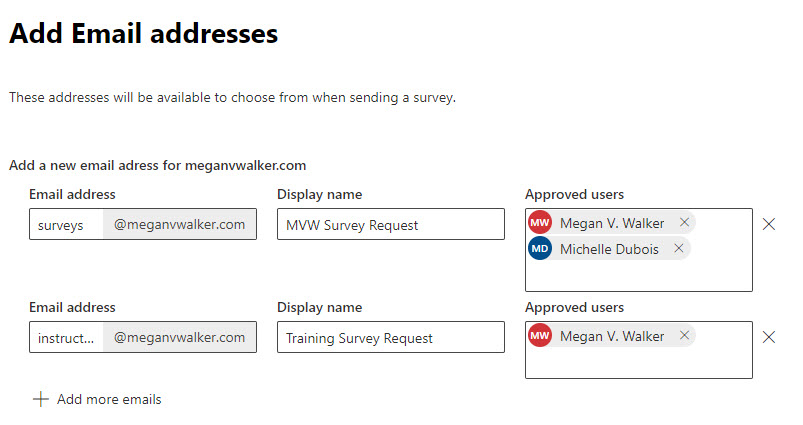
Once you’ve got all of that set up, it should look something like this.
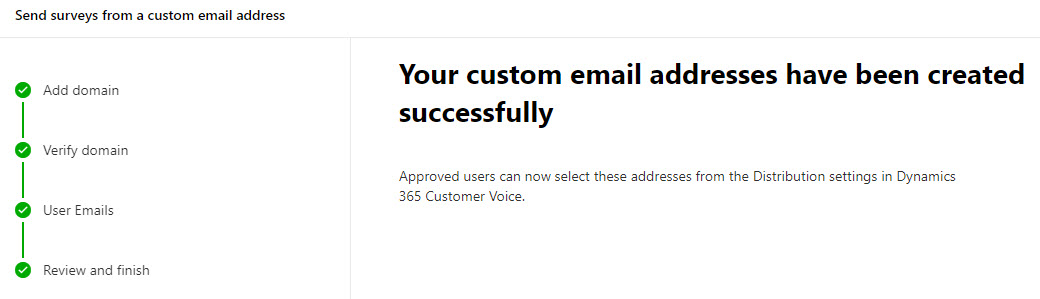
Moving on to the last step, you can review the information you’ve provided, and then complete the wizard process.
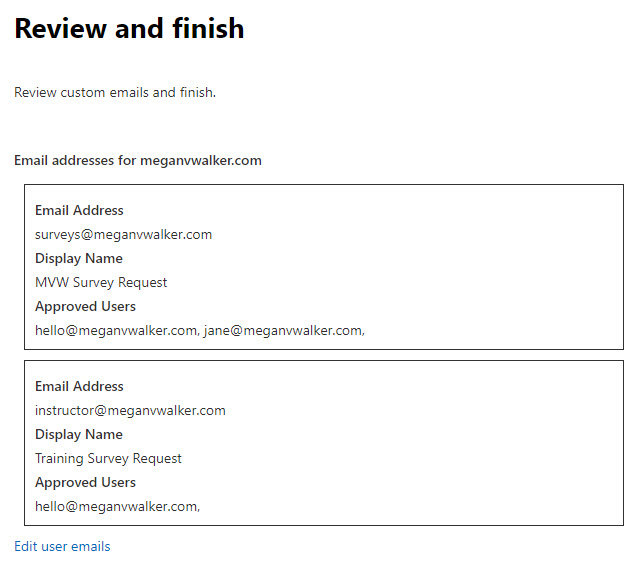
That’s it! The email addresses have been set up and can now be used in D365 Customer Voice.
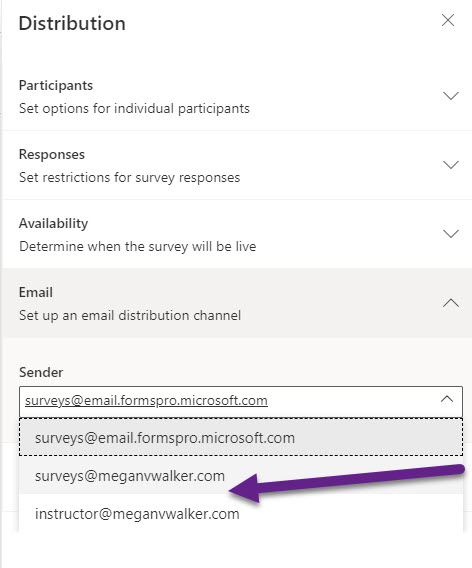
In order to use them, navigate to one of your surveys in Customer Voice. Click on the Send tab, then Customisation, and then Distribution Settings.

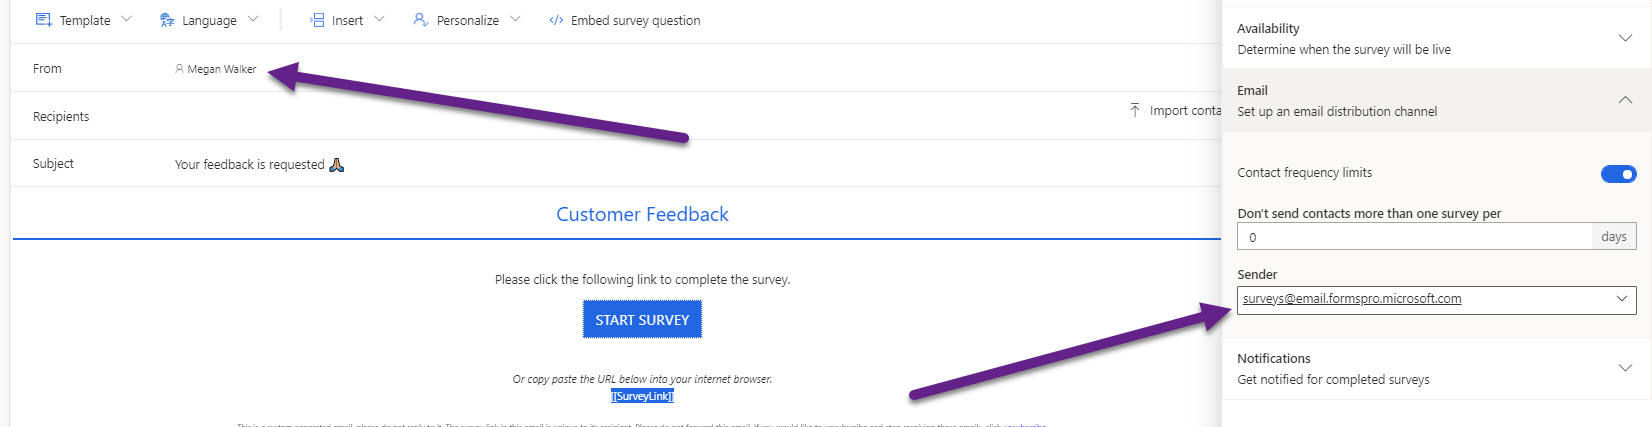
In the Email section, you should then see the new email addresses you added in the Microsoft 365 admin center for Customer Voice. Select the email you want to use for this specific survey.
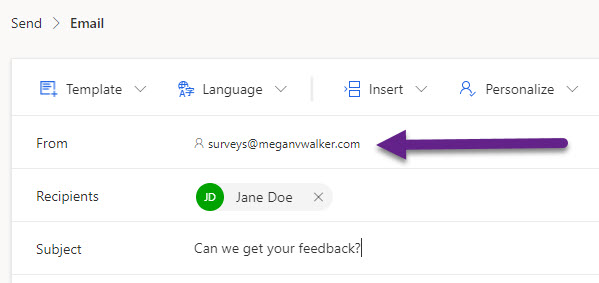
We can now see that when we go to send an email from within Customer Voice, it shows the email we selected in the Distribution settings area. This is also the email address that will be used when sending out a survey via Power Automate.
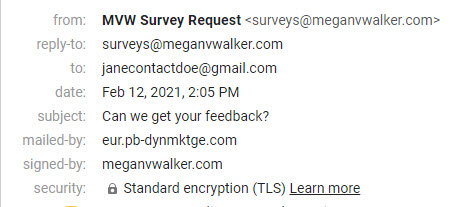
When an email is sent, we can see that the display name we set up in the admin center is used, and we can see the email address present. Using this along with some nice custom HTML email templates makes this a great option for sending out well-branded emails requesting survey feedback from customers.
You can watch a video on this here.
Check out the latest post:
Set A Business Process Flow Stage With Custom Page
This is just 1 of 572 articles. You can browse through all of them by going to the main blog page, or navigate through different categories to find more content you are interested in. You can also subscribe and get new blog posts emailed to you directly.
Great Article but I think there is a mistake on the GoDaddy Domain Registration issue. I found that I had to shorten the two CNAME entries to fpeurkey1._domainkey and fpeurkey2._domainkey. Removing the domain completely made the registration issue go away within minutes.
Hi Brian, glad you found it useful. Not sure if you missed it, but what you stated is exactly what I have said in the article:
It took me a while to figure it out, and a bit of searching. Annoying it’s not referenced in the Microsoft docs (or it wasn’t at the time that I wrote this post).
Hi Megan.
I have added 3 custom domains.
But unfortunately, I can pick only the last two created from Sender list.
Are there any limitations regarding the maximum number of custom domains?
Kind regards,
Sašo Sanabor
Hi Sašo, not that I know of. If you are still running into issues, I would suggest contacting Microsoft Support for this.
This was so helpful in getting us started. I have run into issues when trying to add or remove approved users of an email address within the verified domain we created, I also can’t add a new address to same domain. . The wizard takes me all the way through and confirms all is successful and yet the changes are never saved. I have logged this to my partner but wondered if you had ever encountered this issue?
Thank you even if you don’t get to this. The material you produce is a lifeline and I work for a Charity so resource is limited.
Hi Anna, I am glad the blogs have been useful! I’ve not experienced that before. You could try posting your issue on the Microsoft Customer Voice forums page, and see if someone can help you that might have experienced the same: https://community.dynamics.com/365/dynamics-365-customer-voice/
Hi Megan,
Just as a help for others, I also had a problem with adding the custom domain. I am not using GoDaddy, but nevertheless, I had to remove the domain part from the CNAME entries as well before the domain verification started to work… it took me a few hours to find this.
I have made a request to change the MS Documentation (https://docs.microsoft.com/en-us/dynamics365/customer-voice/customize-sender-email) accordingly…
Thanks Koen! Yes, I had already put that in the blog. I referenced Go Daddy specifically, but also said you might want to check and try that same change no matter who your hosing company is. Good call on putting in the request for change to the official documentation.