I first started writing about portals on my blog back in January 2019. My first experience was with ADX Studio, and it nearly fried my brain. I had no idea what I was doing and it was completely outside my comfort zone. Since then, Microsoft has renamed, reworked, and evolved portals into what we now call Power Pages. The platform has become much more accessible, letting people build sites quickly without needing to dive deep into the underlying code.
For the past few years, my approach has been a mix of the Portal Management model-driven app and tools like XrmToolbox’s Portal Code Editor. I’ve built templates in Liquid, added JavaScript, and generally worked close to the code. But I’ve been wondering for a while if I’m overcomplicating things, or simply sticking to what I know because it feels safe. So I’m starting this series to properly explore Power Pages from the ground up, learn it in a more modern way, and share what I find along the way. If it helps someone else shortcut the learning curve, even better.
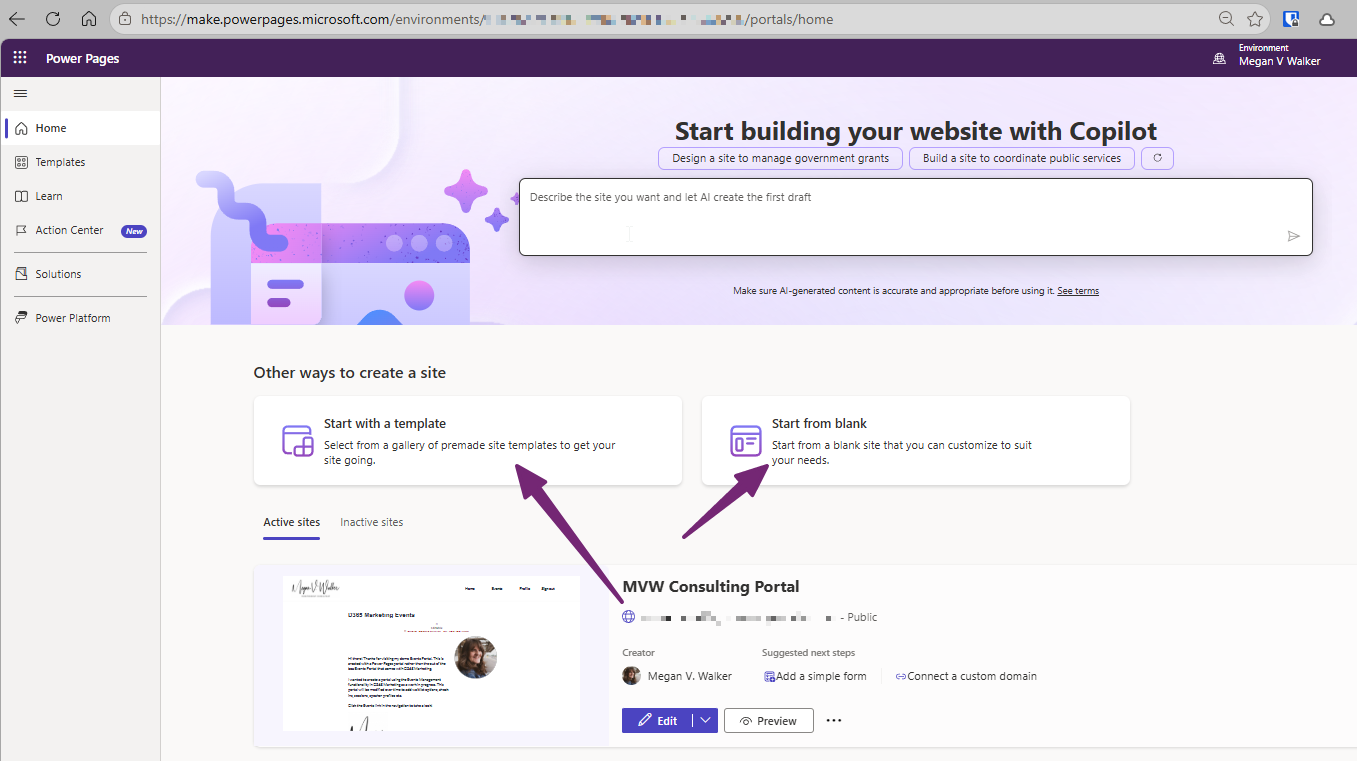
First things first, I thought I would use the experience of setting up a portal, which I wrote about here which had a different set of steps and places to go, but still feels somewhat similar. To get started we begin by going to https://make.powerpages.microsoft.com. Make sure you are in the correct environment, and pick to start with a template or from blank.
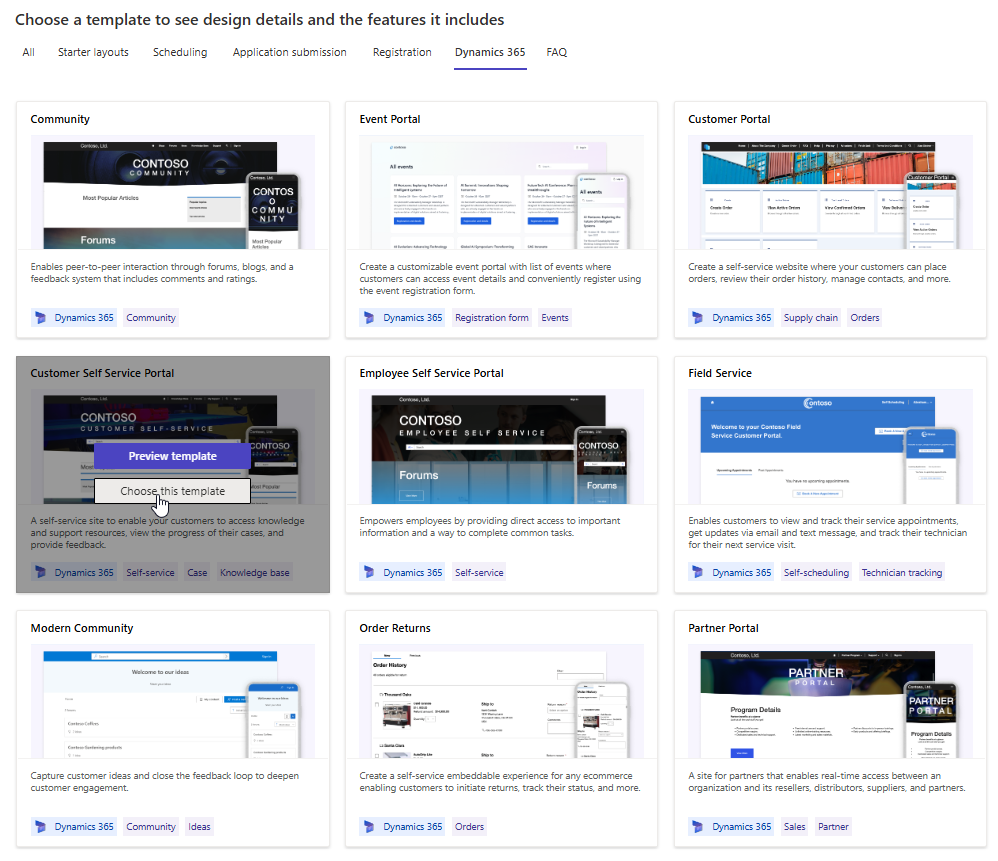
In this post I will pick the same template I did back in 2019, the Customer Self Service Portal. One thing to note, depending on the template you pick, it comes with different web templates and functionality, so good to know and understand what you are picking first before jumping in.
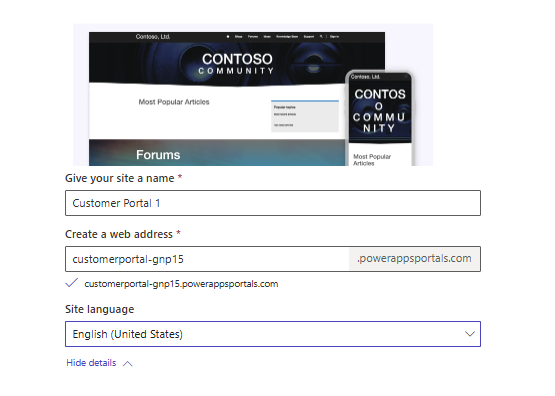
After picking your template, this all feels very familiar, I give it a name, a web address and a language.
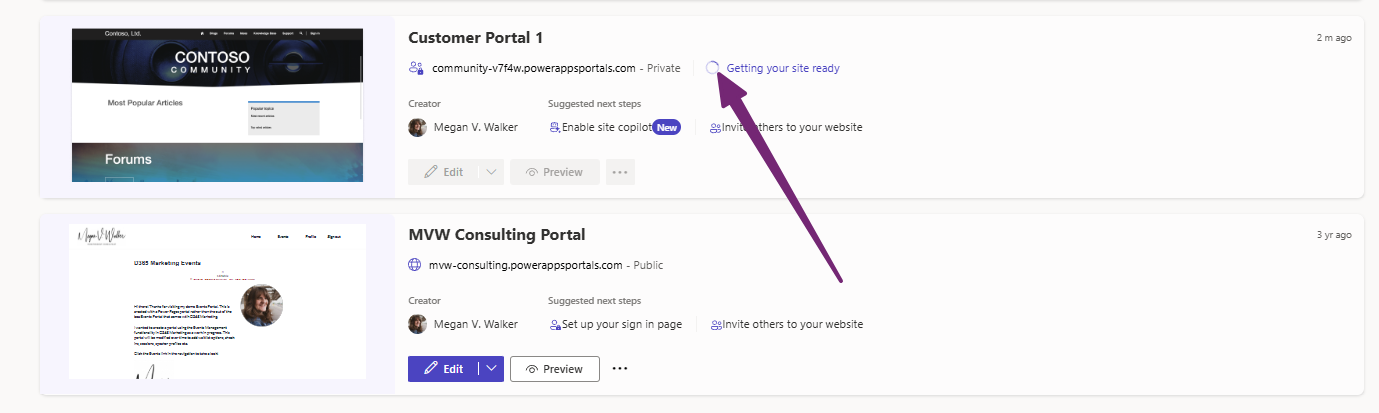
Then it shows that the site is getting ready. You can see this back at the https://make.powerpages.microsoft.com admin area.
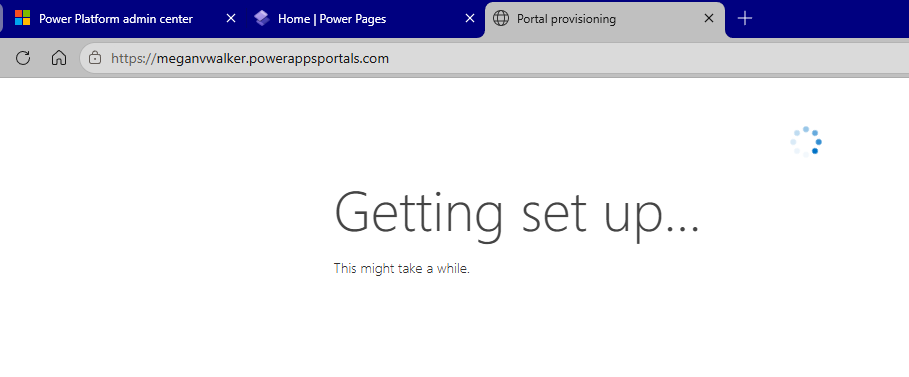
This lovely screen should be familiar to anyone who has doing this for a while, the old portal provisioning page. It once could take hours for a portal to be set up. This time it took less than 20 minutes, maybe even less because I did go off and make a cup of coffee while I waited 😁
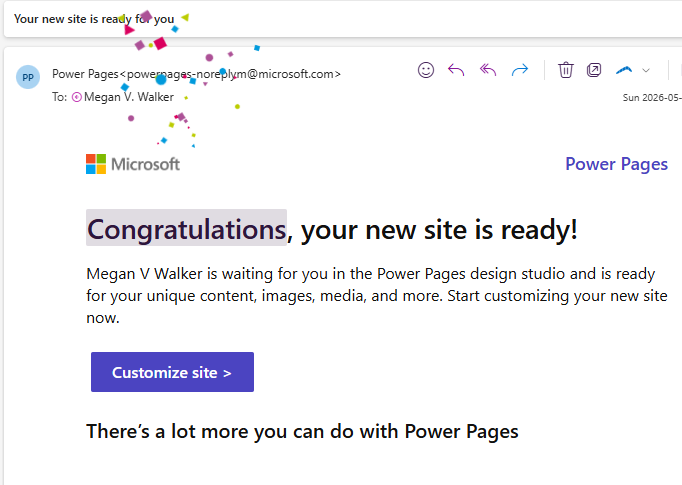
Once it’s ready you should get an email like this.
Now here is something to be aware of. There are two different data models, standard and enhanced. My assumption was that all new Power Pages sites would automatically be the enhanced (most up to date) data model. It even says that in their documentation on enhanced data models. Microsoft state that the enhanced data model for Power Pages provides the following benefits:
- Website provisioning is faster.
- Design studio experiences are faster.
- Website configurations can be contained in solutions to provide smoother application lifecycle management (ALM) experiences.
- Updates of Power Pages enhancements and bug fixes are improved
If I pick the Event Portal template, which is a newer one, it has Enhanced as the data model.
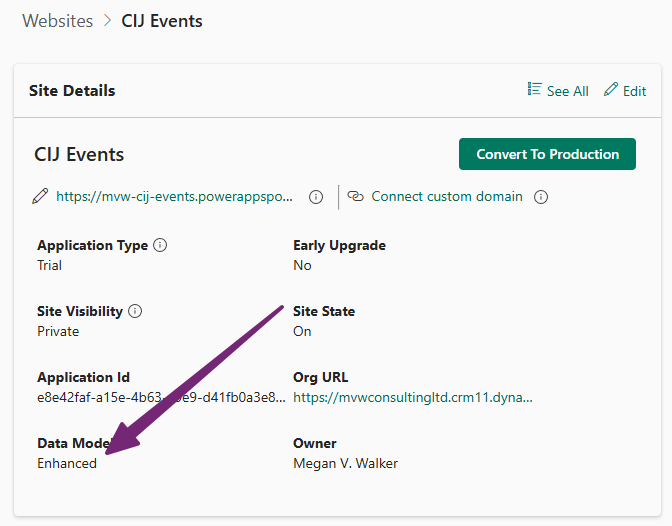
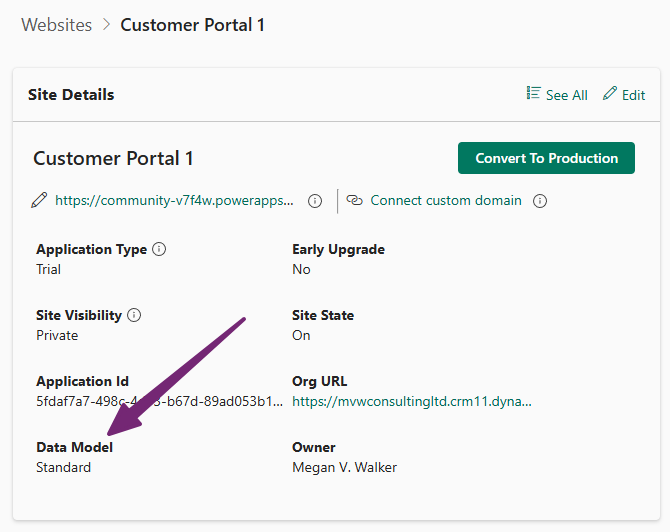
However, if I pick one of the templates that have existed for a long time, like the Customer Self Service Portal, it is still the standard data model. Reading through the documentation, this shouldn’t be the case for this template, but definitely something to pay attention to if you are expecting a better experience so pay attention!
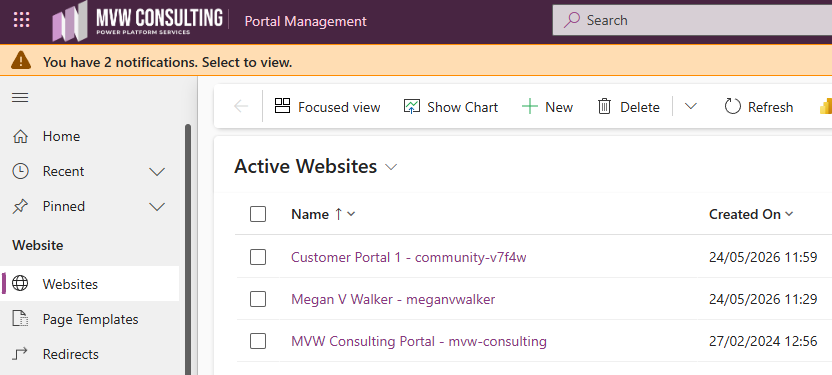
One difference between the two, if you wanted to go old school to get to all of the data, the standard data model portals are found in the Portal Management model-driven app.
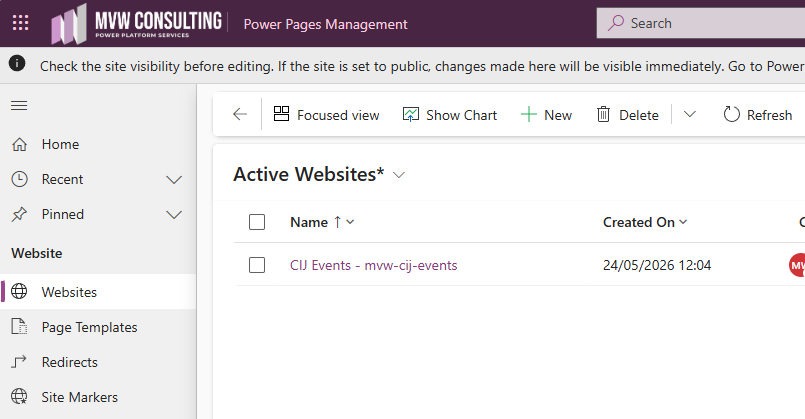
Portals using the enhanced data model can be found using the Power Pages Management model-driven app. Good to know they are in different places or you could make yourself crazy!
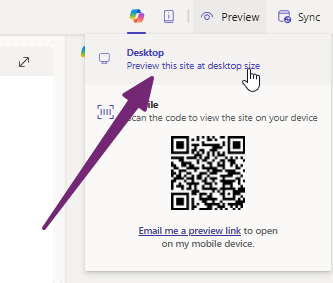
Once you get the confirmation email that the site is ready, most people want to actually see it before doing anything. What did I just install? Clicking on the customise site link from the email, you can then click Preview, then select Desktop.
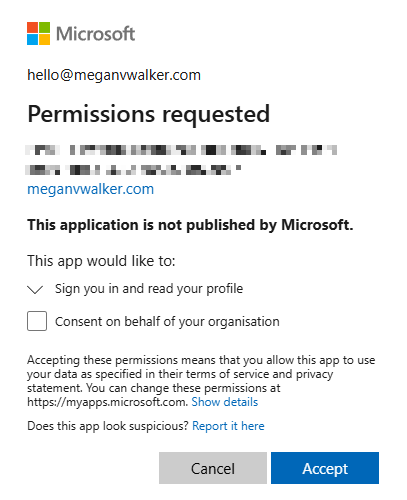
Your portal will be private initially, so the only way to see it will be to log in to get it to display. You should see a pop up like this which you can accept.
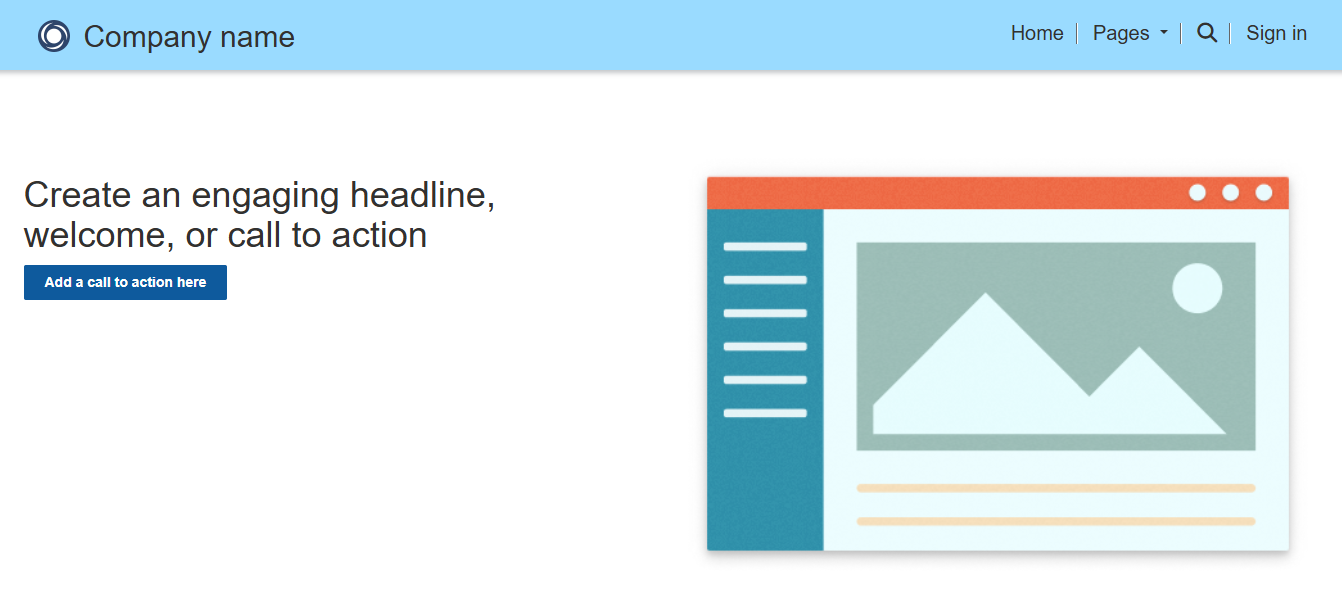
You can then see your new portal. Hooray!
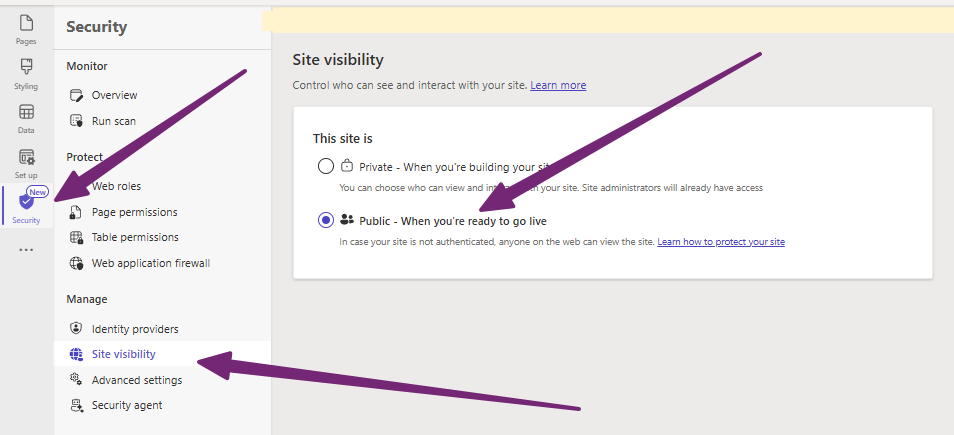
If you do want to make it live right away, which you can only do with a production site, navigate to the security area while editing the site, then site visibility, then make it public… which will indeed make it available to anyone who might have the link.
In this series, I will be covering aspects of Power Pages to learn how or if I can do some of the same things using the Power Pages editor or if it’s just faster to do it in the ‘old school’ way I’m accustomed to. Anything you want to know or wondering how you would do it using the current tools? Let me know in the comments below!




Leave a Reply