*** NOTE: ALL INFORMATION IS ACCURATE AT DATE OF PUBLISHING ***
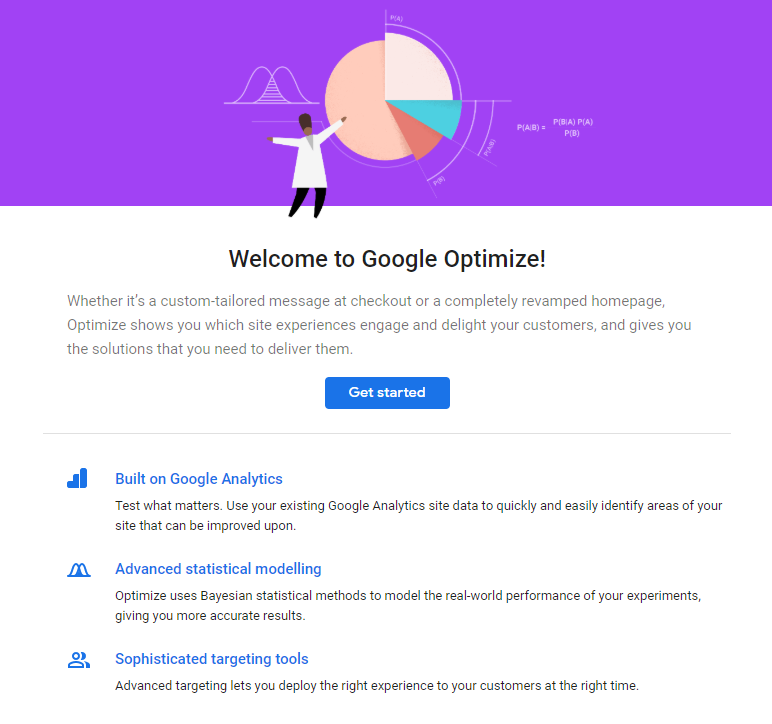
So far in this series, we have reviewed and set up many different tools that are all related to Google Analytics. We’ve used Google Tag Manager, Google Campaign URL Builder, Google Search Console and Google Data Studio. In this part of the series, we are going to jump in to Google Optimize. Optimize allows you to test variants of web pages and see how they perform against an objective that you specify. Optimize monitors the results of your experiment and tells you which variant is the leader. In this post, we will create an A/B test to display different versions of the same web page to our visitors. Let’s get started!
First, go to https://optimize.google.com. This is tied to your Google account so you should be able to get logged in, and then get started by going through the initial set up screens. Click Get Started.
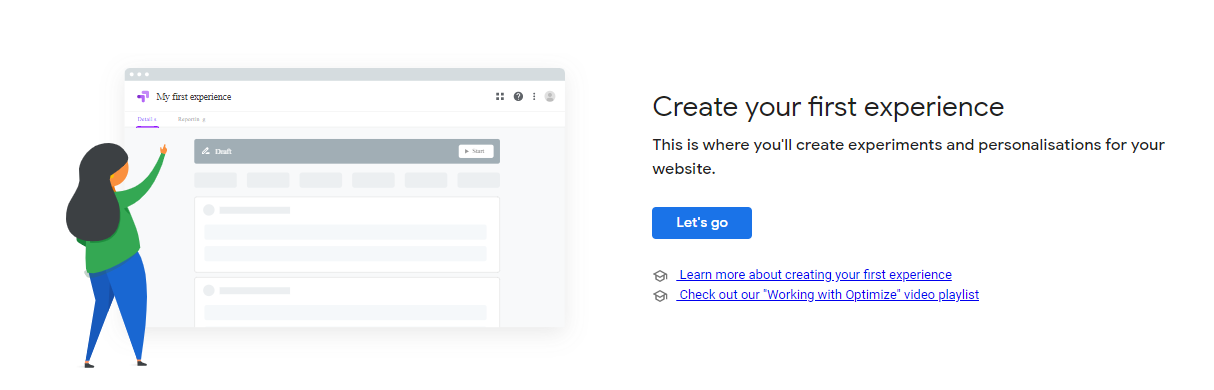
You’ll be shown a few pages for terms and conditions, and be given the option to opt in to some marketing emails, and then get to create your first experience. Click on Let’s go.
For this test, we have a web page that gets the most visitors to it, like about 25% of all site visits, so it’s a great one to set up with an A/B test to see how it performs with slight variances to it. The goal is to get people to click and end up on an online course site I have on the same subject, Microsoft Forms Pro. Give the experience a logical name, and then put in the URL that you want to use for the experience. The type of the experience is an A/B test.

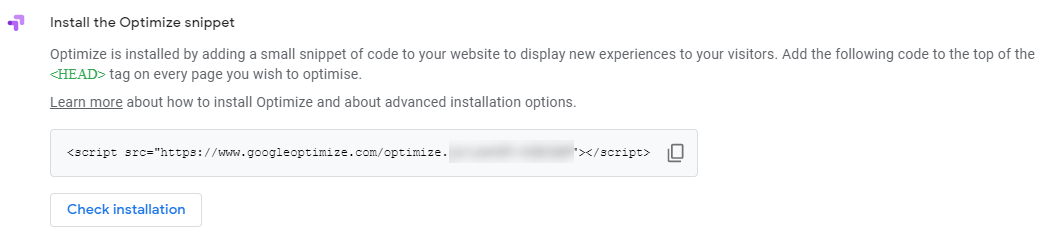
Before doing anything else, you will need to add Optimize to your website. Scroll down the page to the settings area, then click on View Instructions next to Optimize installation.

This will show you the script tag that needs to be added. You can add it in the <head> tag of your website, or, and I would suggest this instead, add it to Google Tag Manager!
You can then check the installation, but before you can text it, you will need to install the Optimize Chrome extension. This can be added to Chrome or Edge.
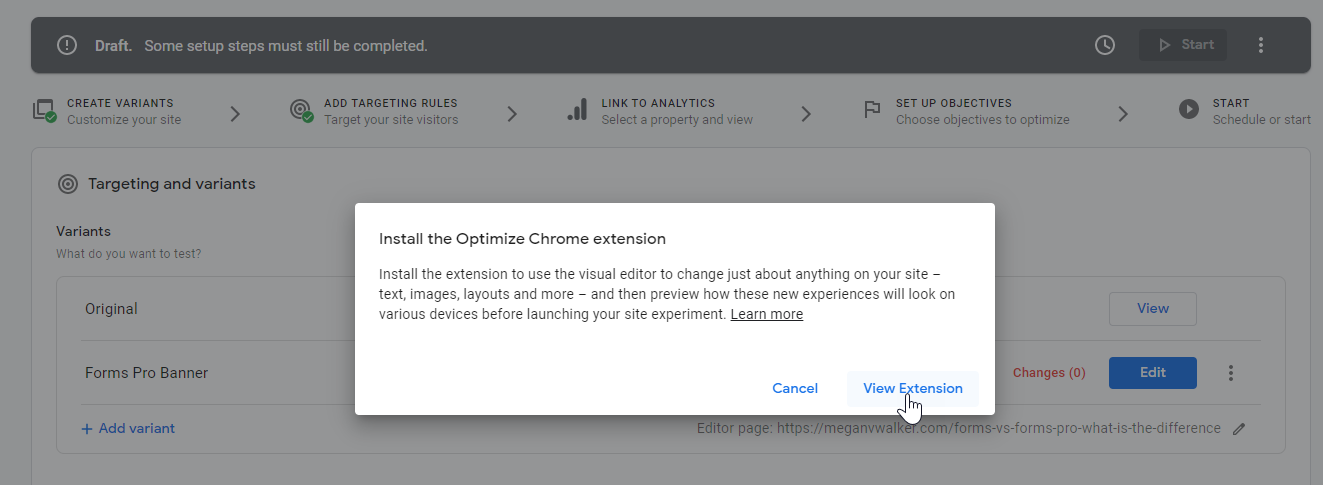
Simply add the extension, then you can go back and check the installatioin.
If you’ve added the snippet correctly, you’ll see this.

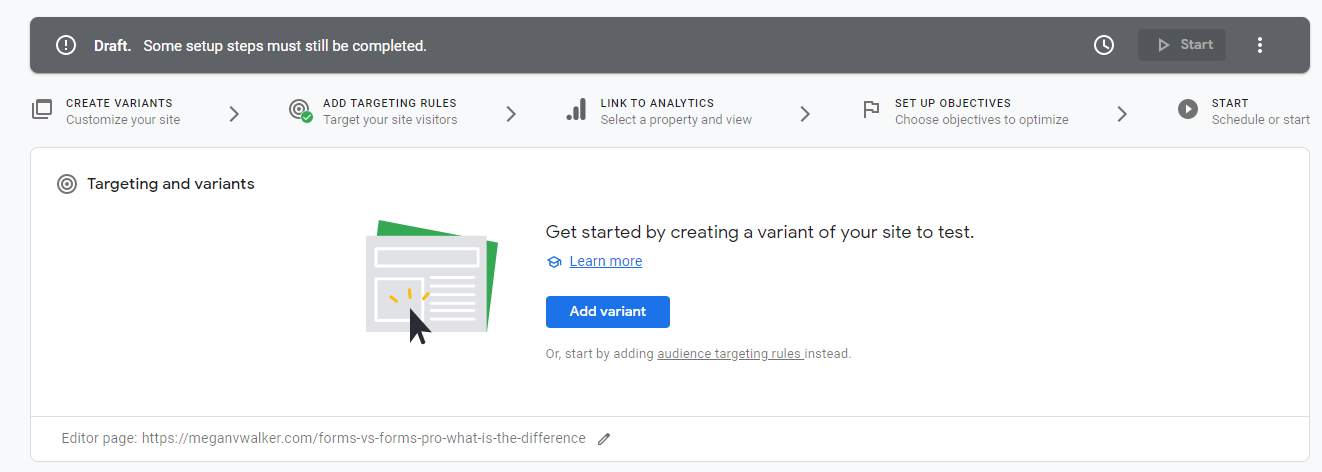
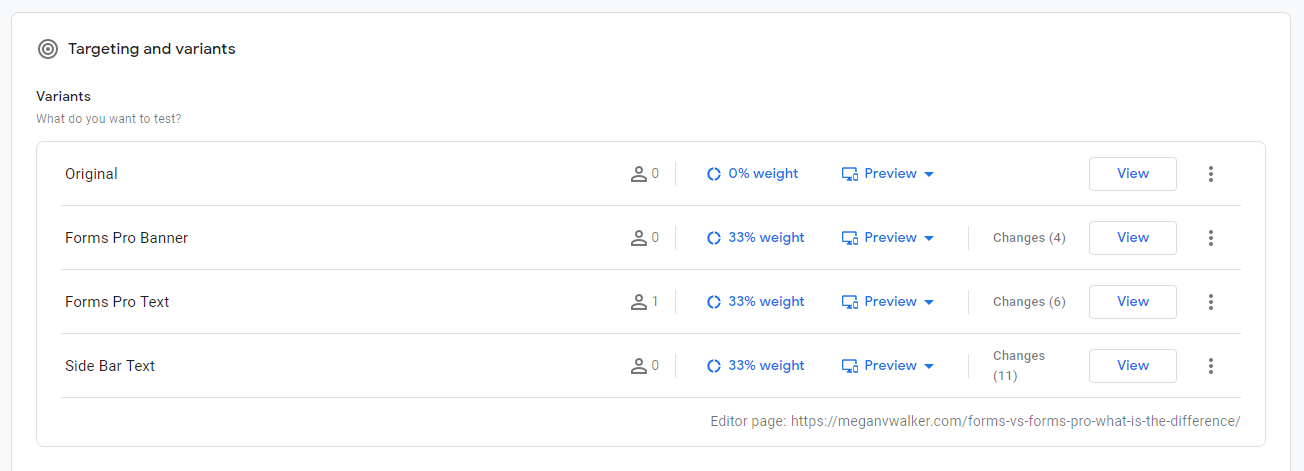
OK, now back to our experience. Click on Add variant, and give it a name. Make it something that is logical for what you want to achieve. I have three variants, Forms Pro Banner, Forms Pro Text and Side Bar Text.
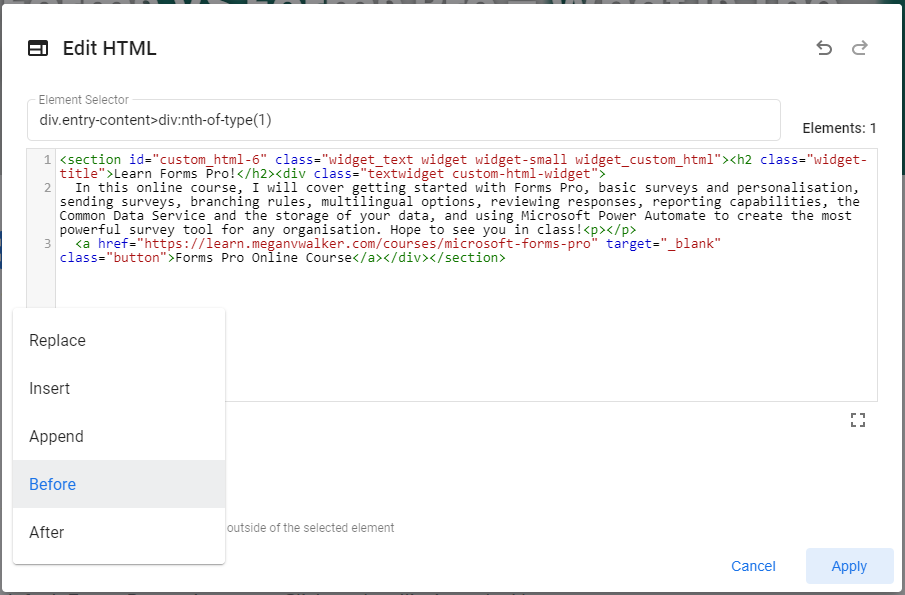
Once you have added your variants, click Edit next to the first one. This will open up the Optimize editing tool, displaying your webpage but with an overlay, giving you the ability to adjust the style and experience of the page. Click on an element on your page, then click Edit element. From here, I can choose to adjust the HTML.
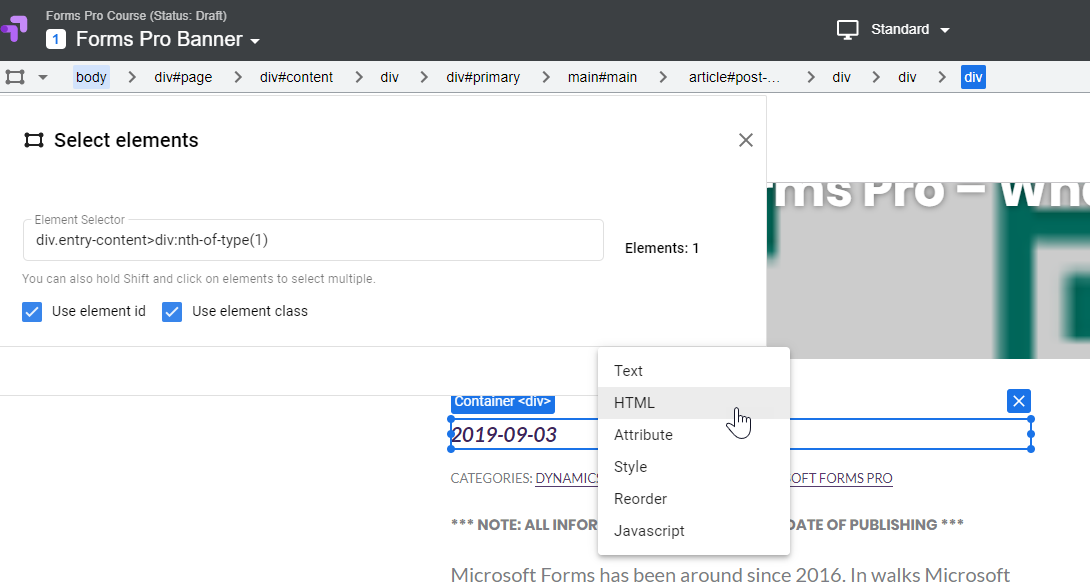
I can now add in some HTML that will determine what gets displayed for this specific variant. Go through all of the variants and adjust them as needed.
Once all of the variants have been edited, you can click on the weight for one of them, and adjust the weight percentage to determine how often that variant is displayed to site visitors.
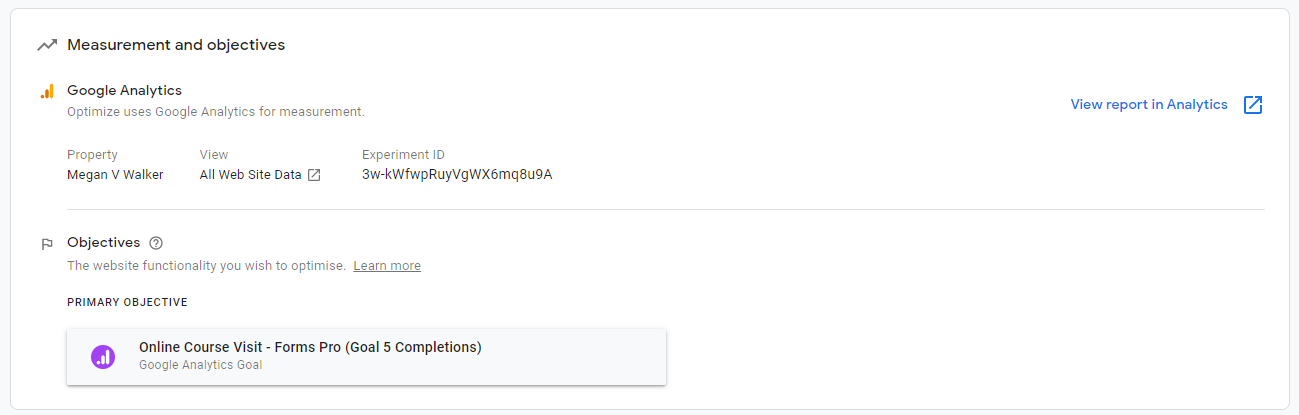
You can also set an objective for the experience to determine what it is you are trying to achieve. For this, I want to get more people to my online course landing page, so have created a specific event using Google Tag Manager, that I can then review in Google Analytics.
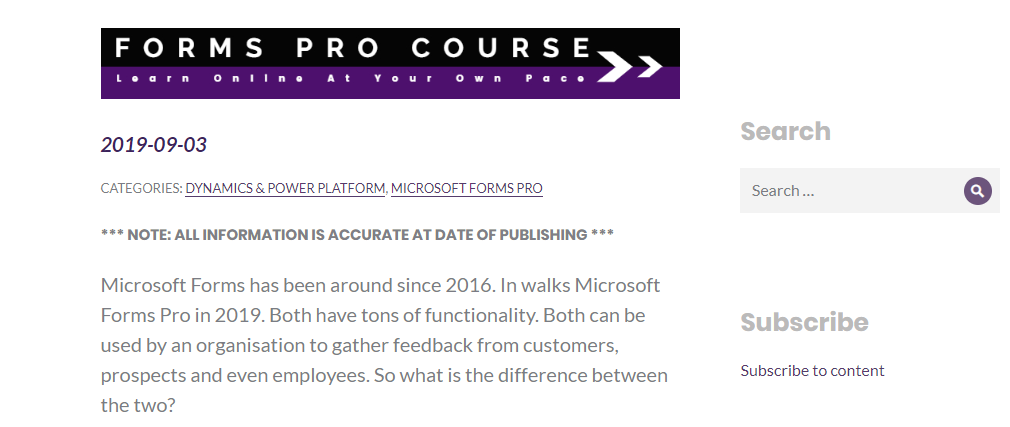
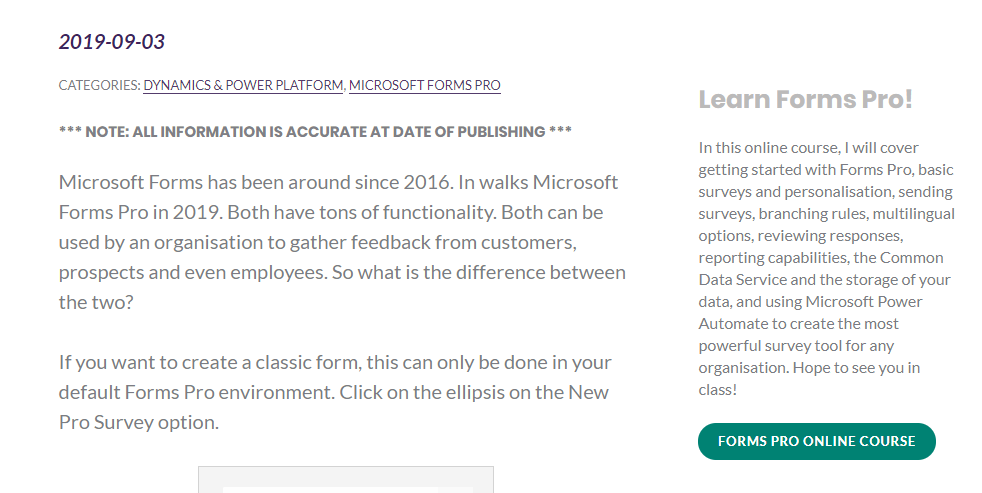
Here are the three versions of the page that now exist for the different variants. So each visitor can get a slightly different version or experience for that specific web page we optimized.
Forms Pro Banner
Forms Pro Text

Side Bar Text
In Part 27 we will review the reporting and analytics found in Google Optimize, and also pushed through to Google Analytics.
Want to just watch how to do this? Check out the video: https://youtu.be/0zU7Jjk7PF4
Check out the latest post:
Create A Segment Using Unmapped Fields On Marketing Forms in Customer Insights Journeys
This is just 1 of 601 articles. You can browse through all of them by going to the main blog page, or navigate through different categories to find more content you are interested in. You can also subscribe and get new blog posts emailed to you directly.