*** NOTE: ALL INFORMATION IS ACCURATE AT DATE OF PUBLISHING ***
There are a ton of ways to filter the data being displayed on the dashboard in Microsoft Clarity. You’ve got the same set of filters also used to narrow or broaden the data viewed for recordings. Heatmaps can also be filtered, although don’t have all the same filters available as the dashboard and recordings. In this post, we’ll walk through the different filter options available in Microsoft Clarity.
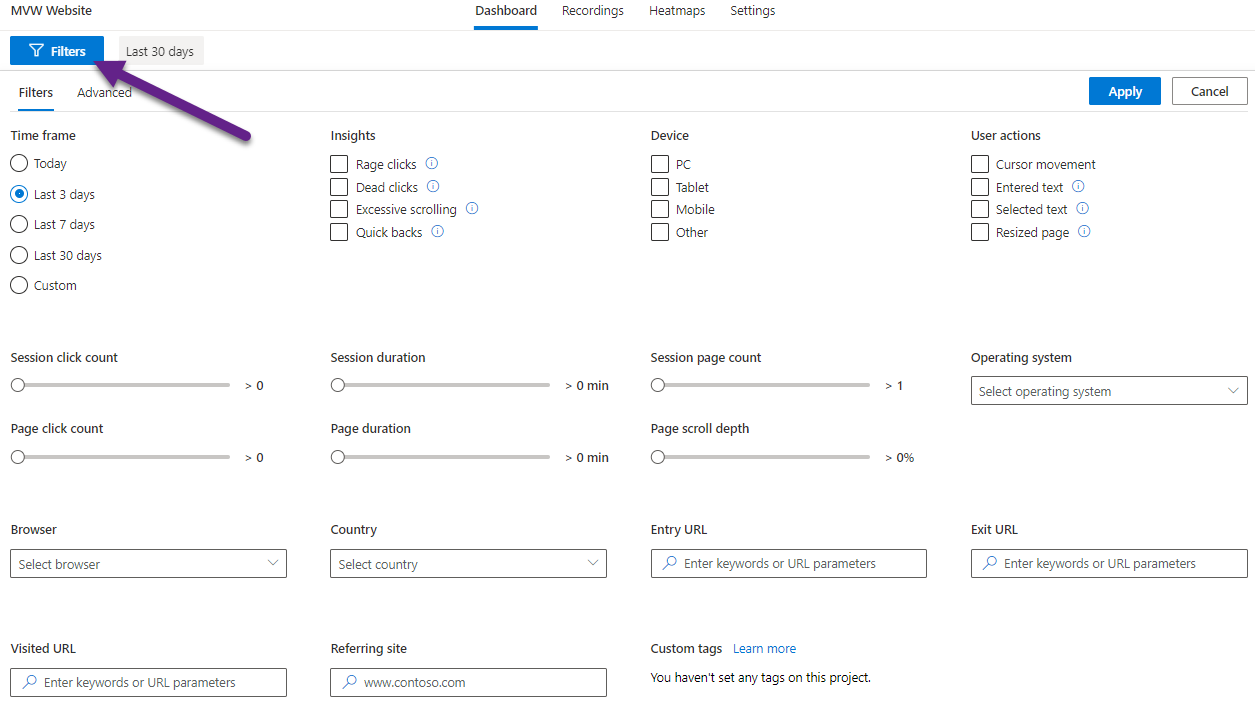
By default, filters are applied automatically when you click on the widgets from the dashboard. So by clicking on a page from the Popular pages dashboard widget, that URL would be passed through as the visited URL filter. By default, you would be looking at the Last 3 days of data. Simple right? What if you are interested in something a bit more specific? Clicking on the blue Filters button from the top will bring down a plethora of options for you (yes, I said plethora 😉 ).
Timeframe Filters
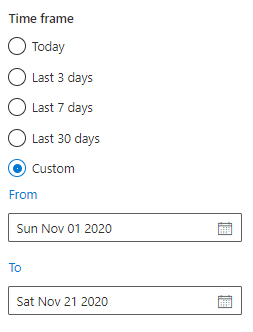
The time frame filter has several options for set periods of time. You can see for today, last 3 days (default), last 7 days and last 30 days. Then you have a custom time frame where you can set the start and end date for the data to review.
Insight Filters
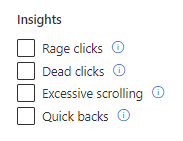
Next, you have filters for 4 different insights (explained in this post on the dashboard). Selecting any on of these for boxes will make sure you only view recordings or dashboard data where any of these kinds of interactions occurred.
Device Filters – (not Heatmaps)
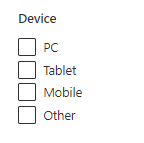
We can filter by the type of device someone was using when they visited the website. PC, Tablet and Mobile are pretty obvious, but Other will include visits made if someone was viewing from a TV or other smart device (Occulus Quest anyone?)
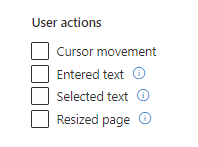
User Action Filters – (not Heatmaps)
These filters are really interesting, as they show data where more than just clicks occurred. So did the user move their mouse around or swipe on their device while viewing a page? Did they type or paste text somewhere? This is great to know if you have search box on your site. Did they select any text on the page? Perhaps they wanted to share some of the text with someone else? Finally, did they resize the page, meaning they changed the size of their browser, or if on a mobile device they rotated it and it changed from landscape to portrait or back again. Selecting any on of these will filter and show data that includes these actions.
Session & Page Filters (limited with Heatmaps)
Sessions cover the full amount of time a visitor was on your site, while pages cover the individual page views that occurred within a session. The Session filters are not available for Heatmaps.
- Session click count – the number of clicks (greater than) within an entire session
- Page click count – the number of clicks (greater than) on an individual page
- Session duration – the amount of time (greater than) spent within an entire session
- Page duration – the amount of time (greater than) spent on an individual page
- Session page count – the number of pages (greater than) viewed within an entire session
- Page scroll depth – the percentage of a page (greater than) that was scrolled down
All of these are helpful to see how engaged a visitor was by how many pages they viewed, and how long they stayed on pages or within the entire session. The page scroll depth and number of clicks also help to show how valuable your content is to your visitors.

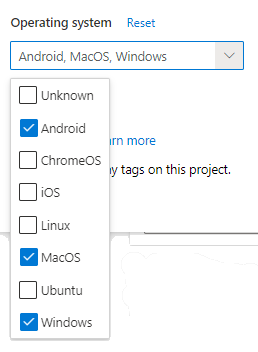
Operating System Filter
This is helpful if you want to view recordings or widgets on the dashboard showing data based on a specific operating system. Perhaps you’ve noticed issues on mobile devices, then want to narrow that down further to just look at Android or iOS. You can do that using the operating system filter.
Browser Filter
Using the browser filter can be useful if you’ve noticed a difference in the number of pages or length of sessions, and want to drill down further to see if it could be related to how your website renders in specific browsers. It gives you a good way to understand how it’s performing for your visitors in each one.

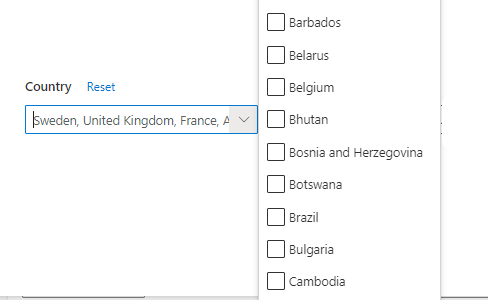
Country Filter
This one is fairly simple… filter based on the country your website visitors are based. Visitors might be more interested in a specific topic depending on where they live, so this filter can be used to spot trends or issues.
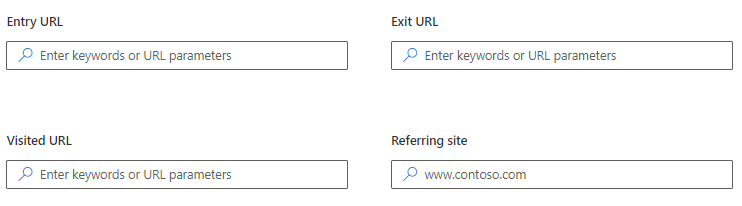
Path Filters (limited with Heatmaps)
The last set of filters are for setting a path to a specific page or set of pages. For any of these, you can type in either the full URL, partial URL or a keyword. For example, if I wanted to see any traffic had come through to my site from anywhere with podcast in the URL (such as theUPpodcast.com 😉 ) I could just use the word podcast in the referring site filter. Same with the entry (the first page someone landed on) or exit (the last page before a visitors session ended) URL, or visited URL (one that was visited anywhere within a session). Only the Referring site filter is available for Heatmaps.
That’s a pretty comprehensive list of filters right there! And that’s just part of it! In an upcoming post, we will look at the filters for heatmaps, and then on to advanced filters. Really enjoying digging in to Microsoft Clarity. What do you think? Have you added it to your website?
You can watch a video on this here.
Check out the latest post:
How to Send Monthly Updates Using Dynamic Lists in Customer Insights Journeys
This is just 1 of 560 articles. You can browse through all of them by going to the main blog page, or navigate through different categories to find more content you are interested in. You can also subscribe and get new blog posts emailed to you directly.