*** NOTE: ALL INFORMATION IS ACCURATE AT DATE OF PUBLISHING ***
One of the coolest things about Microsoft Clarity is also one of the things I find the creepiest, and that’s the ability to sit and watch recordings of your website visitors and see how they interact with the pages. It’s very useful and gives fantastic insight. What about the data that is being sent back? Are you seeing everything? The answer is no, but sometimes you might need to. So for that, we can mask and unmask the content we are getting. Let’s have a look at how to do this… mask on, mask off.
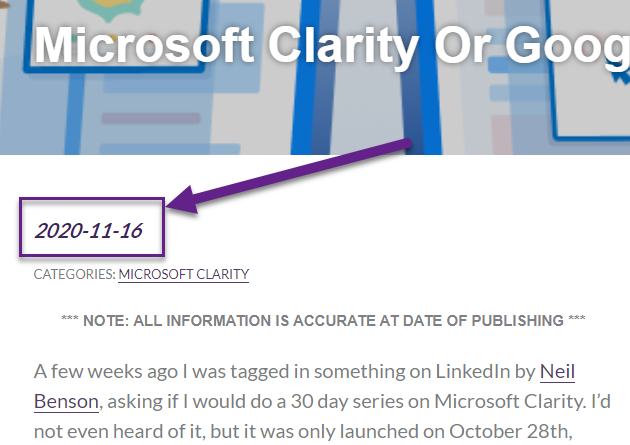
You may have already noticed some of the data in the recordings and heatmaps have dots on them rather than the actual data. That’s because by default, sensitive content is already masked before it gets sent to Clarity. I had notice this with my own website data, and sometimes in places that didn’t make sense to me. I could understand if I was asking people to put in passwords or user names to log in to something, but one thing that was masked was this item below.
You can see on my website, this is just the date of the blog post. It’s not sensitive and it actually could be helpful to see, if I want to know how old the post was that someone was viewing, and I didn’t want to have to jump back to my website to check.
This is where we can set this specific element of our website to be unmasked using a tiny bit of code. For many websites, my own included, the person who created the theme, or did any coding for it was likely to have used something called a div which breaks up, or defines different blocks or areas on your site. So I have a div for the title of the blog post, a div for the main content, and a div where the date of the post displays. This makes it easy from a styling perspective to add CSS (or the colours, fonts etc.) to that specific part of the site or web page. This is good news for me, because in order to unmask the date, I need to add an attribute to that div.
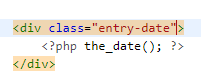
The attribute to add is simply this. Stating that this part of the website should be unmasked and passed through to Clarity.
data-clarity-unmask="True"
The new bit of code now looks like this, with data-clarity-unmask=”True” added right after the div class. Once this has been added, and new data starts being passed through to Clarity, the area unmasked will now show up. Any data prior to this will still show as masked when you review recordings or heatmaps.

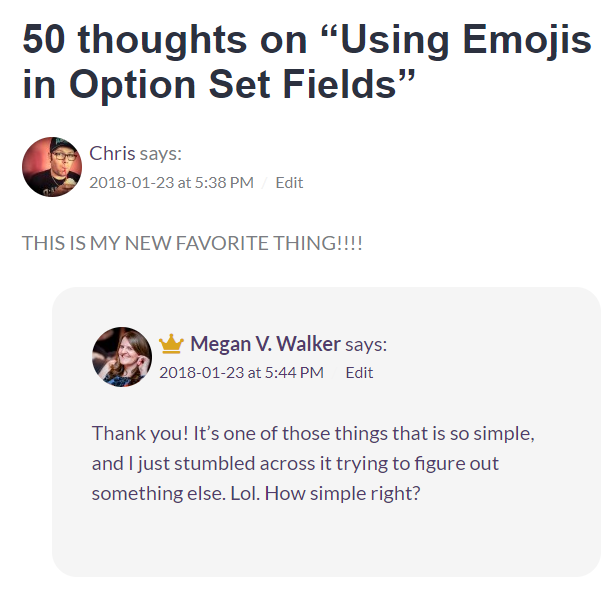
Using the unmask function is helpful when data that is useful and NOT sensitive should still be sent back to Clarity. What if you are getting data that might be deemed sensitive? One thing that is on my website is a lot of comments. Although it’s not sensitive (it’s public), if I have my Clarity project set up and shared with others on a Team, there might be stuff I don’t want those people getting back and reviewing. So in this instance just as an example, I am going to mask the image and name of the person commenting. Here it is unmasked (with the awesome Chris Huntingford from Microsoft right at the top).
This one is has a div of comment-author vcard, which covers the avatar image and the comment authors name. So this is where I want to add my code.

For this one, we need to add the following attribute:
data-clarity-mask="True"

We can see it here in the code. Just a side note, it wasn’t quite as easy to get access to the div for this one. If you use WordPress, it involves editing the comments.php and editing your functions.php file too…. so this is not for everyone, I get that 😉 Now we can see that the information about the person making each comment is masked.
You can watch a video on how to do this here.
Check out the latest post:
Use Custom Event Registration Questions To Branch Your Journeys In Customer Insights
This is just 1 of 603 articles. You can browse through all of them by going to the main blog page, or navigate through different categories to find more content you are interested in.