*** NOTE: ALL INFORMATION IS ACCURATE AT DATE OF PUBLISHING ***
This post marks the beginning of a series of articles on Microsoft Portals for Dynamics 365. I remember starting out with portals when it was still ADXStudio, it was a challenge! A lot has changed since then to make it much easier, but it can still be slightly daunting if you are doing this for the first time. Each D365 Customer Engagement online tenancy comes with a portal. However, that portal isn’t set up, so needs installing. If you just want to watch a video on how to do this, simply scroll to the bottom of this post, otherwise, to get started, navigate to admin.microsoft.com and get logged in to your Office 365 account. From there, navigate to the Admin centers section, then click on Dynamics 365.

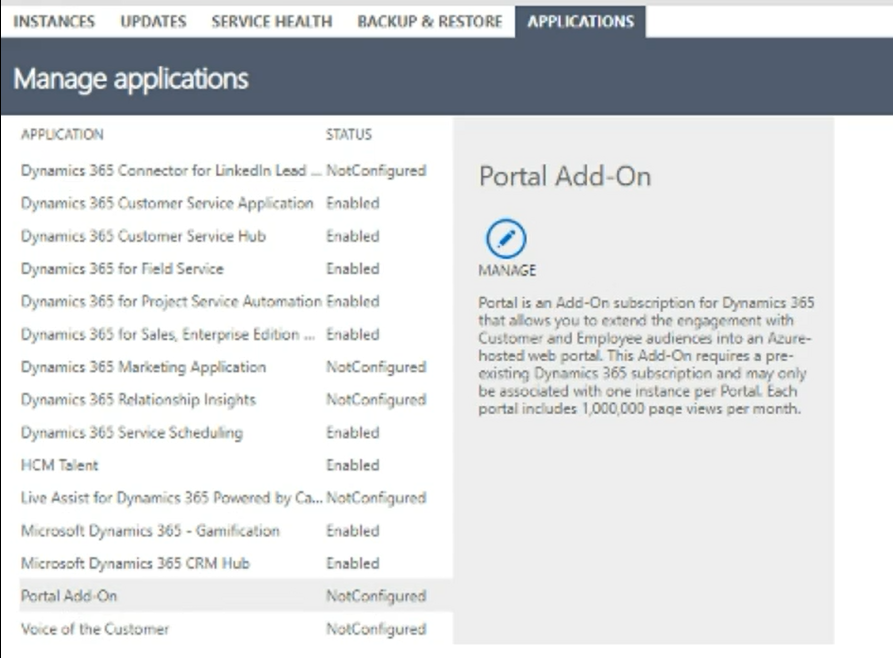
Once you are in your Dynamics 365 Administration Centre, click on the Applications tab along the top. You will see the Portal Add-On application, with the status of Not Configured. Click on the application from the list, then click the MANAGE option that shows on the right.
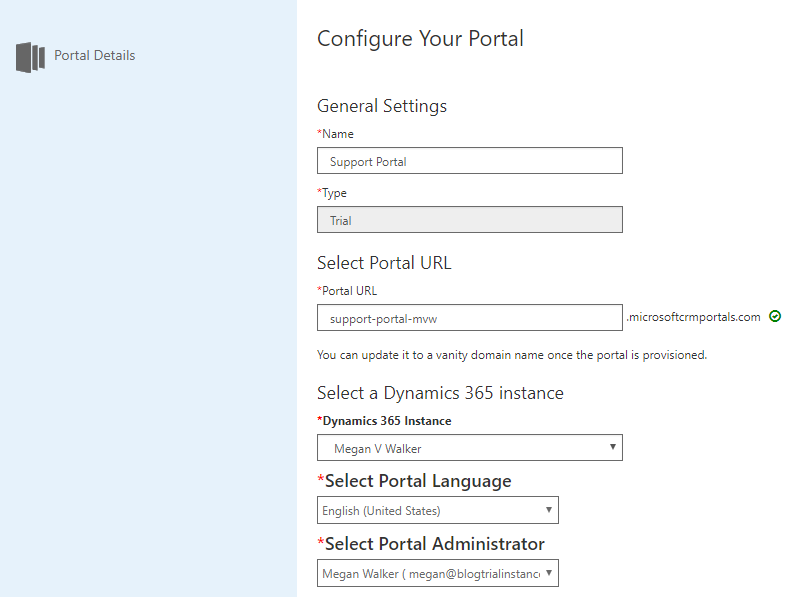
Now you can configure your portal. First thing, give it a name. This can be anything you like, and only be seen in the Applications area of the D365 Admin Centre. Your type should be Production if you are using a Production instance. The Portal URL must be unique, meaning, no one else should have used it on any other portal previously. If you add anything that has already been used, you will see a red x instead of a green tick mark. Select the instance you wish to connect the portal to (PROD, SANDBOX etc.). Select the portal language, and finally the portal administrator.
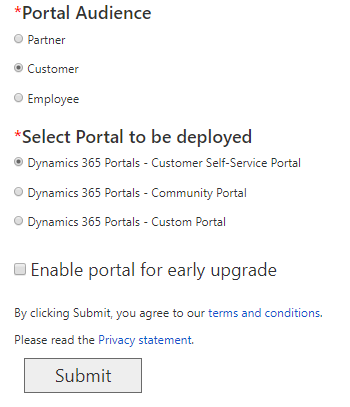
Once you have made all of the selections above, you now need to select the portal audience. Who is this for? Your customers, partners or employees? Don’t worry about this TOO much, as you can customise the portal on top of what comes in each of the standard portals that can be deployed. In this example, we will go with a Customer portal, and then select the Customer Self-Service Portal. Enabling the portal for early upgrade means Microsoft may push out portal changes as part of a new release, and push it to your portal before it’s available for others. You might think this would be a good thing…. but for a live portal, it’s best not to enable this. Finally, click Submit!
You will now see the following message. It can take a while for the portal to finish provisioning and be ready to use. Best to close out of that screen, and go make a cup of tea (or several!) and come back later.

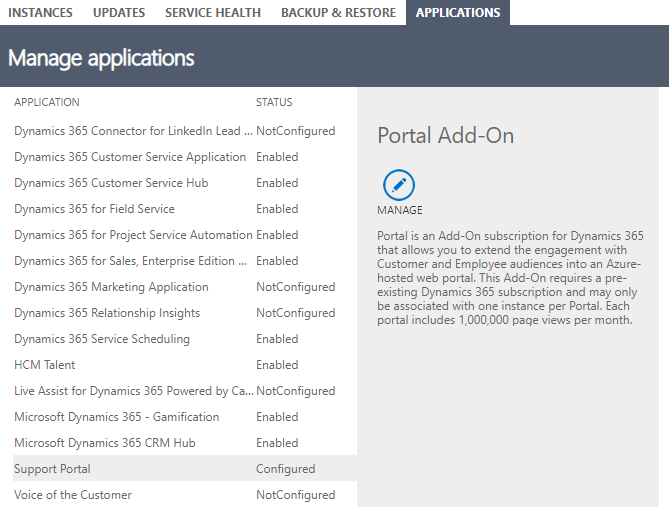
To see if the portal is finished, you can log back in to the Dynamics 365 Administration Centre, and go back to the Applications tab. You will now see the name you gave to the portal during the setup process, with the status of configured.
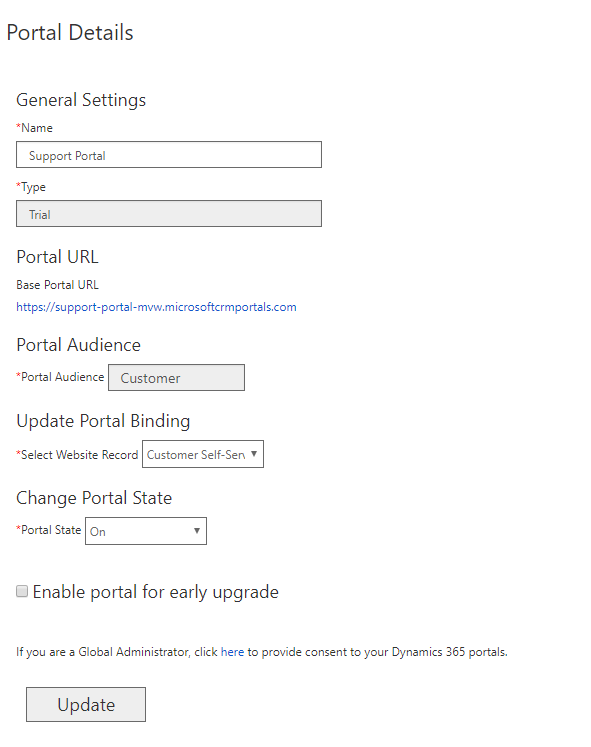
If you click on the Manage link it will take you back to the Admin portal. You can now see the details you selected during the setup, along with a hyperlink to your portal.
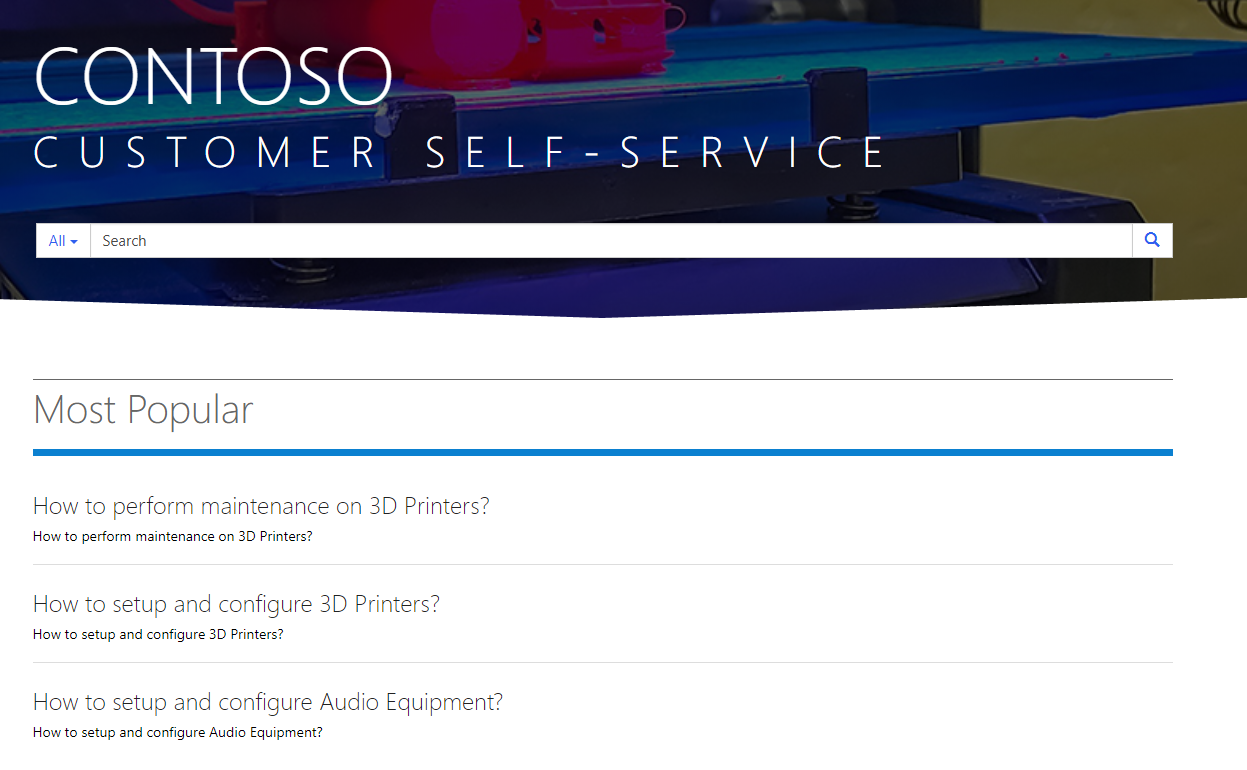
That’s it, your portal is now set up and ready for use! If you want to get logged in, you can check out my post here about how to give a user name and password to a contact record in Dynamics 365. It might help get you started!
Want to just watch how to do this? Check out the video below:
Check out the latest post:
How Can I Easily Access Event Registration Custom Questions & Answers In Realtime?
This is just 1 of 585 articles. You can browse through all of them by going to the main blog page, or navigate through different categories to find more content you are interested in. You can also subscribe and get new blog posts emailed to you directly.
What happens when you have Portals from your Customer Service deployment and decide to add D365 for Marketing? Does the portals combine on the same instance or do you ended up getting 2 portals?
Hi Daniel,
Thanks so much for your comment. I just tested this and installed the D365 for Marketing app, and also looked at the licensing. If you buy Marketing, you get a portal with that. If you have Customer Engagement, you get a portal with that. So you would end up with 2 portals that could be used. Hope that helps!
Megan