
So, you’ve installed a portal, nice work! Now you want to get logged in and start editing things. The easiest way is via the portal itself rather than from CRM. So how on earth can you do that? You could register, but you might as well set up a few fields on the Contact record and do it from CRM instead. Let’s look at setting up portal administrator access. From your contact form edit it and add the Login Enabled field and the User Name field.
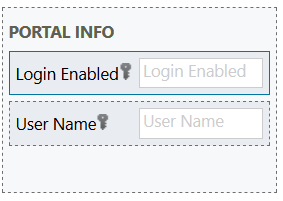
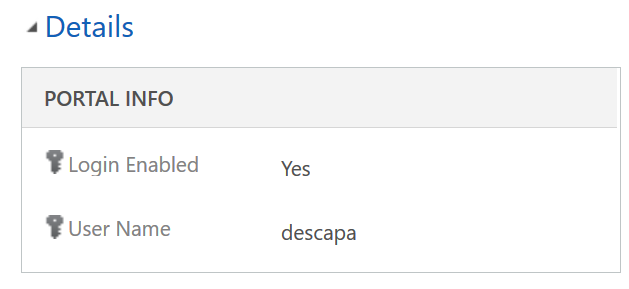
Once you’ve published the form, you can now change Login Enabled to Yes, and add in a user name.
Now you need to give yourself a password. You can simple use the Change Password workflow by clicking the button from the top of the Contact form. If you don’t see it, check the ellipsis (three dots) and find it in the menu.
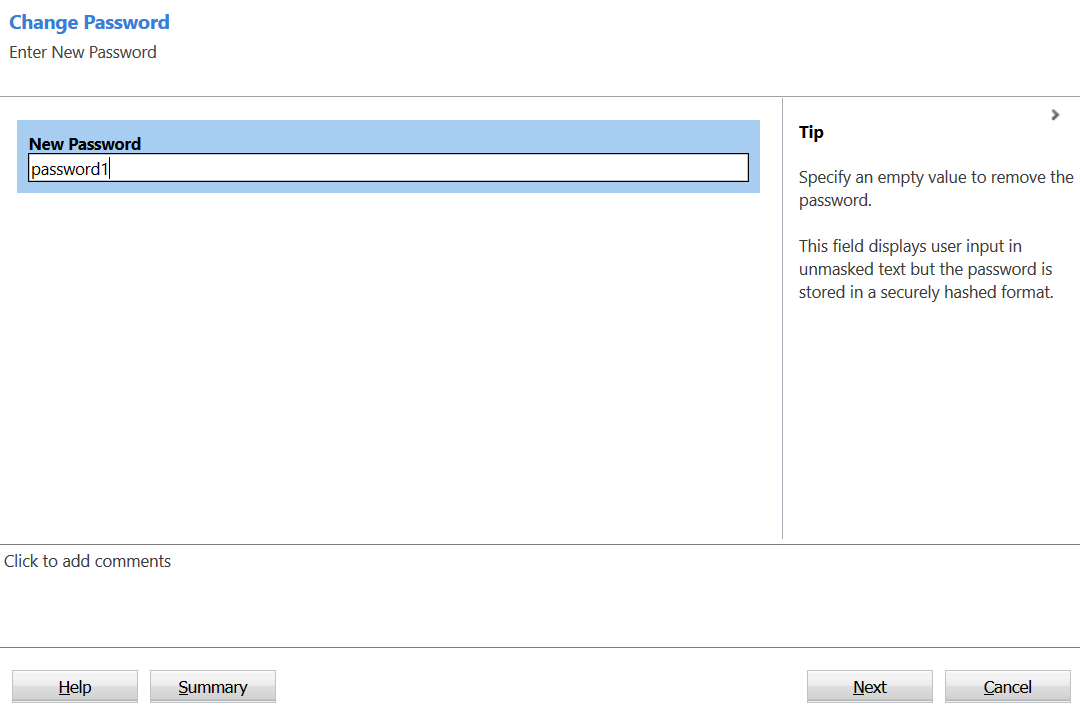
Add the password you want to use and go through the workflow.
Finally you need to assign the Contact with a web role. From the Contact menu click on the Web Roles option.
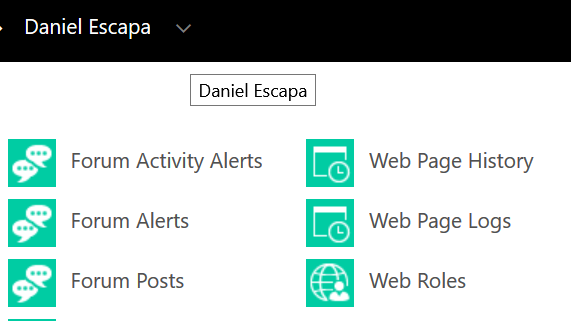
Click on Add Existing Web Role and select Administrators from the list.
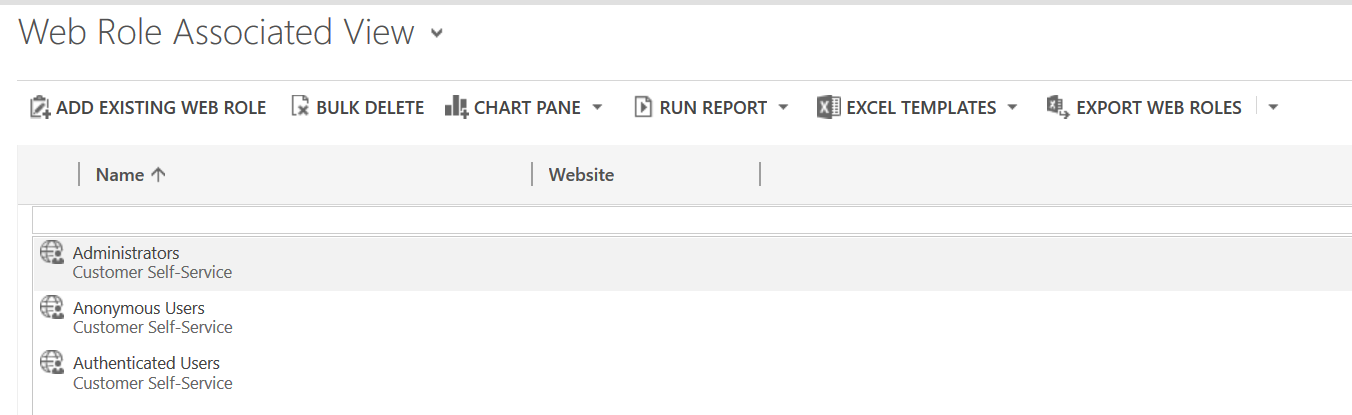
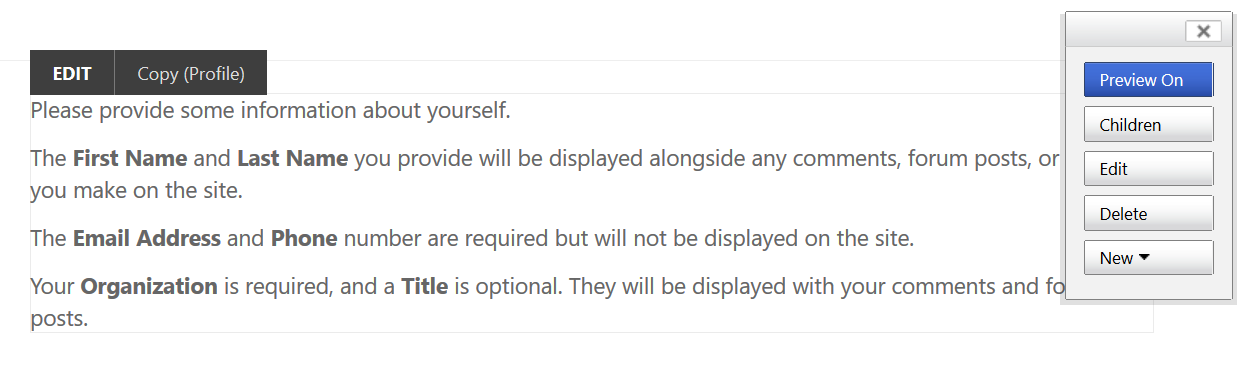
You can now log in to the portal. You should see the menu on the right hand side allowing you to add pages and files, and access existing areas of the portal. Hovering your mouse over areas of a page will provide you with an EDIT option. Clicking on Edit will then let you make changes directly via the portal. It’s a much faster and easier way to modify pages then via CRM!



2 responses
[…] it, your portal is now set up and ready for use! If you want to get logged in, you can check out my post here about how to give a user name and password to a contact record in Dynamics 365. It might help get you […]
[…] Using a Dynamics 365 Portal allows you to provide self service access to your customers. Once they are logged in, they can view their cases and any other account data you have provided. That’s great, but would about customising their experience even more? Liquid is an open-source template language integrated into portals which we can use to add dynamic content to pages. This can be done by adding it using Content Snippets, or to Web Templates. In this post, we will look at adding Liquid directly to the page copy. Although this can be done from within D365 itself, for the purpose of illustration it’s being done directly from the portal itself (make sure you have the Admin web role to do this). […]