*** NOTE: ALL INFORMATION IS ACCURATE AT DATE OF PUBLISHING ***
*NOTE* If you have an older version of the Outlook Add-In already installed, scroll to the bottom of this post for an update.
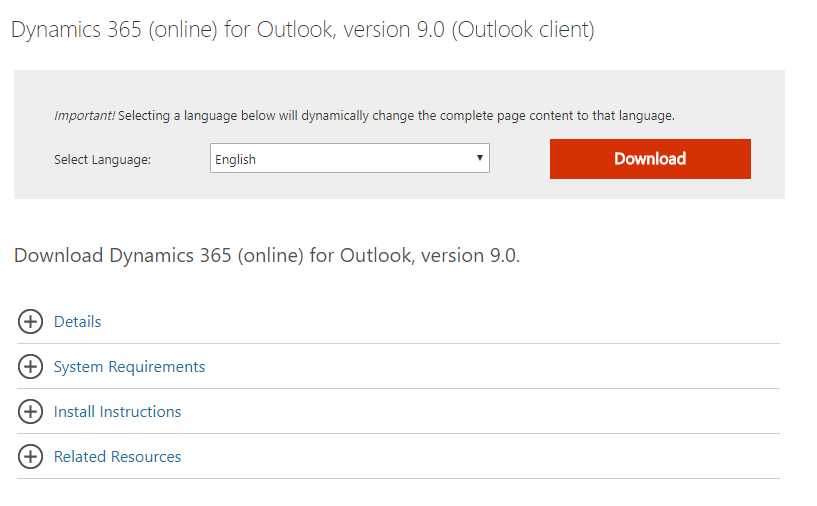
The Outlook Add-in for D365 is a pretty cool tool. It can make your life a lot easier if you work directly with clients and need your emails, appointments and tasks synced back and forth between Outlook and D365. If you have upgraded to Version 9 you might have noticed a few issues or annoyances. There is an updated version of Dynamics 365 for Outlook using Version 9.0 of D365 but it’s not immediately obvious. You need to go looking for it, and not download it from within the Apps for Dynamics 365 section within the D365 application. First, visit this site to download the client: https://www.microsoft.com/en-us/download/details.aspx?id=56972
When you get to the download page, select the language then click Download.
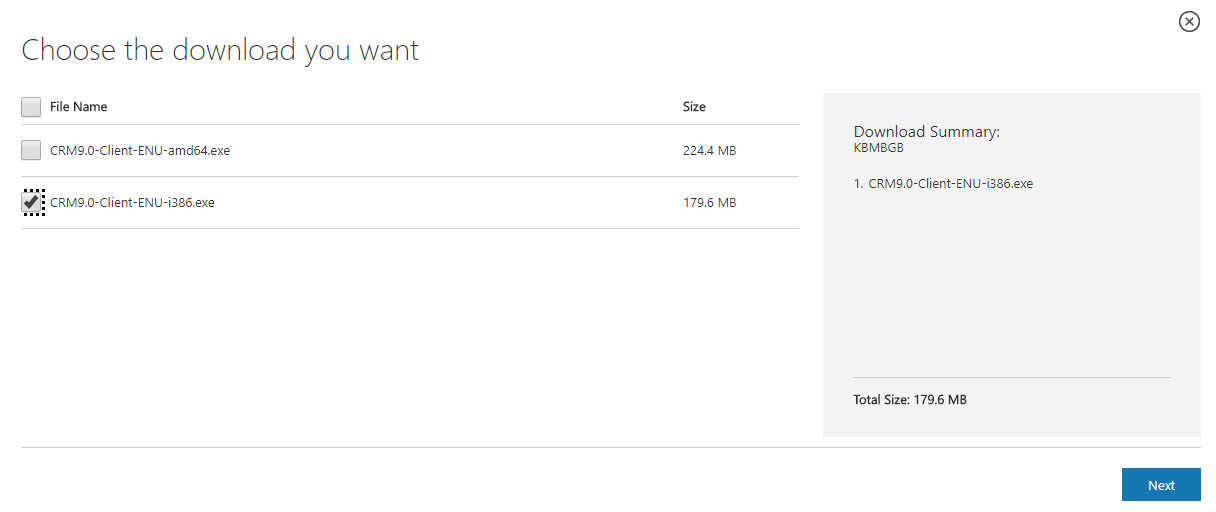
Next, pick the correct download for your specific machine. If you are not sure, check with your IT administrator.
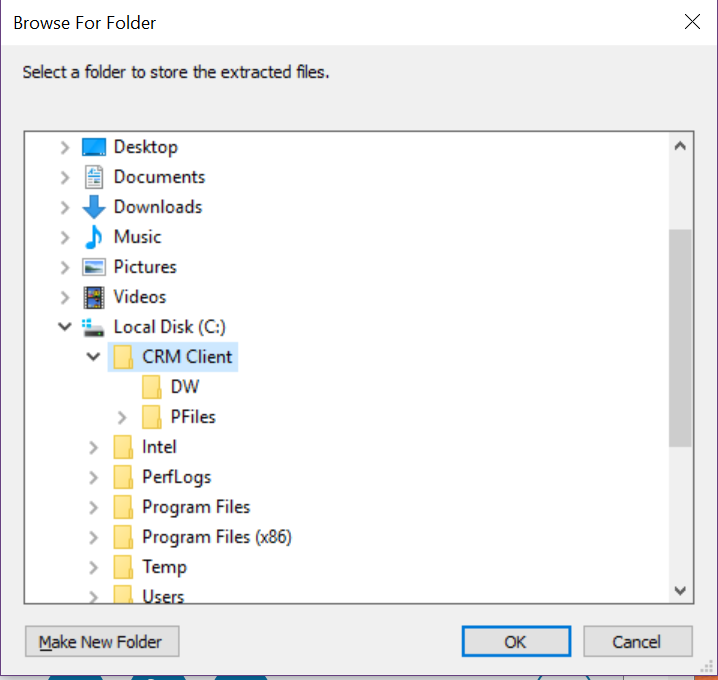
The executable file will then download to your machine. Before clicking on it to run, create a new folder on your C Drive, called CRM Client (or something similar).

Now run the executable file you downloaded, and when prompted to select the folder to store the extracted files, select the new folder you created.
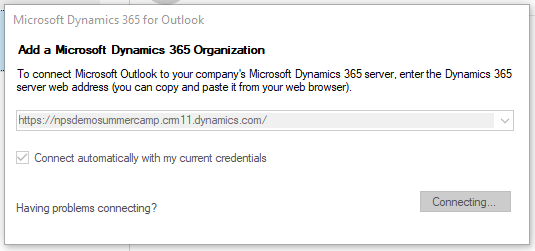
The next part can take a while to run (like hours!). I have seen the best results if you keep Outlook open and only close it once prompted. You will then need to add in the URL for your D365 instance and will be prompted to log in.
You will then see this, and again, it could be a while. Once it’s finished, that’s it!

Rather than a ton of screenshots, I thought it might be easier to see how to use the Dynamics 365 for Outlook add-in by creating a few videos. They are in an order that should make sense, and help you learn how to track emails, appointments and tasks, along with a few other tricks and tips. I hope these help!
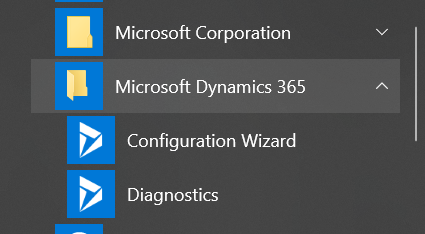
*UPDATE 21/10/2018* After a recent visit to a client, a few other items came up that might be of value to someone reading this post. If you are removing an older version of the Outlook Add-In first (from add/remove programs) it might not remove all parts of the tool. If after running the executable file you don’t get prompted to enter the CRM organisation URL, and you are now pointing to a new D365 instance, you will need to manually change this. Make sure Outlook is closed first. From the start menu either search for Configuration Wizard, or scroll to the Microsoft Dynamics 365 folder.
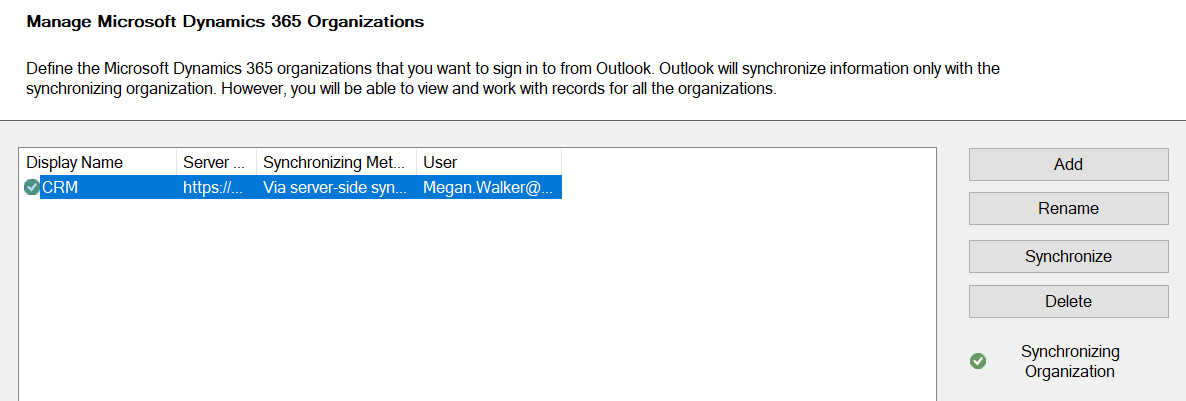
Once the Configuration Wizard is open you will see any organisations currently set up. You can delete the original one then add in the new one. Open Outlook again and it should all be set up and working for you.
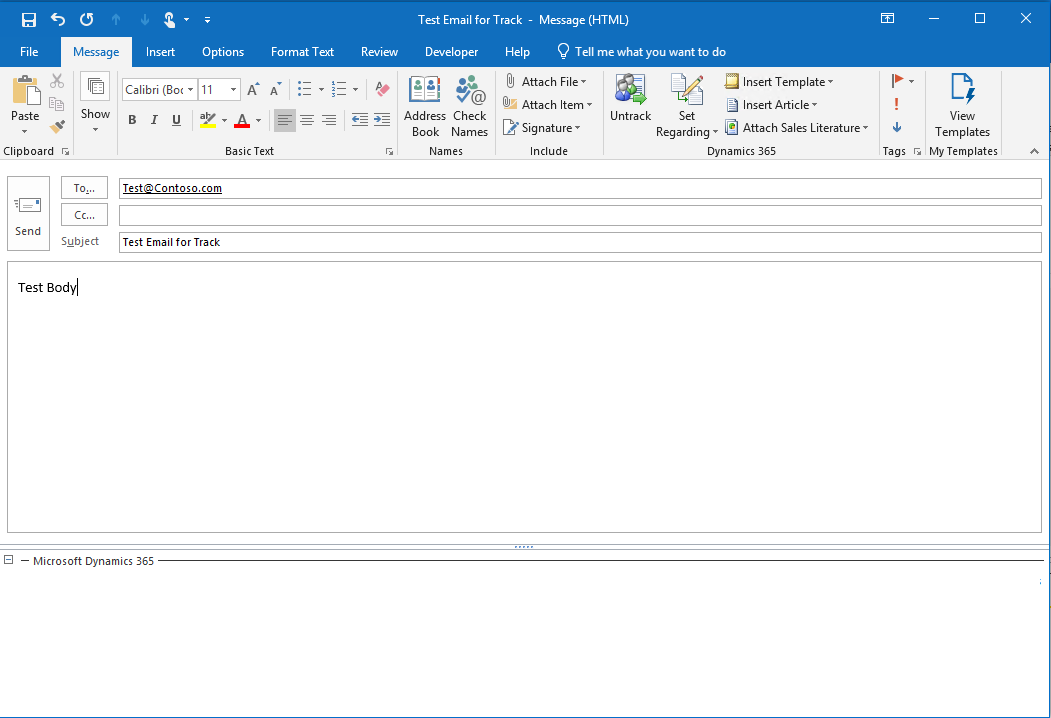
Another strange issue that I’ve seen is where once an email has been tracked, the regarding section at the bottom of the email is blank. Looking in CRM you can see that the email has been added, but you can’t tell from Outlook.
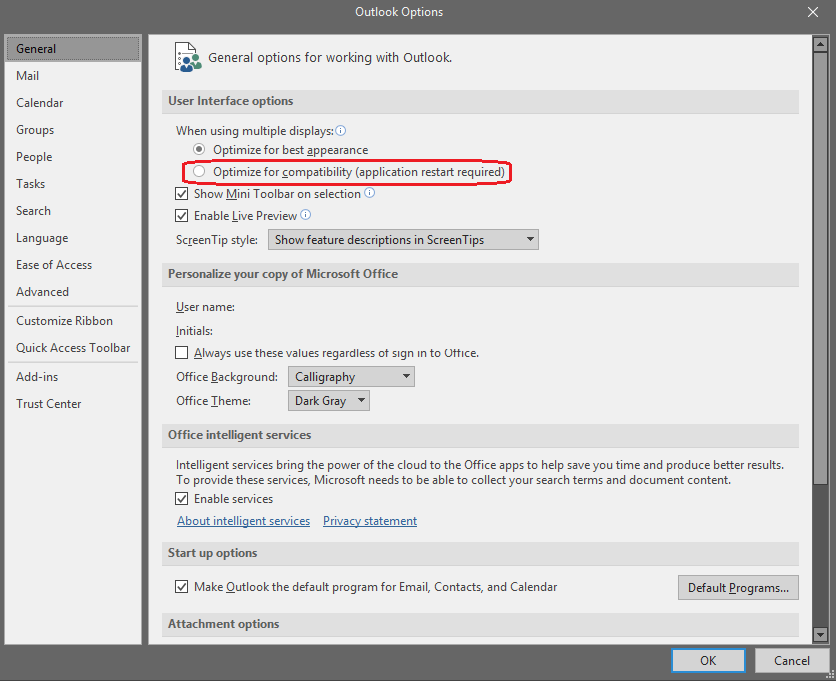
This article will walk through the resolution in more detail for you, but simply navigate to the following location within Outlook: File -> Options -> General -> User Interface Options -> When using multiple displays. Change the value of this setting to “Optimize for compatibility” (it will also notify you an application restart is required). The regarding section should then be displayed for you.
Check out the latest post:
Tips & Tricks Using The HTML Text Control In Your Custom Pages
This is just 1 of 559 articles. You can browse through all of them by going to the main blog page, or navigate through different categories to find more content you are interested in. You can also subscribe and get new blog posts emailed to you directly.

Hi Megan,
Spot on! Thank you so much for sharing this information, which resolved my issue too.
Cheers,
Gaz
Thanks so much for taking time to comment Gaz! Glad it helped. There are so many issues that can crop up with this…. can be a bit frustrating unless you stumble across the resolution somewhere.