*** NOTE: ALL INFORMATION IS ACCURATE AT DATE OF PUBLISHING ***
One of the most important things on a website is often it’s blog. Having fresh new content regularly updated on your site is something the search engines love. So if you don’t have one, it’s certainly something to consider getting started with. Once you’ve got a blog, you want people to read it, so providing them with a way to subscribe to your content is a good idea. If you are using Microsoft Dynamics CRM and also using ClickDimensions, this just got easy. You can use the RSS Feed Connector.
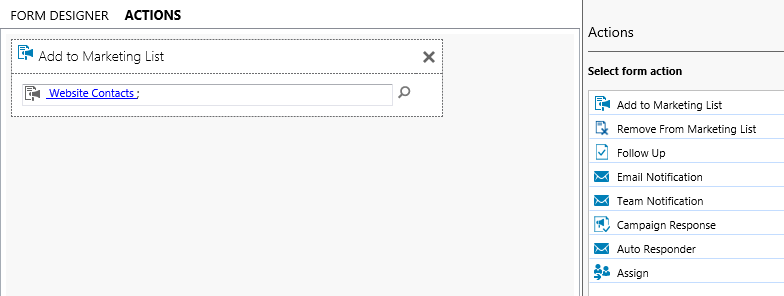
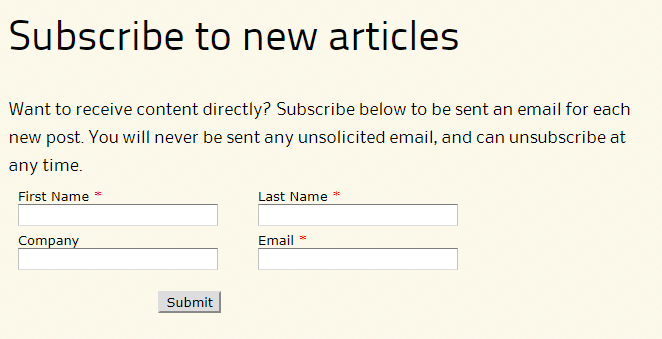
A couple of things are assumed before you get started. You already have ClickDimensions set up (including your Domain, tracking on your side), know how to create Web Forms, and know how to create Marketing Lists. First, create a static Marketing List for either Contacts or Leads (depending on your business processes and how you are using CRM). Next, create a Web Form and add in the fields you wish to capture when someone subscribes to your blog. Make it as short as possible to encourage more people to subscribe. On your web form, in the designer, click on ACTIONS. Then include the Add to Marketing List action. Pick the marketing list you just created. This way, when someone fills out the subscription form, they will be added to this list.
On the web form, click on the Embed Options. You will need to embed as iframe code a little later on to add to your website. 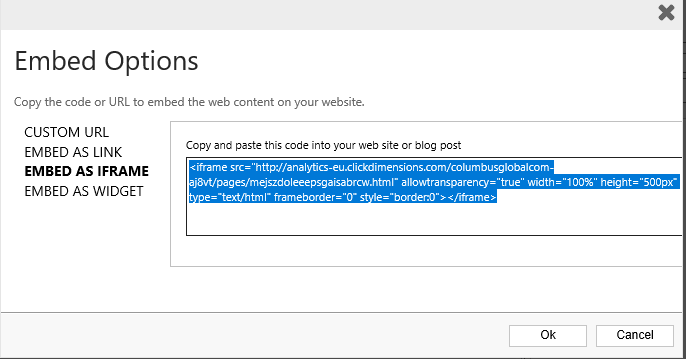
The next step is to set up the connector which is done in the ClickDimensions settings area. Click on Connectors.

Select the RSS to Email option.
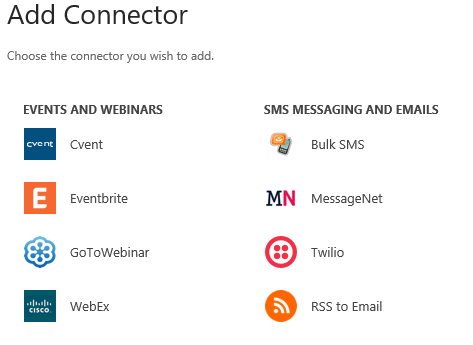
Give the connector a name (only seen within CRM). Next you will need the url for your RSS Feed. If you are not sure, check with your marketing department or web master. They should know what it is. Move on to the next screen.

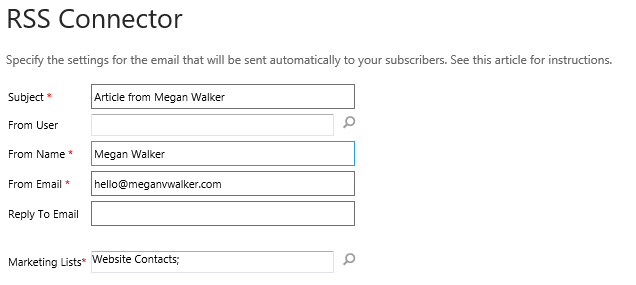
Now we add the subject for the email. Keeping in mind this will be used for each email that gets created, make it pretty generic. You can lookup a user for the From person, or type in the name and email address. You can also determine a different Reply To Email address if needed. Finally, look up the marketing list you created earlier. The emails will be sent to anyone in that marketing list, who is anyone that filled out the subscription form.
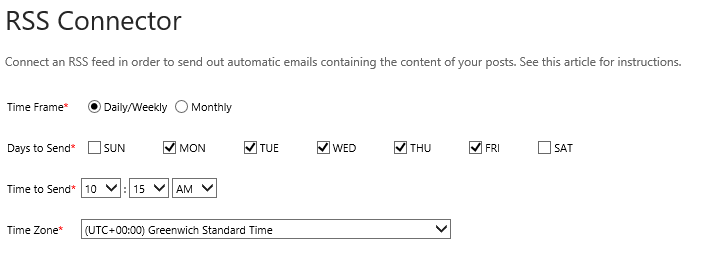
Pick the frequency of when the email should be sent. Even if you pick every day of the week at 2pm, if you only publish one blog during the week on a Wednesday at 4pm, only one email will be sent which will go out at Thursday at 2pm (the next day/time in your timeframe). If you select one day for an email to be sent, but publish three blogs in that week, one email will go and include three blogs listed in that email.
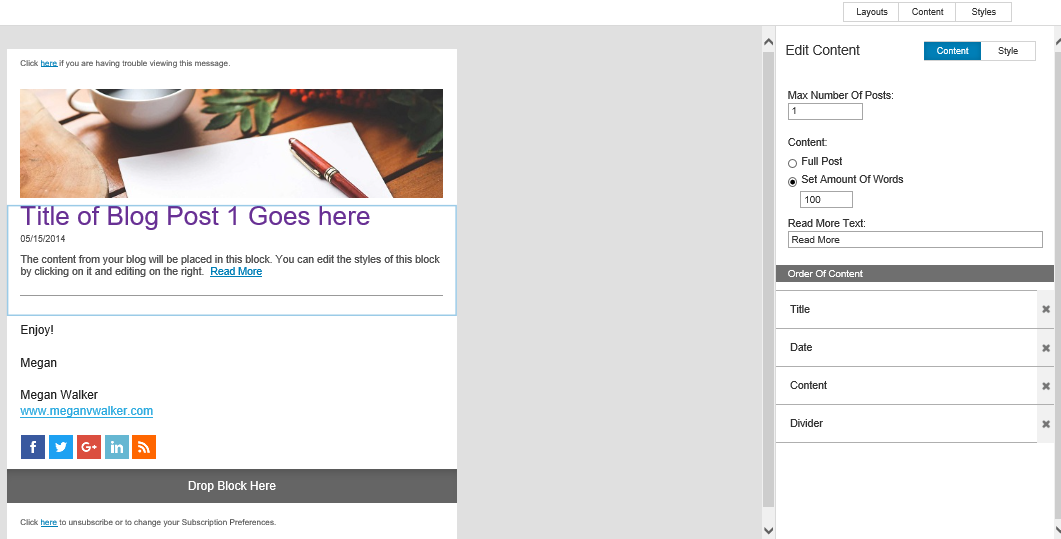
Finally we set up the template. You can start from an existing one, or start from scratch. These emails are a little different to other templates as it has a content section to set up how many posts should be included, and if the full post or just a set number of words should be included as an excerpt. Having just a section of the blog with a link to read more is a good idea, try and encourage the reader to finish reading the blog on your site, increasing your traffic and popularity of the post.
Save your template. You can then see the connector set up and ready to go.

The last step, add the form to your website by pasting the embed code from earlier. Now site back and wait for people to fill out the form to get your content.
Once the emails go out, you can then view your Email Events to see who is opening the emails and clicking on links within the emails. Keep track of how your readership is growing and what content is proving most popular!

Check out the latest post:
Assign Records To A User Or A Team From Your Custom Page
This is just 1 of 571 articles. You can browse through all of them by going to the main blog page, or navigate through different categories to find more content you are interested in. You can also subscribe and get new blog posts emailed to you directly.

Hi Megan,
Like the content; question for you — since you’re using ClickDimensions — do you know of a way to create a newsletter subscription pop-up form with ClickDimensions? Ideally, it would just be another ClickDimensions web form, but would have the functionality of a dialog popping open after a visitor has been on the blog for a few seconds.
Hi Ian,
Thanks for the compliment and taking time to make a comment. Some of it would depend on what kind of website you have. For example if it’s WordPress (or similar) to where you could use a plugin of some kind to create the pop up, and then add the form to the pop up page. If not, you would have to write (or Google and find an example) some kind of script to add to your web page. In the script you would reference a second web page. The second web page would contain the iframe code from your ClickDimensions form. I hope that helps!