*** NOTE: ALL INFORMATION IS ACCURATE AT DATE OF PUBLISHING ***
Ever wished you could move around the top navigation in CRM? Sometimes the default order and options doesn’t necessarily make sense for the end users. In Dynamics 365 CRM this can be done easily and in a supported fashion by editing the Sitemaps.
Go to the main solution, then click on Client Extensions under the Components menu. Here you will see all of the apps in your environment. The extension called ‘Site Map’ is the main one. Double click on the extension you wish to edit.

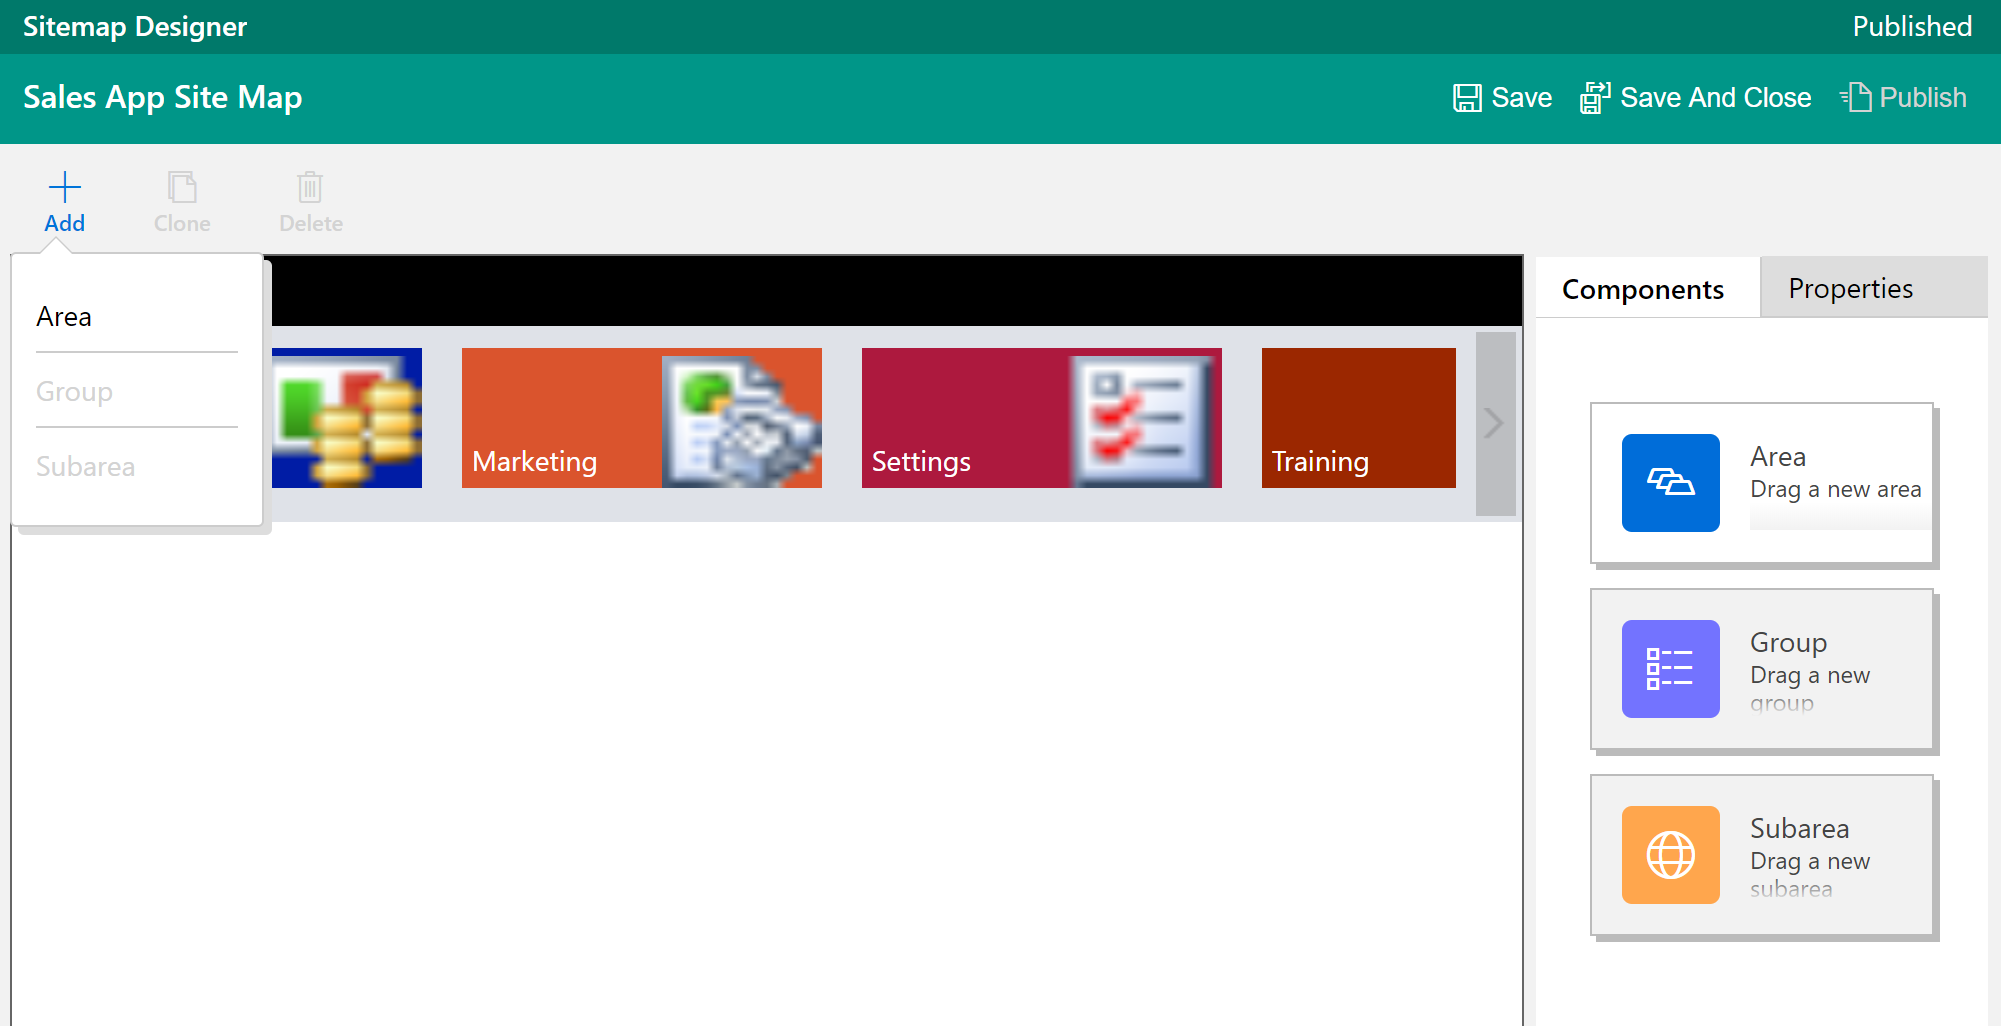
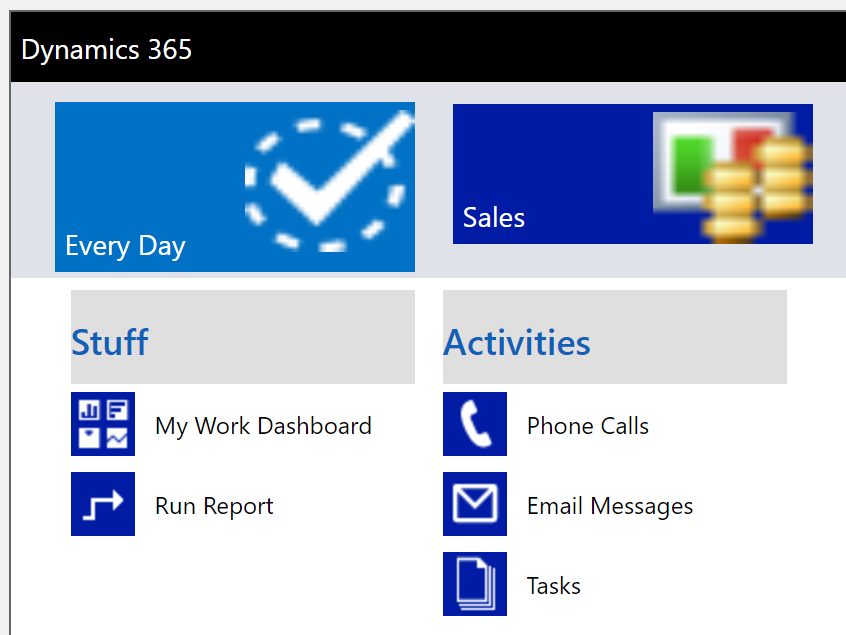
The Sitemap Designer will open. Here you will see all of the areas that currently exist in the app. Clicking on the Add button allows you to add a new Area.
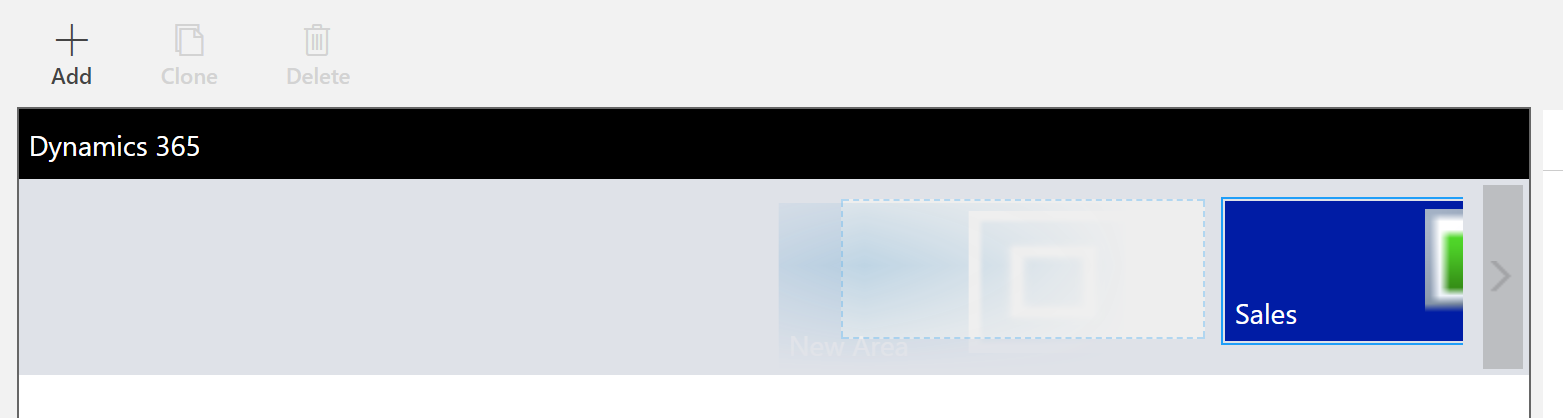
Once you’ve added the new area, simply click and drag it to the place you want it.
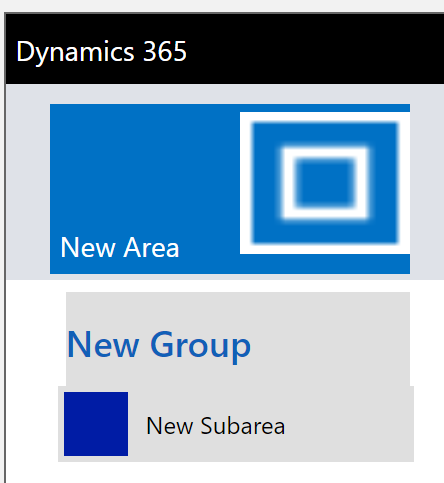
After adding the new Area, you can add groups, then sub areas to the groups.
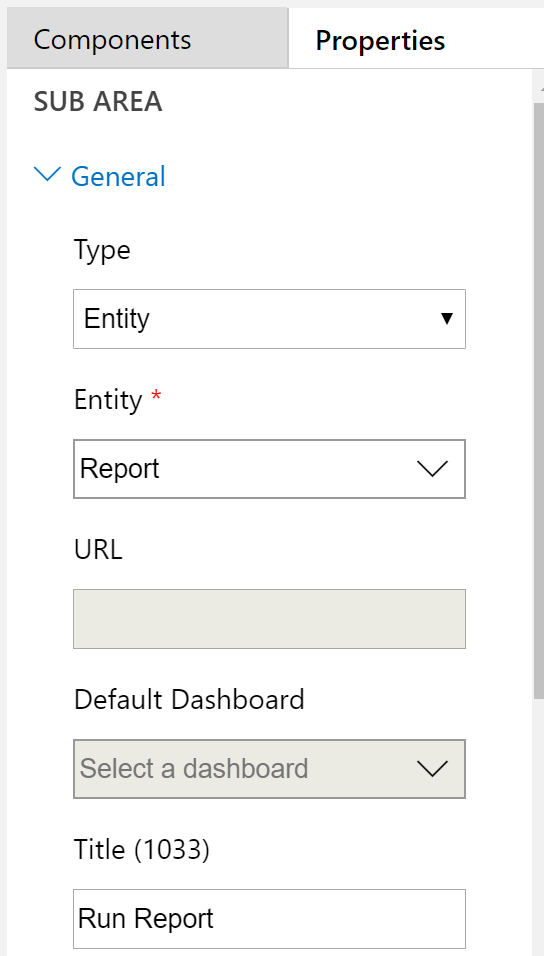
The various items can be modified to use specific names and icons. Use the Properties tab for the component is used to make your changes.
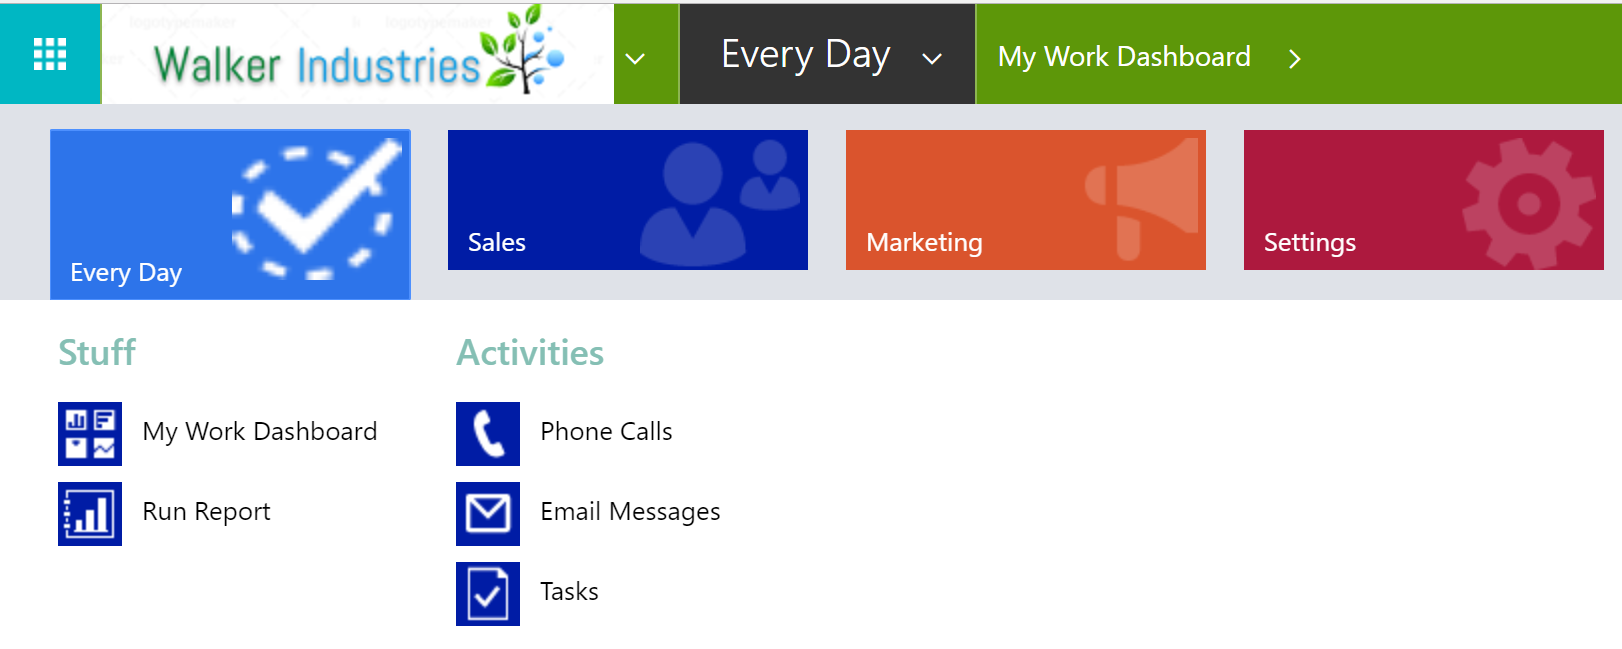
Not only can you add completely new sections, you can make changes to the areas that already existed, moving things around and removing if needed.
Once you’ve finished all of your changes, save the sitemap and then publish it. You can now see the changes in CRM. Quick and easy, and a great way to streamline the users experience.
Check out the latest post:
Create A Segment Using Unmapped Fields On Marketing Forms in Customer Insights Journeys
This is just 1 of 601 articles. You can browse through all of them by going to the main blog page, or navigate through different categories to find more content you are interested in. You can also subscribe and get new blog posts emailed to you directly.