*** NOTE: ALL INFORMATION IS ACCURATE AT DATE OF PUBLISHING ***
We can mask and unmask content in Microsoft Clarity. This gives us the ability to determine what text or values from our site is captured in a recording or heatmap and can be viewed within Clarity. The method I wrote about previously uses a div attribute that must be added directly to the code on your website. We now have a new way to achieve this using the masking mode or masking by element, which is now available in the Settings area for your website in Microsoft Clarity. Let’s take a look at how to achieve this.
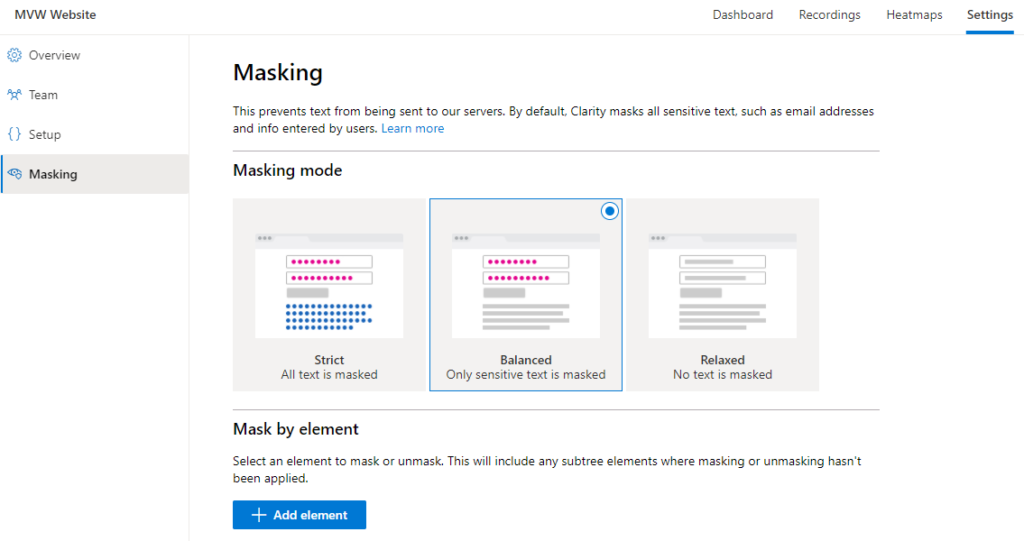
Click on the Settings menu for your website project in Clarity. From there, the click on the Masking option on the left hand side. Here we can set a specific mode for masking, making sure that we mask specific data. The options are strict (all text is masked), balanced (only sensitive text is masked) and relaxed (no text is masked). This makes it really easy for you to take an all or nothing approach, or leave it as you currently have it which should be the balanced option. We can then add in additional masking by adding elements to be masked. We can click on the Add element button at the bottom.
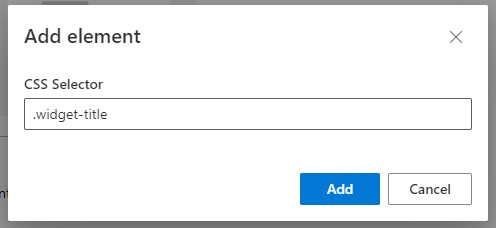
Once we do this, we are prompted that we should be adding a CSS selector for the masking element. This means we need to know the specific CSS element of the ‘thing’ we wish to mask or unmask from our website.
The easiest way to get this CSS selector is to go to your website, then right click on the item you want to mask (or unmask). Then click on Inspect from the menu that appears.
If I wanted to mask the titles of the widgets, and I have right clicked while on one of those headers, I can see that it uses an H2 class called widget-title. So I will copy that to use in Clarity.
I can now paste that css class into the field and Add the element to the masking settings. Be sure to include the dot before the name of the class like you see below.
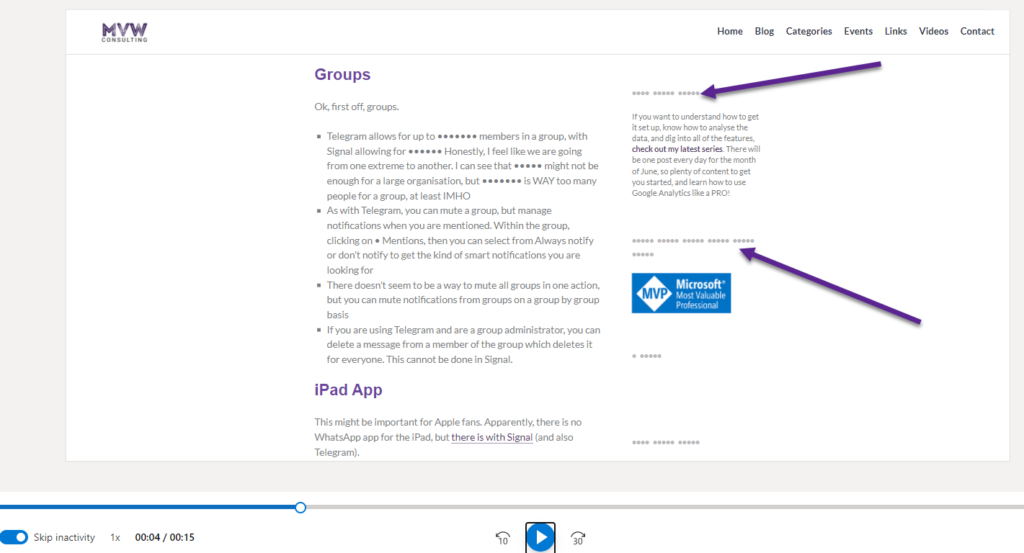
Now we can see it listed, we can either click Unmask so that it WILL display it in the recordings and heatmaps, or leave it as Mask so that it is sent through hidden and only asterisks are displayed in place of the text. Keep in mind if you have set up your overall settings for masking, and then add anything in this section, you are setting up exceptions here. So if you set the masking mode as strict so everything is masked, you would need to set the element to be Unmasked so you see it sent from your site to Clarity.
You can watch a video on this here.
Check out the latest post:
Set A Business Process Flow Stage With Custom Page
This is just 1 of 572 articles. You can browse through all of them by going to the main blog page, or navigate through different categories to find more content you are interested in. You can also subscribe and get new blog posts emailed to you directly.


