*** NOTE: ALL INFORMATION IS ACCURATE AT DATE OF PUBLISHING ***
Back in June 2023, Microsoft introduced a new preview of a fancier looking org chart for users to update in Dynamics 365. At that time, it needed to be switched on by an Administrator to see it, but now it’s out of preview, and likely more users will stumble across it, so figured it was a good time to raise more awareness or remind people it’s there! This post will walk you through the features of the org chart and also how it ties in to the relationship health functionality that comes in Dynamics 365 Sales.
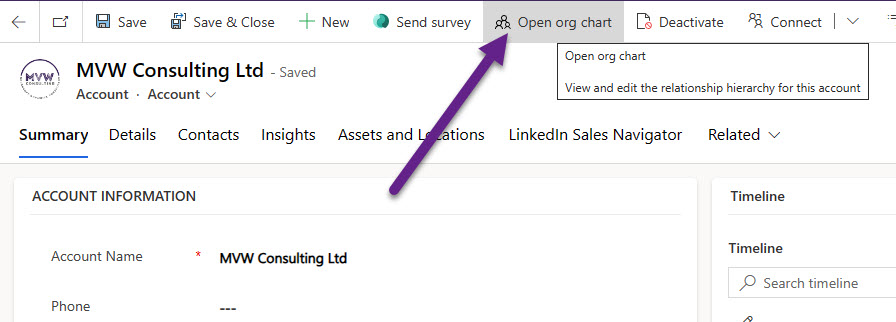
From an Account record, click on the Open org chart button.
You will be presented with a canvas and all of the related Contacts for that Account down the right hand side. Click the Edit chart button to get started.

We can simply drag and drop Contacts on to the org chart canvas.

After dragging a Contact on to the chart, you can click on the three dots (shows after hovering over a Contact card) and choose set as assistant to indicate they are an assistant to the Contact above rather than a direct report. You can also use the menu to set the person as the primary contact for the account, remove them from the chart or even remove them from the account.

This gives a quick way to build up a full organisation structure including managers, assistants, direct reports and also the primary contact.

Double clicking on a contact card opens it in a quick view form on the right. From here you can review their name, email and job title, along with their manager or direct reports. Relationship health is also something that displays (more on this in a moment!). You can also add a note directly from here which will show up here for others, and also be on the Contact’s timeline. If you have a LinkedIn Sales Navigator license, you can use the Sales Navigator and InMail options in find and interact with via LinkedIn.

A tag icon can be used to set the influence level the person might have over decisions made at that organisation.

The options come from a field named Decision influence labels on the Contact table. This can be edited by a System Administrator to modify the labels of the existing choices, and also add additional ones like I have below for the option of None.

The last item visible on each Contact card is the relationship health ring indicating how the relationship is with each person based on the different activities saved against a record (emails, appointments, phone calls and tasks. The health score grading is either Good (green), Fair (orange), Poor (red) or just empty (no colour ring shown). You will need to have Sales Premium for this next part or you won’t see Relationship Insights as an option in the next step.

To turn this on, go in to the Sales Hub App, then Sales Insights settings. From there, go to the Overview tab under Relationship insights and enable Relationship Intelligence.

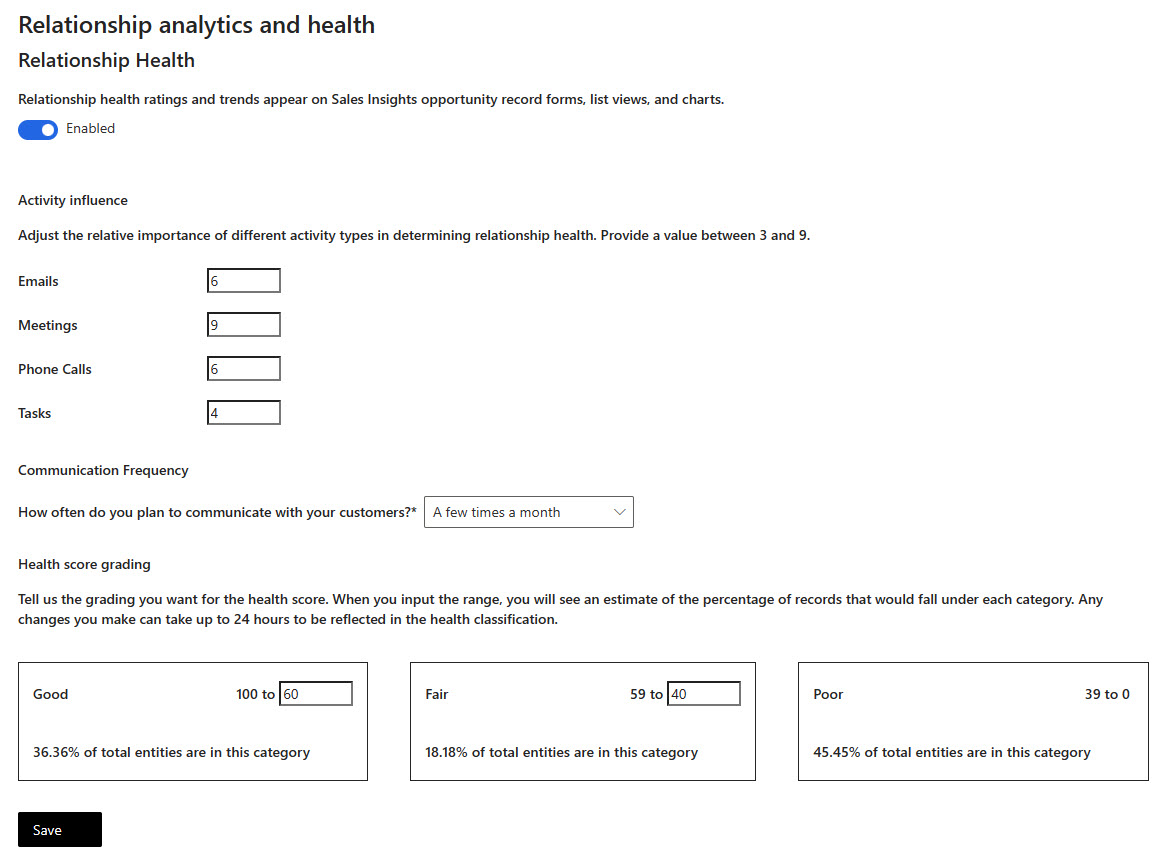
Under Relationship Analytics you can click on Options then determine how the scores will be calculated. Note that the health score also exists for Opportunities and Leads.
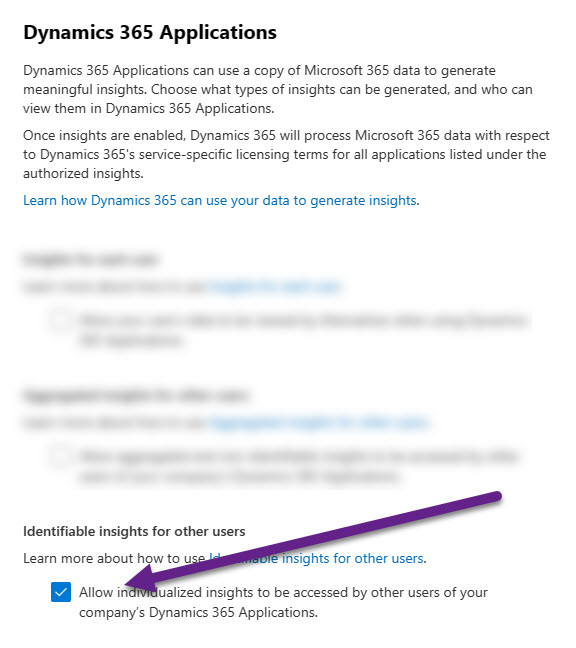
One last setting to review, which is found in Microsoft 365 Admin, and that is to provide organisation level consent to process data to generate the insights needed for the relationship health.
Once that is done, the Relationship Health will start being generated and display on your org charts. Have you started using it yet?
Check out the latest post:
Use Custom Event Registration Questions To Branch Your Journeys In Customer Insights
This is just 1 of 603 articles. You can browse through all of them by going to the main blog page, or navigate through different categories to find more content you are interested in. You can also subscribe and get new blog posts emailed to you directly.