*** NOTE: ALL INFORMATION IS ACCURATE AT DATE OF PUBLISHING ***
Connections is a pretty good word to describe ‘connections’ between records. It could be a link from one Account number to another. Or it could be a link from a Doctor to their Patients. Or from a lead record to one of your competitors to indicate their current vendor. There are many reasons and purposes to use connections. We’ll use an example of a Contact in your environment being a Consultant who might do work for one of your customers, who are an Account in your environment.
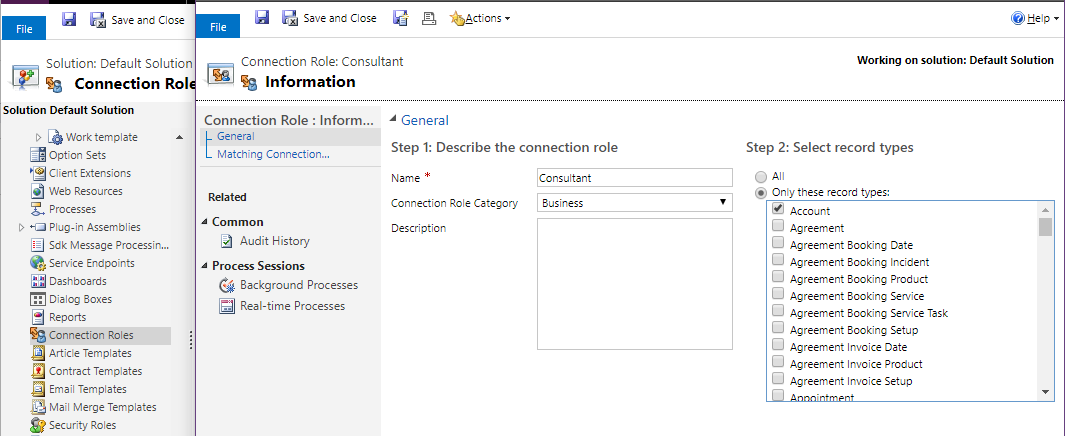
The first thing we need to do is set up the Connection Role of Consultant. The Connection Role Category is a global option set which you can add to if needed. You can then allow this connection to be used for all record types if required, but we only want the Consultant role to be used if it’s linking to an Account, so that box is selected.
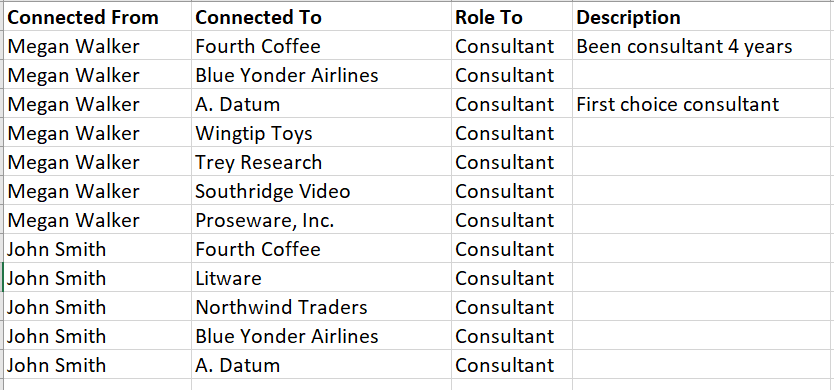
A quick and easy way to add connections is via a data import. Maybe you go to an event, meet some consultants and find out who they do work for. Create a basic spreadsheet with the following fields and save as a .CSV file. The Consultant is the Connected From field, and should be the exact name or email address of the Contact in your environment. The Connected To field is the name of the Account they are working for. Make sure this is a unique key. If you have multiple Account records with the same name this will fail. Add the Role To as Consultant. The Description field is optional.
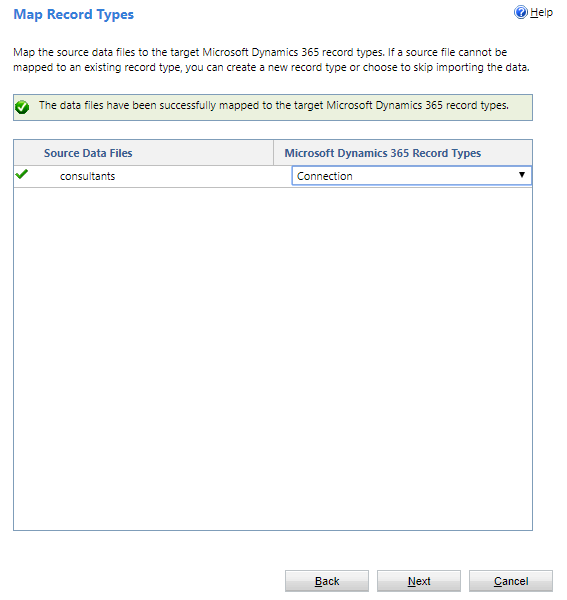
Navigate to Settings, then Data Management. From there select Imports then click on the IMPORT DATA button from the top ribbon. Browse out to find your csv file, then walk through the initial screens, making sure you select the record type of Connection to map to.
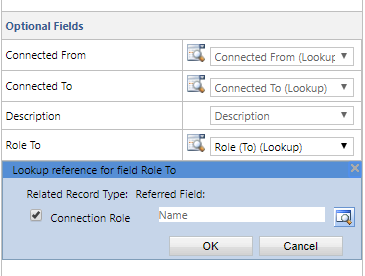
Map the fields listed. For the Connected From deselect them all apart from the Contact record, and do the same for Connected To but make sure only Account is selected. For the Role To, map the Connection Role by the Name field.
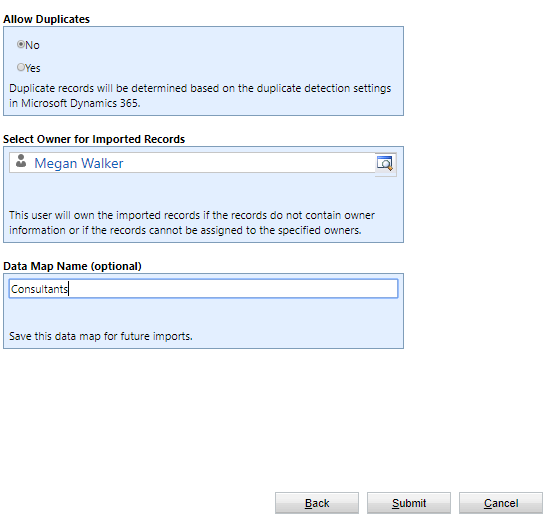
If you will use this process again, be sure to save your Data Map at the end. Then finish and wait for the import to finish!
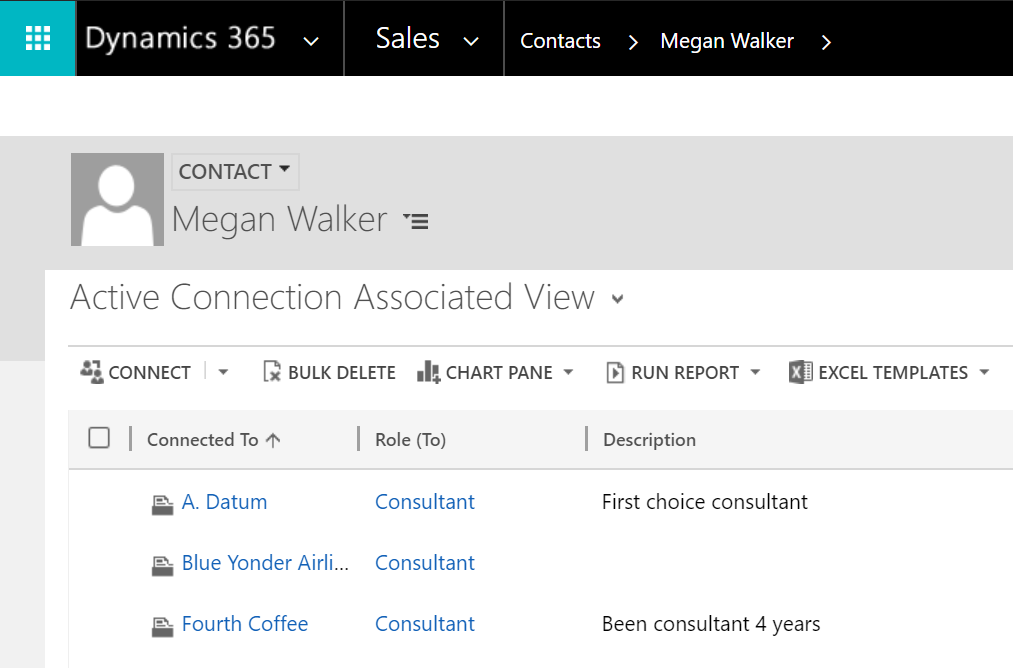
To manually add a connection we will go to the Contact who is the ‘Consultant’ in our example. From the menu for the Contact, you will be able to select Connections section. Click on the Connect button.
A new screen will open. Add the name of the Account, then pick Consultant as the role.

It’s a bit of a pain having to go to a separate section to see the connections, so you can add in a subgrid to display them instead. We can add one to the Contact record to see who they Consult for, and one to the Account record to see which Consultants they work with.
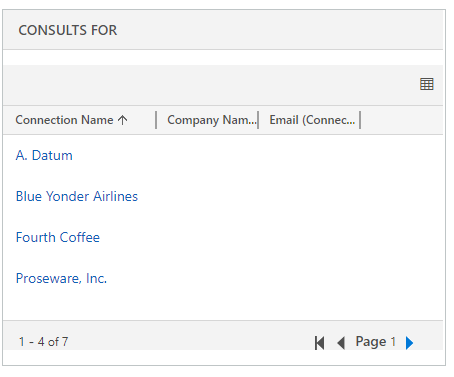
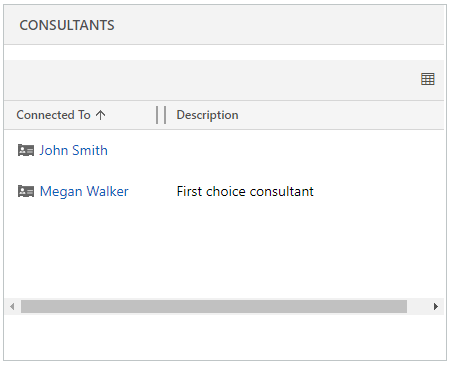
So that’s fine, we can import or manually add the Connections, and then see them on the main form in a subgrid but what about if we take it further. The standard subgrid for connections doesn’t include the plus button to add a new one. Enter some wonderful functionality from MVP Scott Durow. Scott is the author of SparkleXrm, an open-source library for building Dynamics CRM XRM solutions using Script#, jQuery & Knockoutjs. First, download the latest release and install the solution in your environment. Next, review Scott’s article about adding in the Refreshed Connections UI Solution and walk through the steps he outlines. The link to this solution is in his article. And here is why you should do this. Just look how much cooler the connections area is on the form!
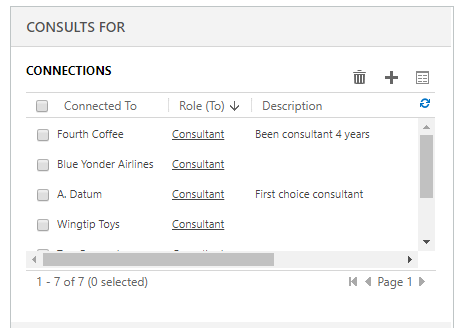
First of all, there is a plus button which didn’t exist before. Clicking on it displays two fields, a Connect To and a Role field. We can add the new connections right from above the grid.
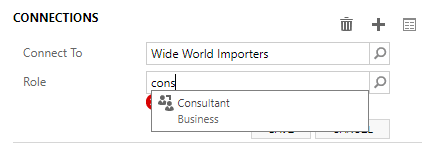
Once the new connection is added, you can type directly in to the Description field. Love it!

Do you use Connections? If so, how? And if not, do you think you could find a use for them in your system? Let me know in the comments below.
Check out the latest post:
Create A Simple Event Session Registration Trigger
This is just 1 of 492 articles. You can browse through all of them by going to the main blog page, or navigate through different categories to find more content you are interested in. You can also subscribe and get new blog posts emailed to you directly.

Awesome, Megan! Thanks for writing this and that solution by Scott is really cool. Definitely got to try it out!
Thanks Antti! My pleasure. Was a fun one to work on!