*** NOTE: ALL INFORMATION IS ACCURATE AT DATE OF PUBLISHING ***
Using the Quick Find search in CRM allows you to quickly find records in your database. Using it in Dynamics 365 CRM can be even more powerful by deciding which entities to search on, which fields to search on, and what fields to display in the results.
Start by going to Settings, Administration, then System Settings. From here, on the General tab, scroll down to the Set up Search section. Relevance Search will be enabled by default. It will also be set to enable Quick Find record limits. This sets the limit to 10,000. Changing that to No will make your limit 50,000. 10,000 is a much better option to avoid slowing of the system or potential timeouts. Click the Select button to determine which Entities to search on.
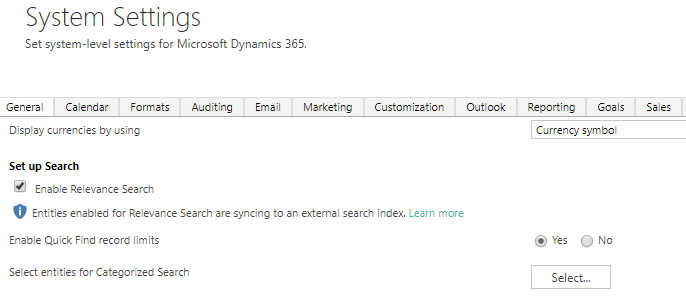
You can only search across 10 entities using the Quick Find, so make sure you pick the ones that make the most sense for your business. Typically Accounts, Contacts, Leads and Opportunities makes sense, but you can add in custom entities or other records you wish to find easily. Select the Entities then click OK to save.

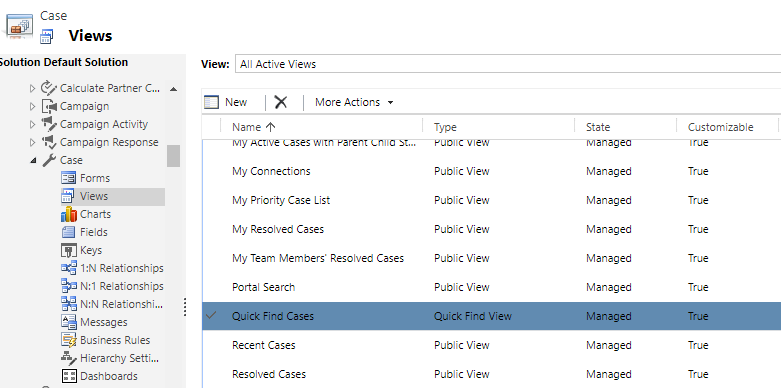
Next, go to Settings, Customizations then Customize the system. Scroll to one of the entities you added in the last step and click on Views. Scroll down to the Quick Find View, then double click to open it.
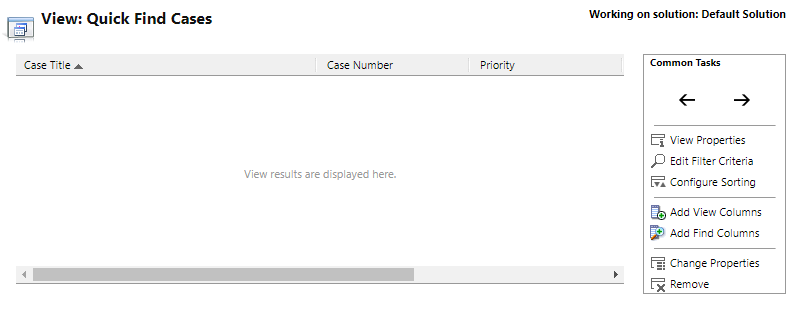
Once you have the view open, click on Add Find Columns from the options on the right.
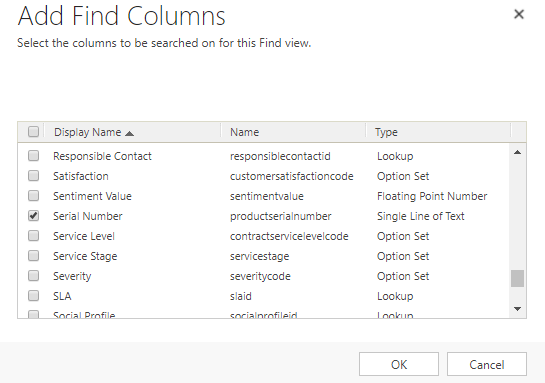
You can now select which fields to search on, or remove fields that you don’t need to search on. Click OK.
Next click on Add View Columns and add the columns you wish to display in the search results. Only the first three will show up so make sure you pick wisely! 🙂
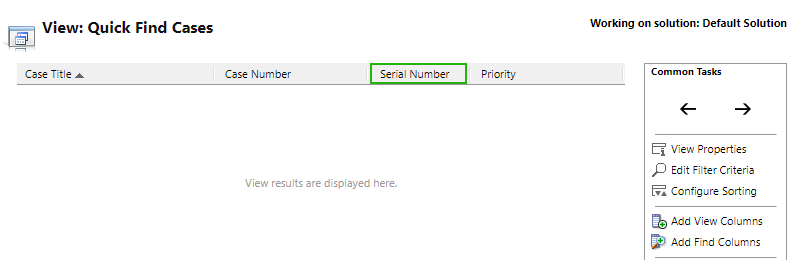
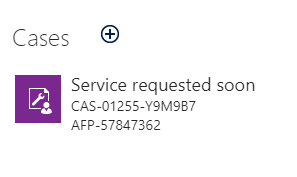
Save the view then Publish. Now go and do a search! Here we can see that the three columns we have in the view are displayed in the search results.
Check out the latest post:
Use Custom Event Registration Questions To Branch Your Journeys In Customer Insights
This is just 1 of 603 articles. You can browse through all of them by going to the main blog page, or navigate through different categories to find more content you are interested in. You can also subscribe and get new blog posts emailed to you directly.