*** NOTE: ALL INFORMATION IS ACCURATE AT DATE OF PUBLISHING ***
I wrote about how to make your Preference Centre page look more in line with your organisations branding by adjusting the CSS and adding a few extra items to the HTML code. That’s all well and good, but after the form is submitted, that nice experience is (IMHO) ruined, because the person is taken to another page with a plain background, a green check mark image, and whatever text you added to the thank you notification under form settings. Can that be improved? Not within the CSS at the moment, but we can do one better and do a redirect to a thank you page on your own website. Let’s take a look!
Make sure you are on the latest version (1.1.35296.75 at time of writing this blog) as there was a small bug previously that would prevent this from working. Let’s look at the out of the box experience. The form settings panel on the Preference Centre provides two fields, one to set a thank you notification, and one to set an error notification.
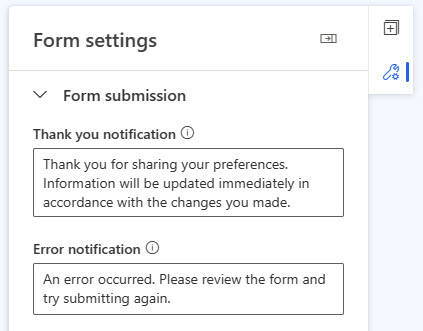
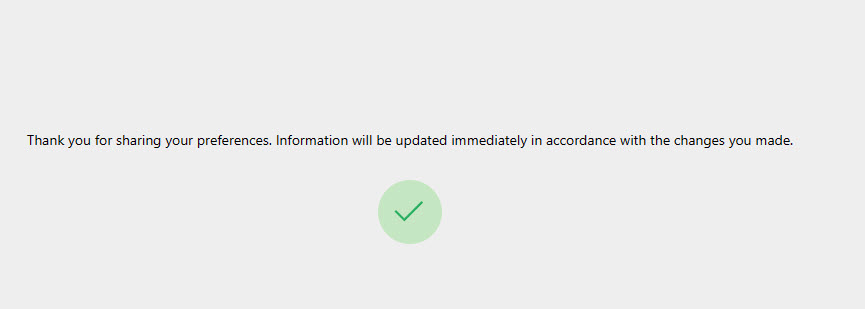
After someone updates their preferences and submits the form, the thank you notification message is displayed. There is no way for us to get to the CSS or add new CSS to adjust this, so what you see is what you get! We also can’t add any line breaks, so it’s just one long string of text which looks a bit crappy.
What about redirecting the person to a page on our website that we CAN customise and have full control over? Something like this?

Go back to the HTML of your Preference Center and we can create some magic there by adding in a very small script. We just want to check for when the form is submitted, and when it is, we will redirect the person to a different URL. You can set a wait if you want, by replacing the 0 towards the end of the script with something like 3000 (it’s in milliseconds which would be 3 seconds), but I don’t see much point in the wait. I would rather have them click submit and then immediately go to my thank you page.

Here is the script below. Just make sure you set the ACTUAL url you want to use. Then save the Preference Centre form and test it out. If you already have the form open on your screen, close it and then access it again by clicking the link from the bottom of an email. Or, just refresh it to make sure it’s the latest version of the form. That’s it! Pretty easy!
    <script>
        document.addEventListener("DOMContentLoaded", function() {
            var form = document.querySelector("form");
            form.addEventListener("submit", function() {
                // Replace the URL with your desired redirect URL
                setTimeout(function() {
                    window.location.href = "YOUR-REDIRECT-URL.COM";
                }, 0);
            });
        });
    </script>
Check out the latest post:
Use Custom Event Registration Questions To Branch Your Journeys In Customer Insights
This is just 1 of 603 articles. You can browse through all of them by going to the main blog page, or navigate through different categories to find more content you are interested in. You can also subscribe and get new blog posts emailed to you directly.
Great job. Thanks for sharing
You are very welcome Necdet!
Very useful script!
I have tested it and recommend to set the timer to 1000.
Without any waiting time the redirect is triggered immediately and the form data isn’t submitted.
Thanks Stephen! Good tip, I can see if someone has a slower internet speed maybe that helps. I didn’t see any issues with no time set, but definitely a good idea to add it if you’ve seen challenges.
Hi Megan
Thanks for this article .We implemented it and it seems to lead to undefined error page and doesn’t capture form submission for ios devices .Can you think of a reason why ?
Hmmm, not sure. I just used this same approach with a client and it worked out fine. Do you have a delay before the redirect? If not, maybe try for 3 seconds and see if that resolves things?