*** NOTE: ALL INFORMATION IS ACCURATE AT DATE OF PUBLISHING ***
If you have used Outbound Marketing for a while, it’s possible you have used the Personalised Pages functionality. This provides you with the ability to display values from a Contact’s record on a page of your website. Now that we are all on the ‘journey’ to move to Realtime, it seems that’s no longer going to be available (or at least not for now!). I wanted to come up with a way to be able to create a personalised thank you page so when someone fills out a form, you can address them by name. Let’s take a look at how you can do this with a Realtime Marketing form and a little JavaScript.
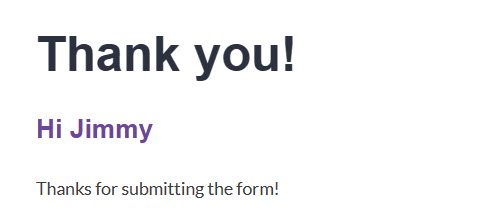
This is the end result I am going for. Someone fills out a form which then gets redirected upon submission and goes to a thank you page. Looks like Jimmy filled out my form, so I am addressing him on the thank you page. Cool right?
On your webpage that includes your form script, add the following directly below it. The script will take the values added to the First and Last Name field on the form, and add them to the sessionStorage of the browser. If you want to know more about that, you can read this post I did on using sessionStorage for UTM Parameters. By adding them to the sessionStorage, it means we can then grab those values on the next page the person is redirected to. Please don’t use this for storing sensitive data, and don’t use localStorage either as that remains in the browser forever.
Note, if the fields in your system are not named First Name and Last Name, replace those in the script with your own values.
  <script>
document.addEventListener("d365mkt-formsubmit", function(event) {
// Find the "First Name" and "Last Name" fields within the form
var firstNameField = document.querySelector("input[title='First Name']");
var lastNameField = document.querySelector("input[title='Last Name']");

    // Set First and Last Name fields to sessionStorage
    let firstName = firstNameField.value;
    let lastName = lastNameField.value;
    sessionStorage.setItem("firstName", firstName);
    sessionStorage.setItem("lastName", lastName);
  });
    </script>
After adding the script directly below the script for your Marketing Form, you can then try filling out your form. You should be able to then right click on your web page and click inspect.
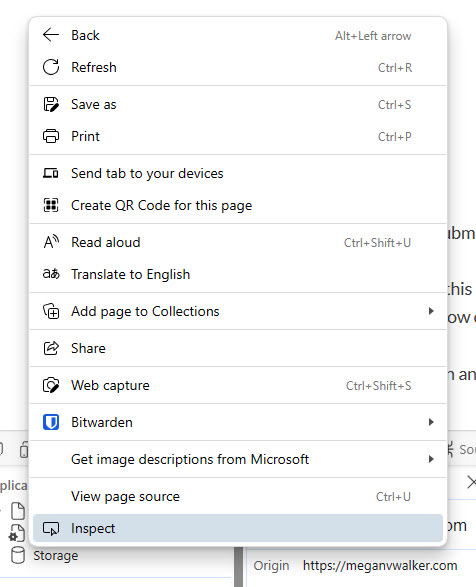
From there, click on Application (you might need to click the plus sign to get in to the rest of the menu), then click in to Storage, then Session storage. Your domain should be listed. Click on that, and you should then see the values you pushed in to the sessionStorage.

Once you know the values are being stored, you need to add something to your thank you page to display the values from the sessionStorage. I am just going to use the First Name in this instance. I use WordPress so can add a Custom HTML block and then use the script below. Mine checks to see if there is a value in the sessionStorage for firstName. if there is it shows Hi + firstName. If not and for some reason that value is empty, it will show Hi friend. The top of the code below has an h3 tag with an id of ‘greeting’. This is where the message will be displayed. Note that within the script itself, I am setting greeting as the id, so the two match up.
<h3 id="greeting"></h3>
Thanks for submitting the form! <br><br>
<script>
var firstName = sessionStorage.getItem("firstName");
var greetingElement = document.getElementById("greeting");

if (firstName && firstName.trim() !== "") {
    greetingElement.innerHTML = "Hi " + firstName;
} else {
    greetingElement.innerHTML = "Hi Friend";
}
</script>
Now we can fill out the form again, and should see the personalised greeting on our thank you page. How cool is that? I actually use this approach on my own Contact form on this site. 😊
Check out the latest post:
Use Custom Event Registration Questions To Branch Your Journeys In Customer Insights
This is just 1 of 603 articles. You can browse through all of them by going to the main blog page, or navigate through different categories to find more content you are interested in. You can also subscribe and get new blog posts emailed to you directly.