*** NOTE: ALL INFORMATION IS ACCURATE AT DATE OF PUBLISHING ***
If you have your Google Analytics account set up, and you get to the point where you need or want some help from someone, you can grant access to other users as required. You might be working on a community project such as a podcast or event, or you might be responsible for managing the site for an organisation but need to grant access to a digital marketing company who are running some ads for you. Whatever the reason, providing access is pretty straight forward.
First, navigate to the Admin area from the bottom left on the side navigation menu.

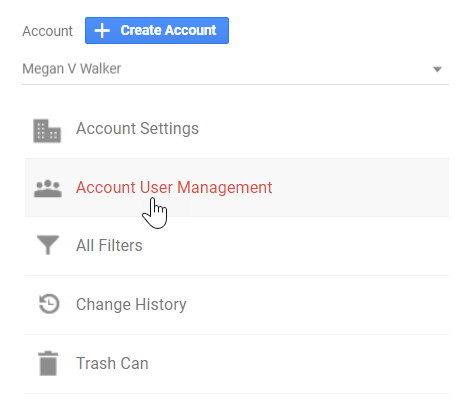
There are three areas in which you can grant access, so it’s important to know and understand which one to pick. The first one is at the Account level. So if access is granted here, the user will then have access to any Properties or Views underneath this.
Access can also be granted at the Property level. A Property can be a website, an app or set up to track both. So if you give access here, you are giving access to one or more specific properties. They will have access to all views under those properties by default.

The final level is to grant access at a View level. This is ideal if you want to give someone access to a website, but only a subset of the traffic data for that website. Once you know which level to grant access to, go in to the User Management area for that level to begin granting access.
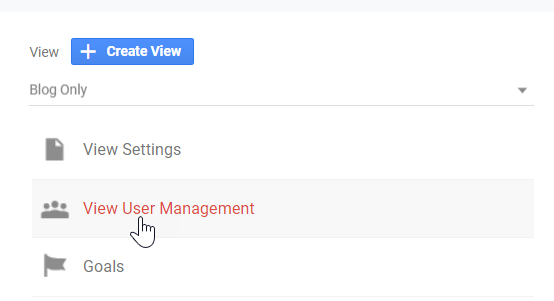
You will see a list of all users that have permissions set up. Click on the plus button on the right to add someone new.

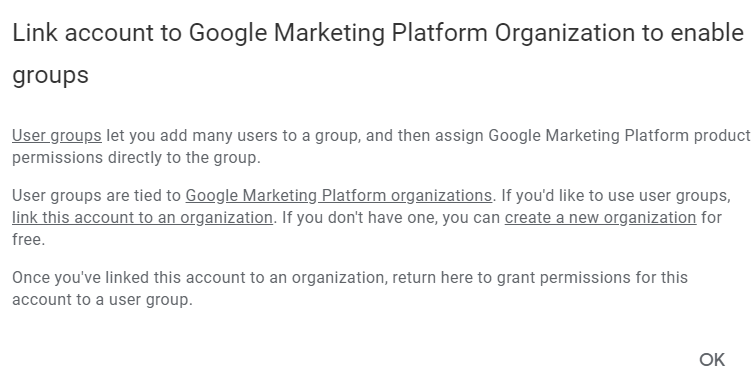
You may see this message appear. At this point just one individual will be added rather than a group. Click OK to continue.
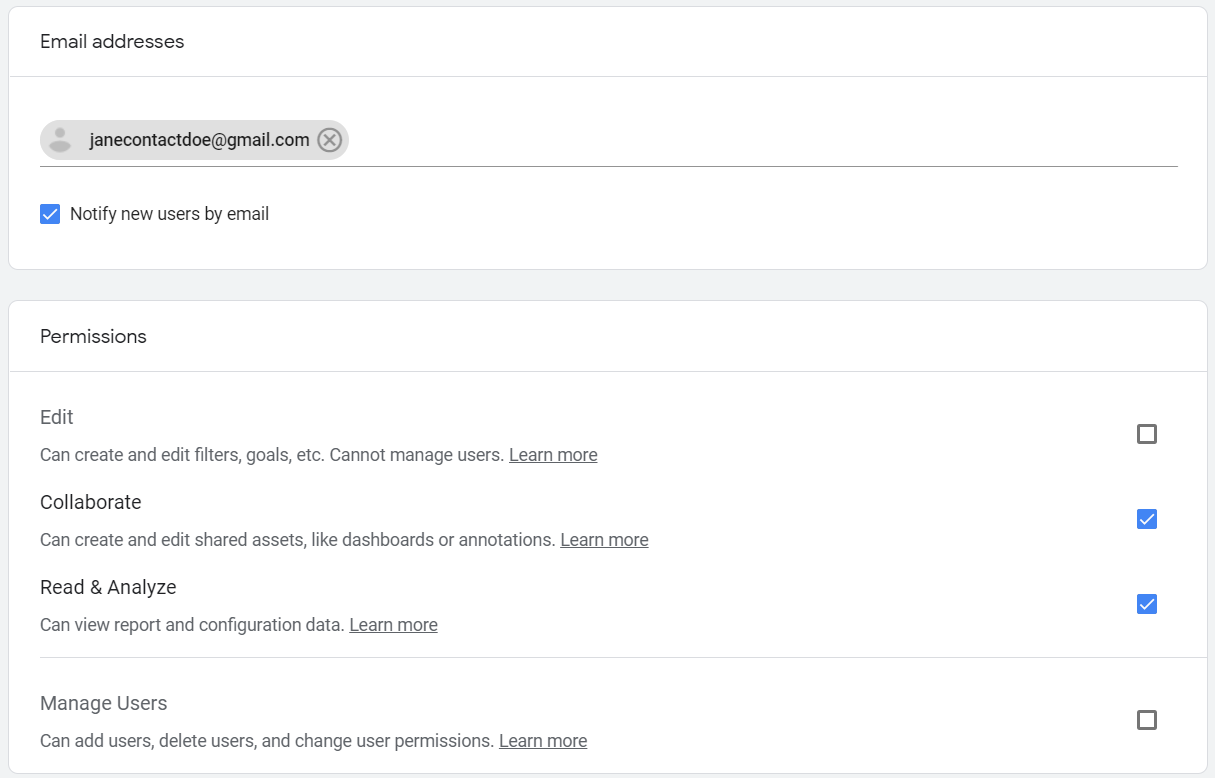
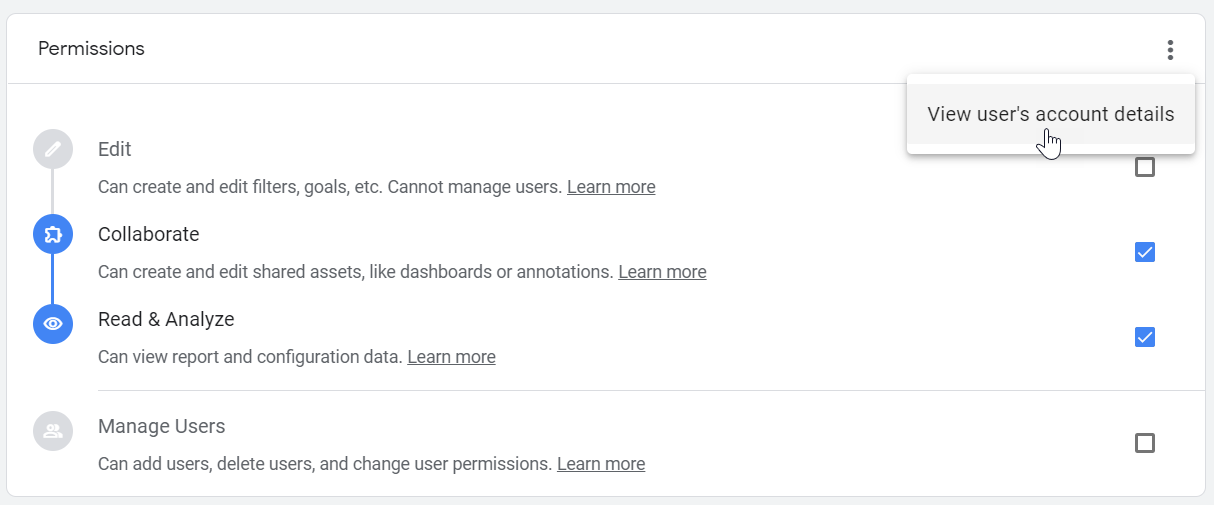
The person must have a Google account in order for you to add them and grant access. Add their email address. It makes sense to leave the box ticked to notify the person via email that they have been granted access. You can then set the permissions for the person. Each permission has a description so you know exactly what you will be giving them access to.
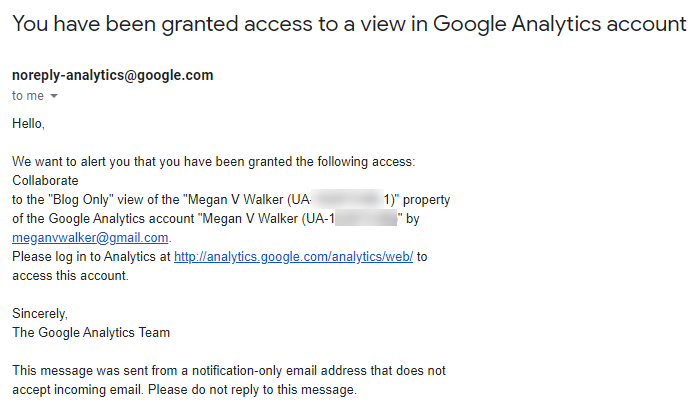
The person will then receive an email letting them know, and prompting them to log in to Google Analytics.
A users account details can be viewed at any time by clicking on their name in the user management area, then clicking on the ellipsis (three dots) and then View user’s account details.
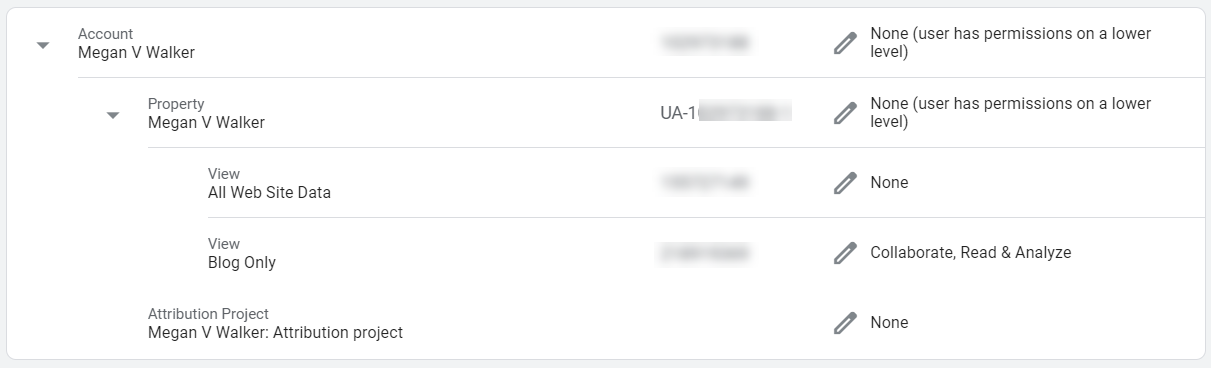
Here we can see the different levels from the Account down to the Property, then the Views within the property. We can see there is no access to anything apart from the Blog Only View. The user has access to Collaborate, Read and Analyse.
Using this feature, you can assign access to anyone who needs it, and make sure they only get the level of access you want them to have.
Want to just watch how to do this? Check out the video: https://youtu.be/U2tDAQEs6Ic
Check out the latest post:
Create A Segment Using Custom Event Registration Questions in Customer Insights Journeys
This is just 1 of 600 articles. You can browse through all of them by going to the main blog page, or navigate through different categories to find more content you are interested in. You can also subscribe and get new blog posts emailed to you directly.