*** NOTE: ALL INFORMATION IS ACCURATE AT DATE OF PUBLISHING ***
Once you have your Business Info, Services and Staff all set up in Microsoft Bookings, it’s time to get your Booking Page all sorted, and then publish it so customers can start booking appointments. It’s quick and easy to get up and running, so let’s take a look!
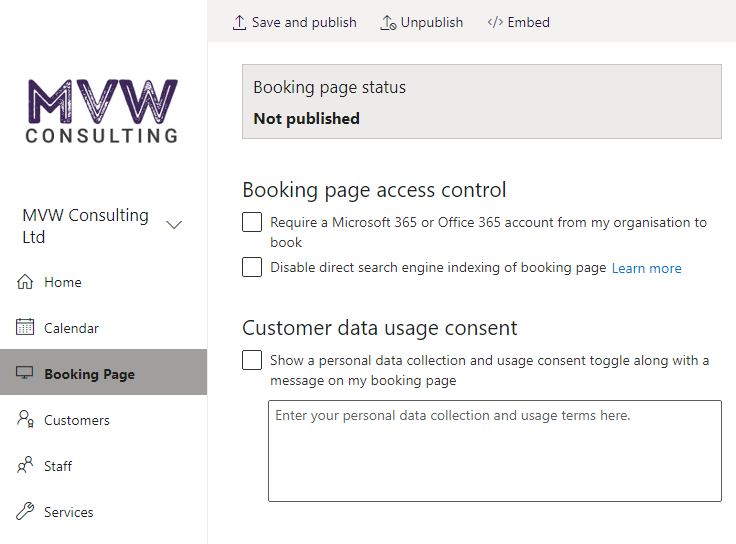
First, get logged in to Microsoft Bookings and navigate to the Booking Page. We can see that the page status is Not published. First, we can set the level of access for the page. If you select to Require a Microsoft 365 or Office 365 account from my organisation to book, anyone that goes to the page will need to log in to their account. So if your intent is to use this for customers, leave this deselected. You can also disable the search engines indexing, so that Google/Bing etc. won’t index the page. This all depends on if you want your bookings page to potentially be found by search engines. Then we have Customer data usage consent.
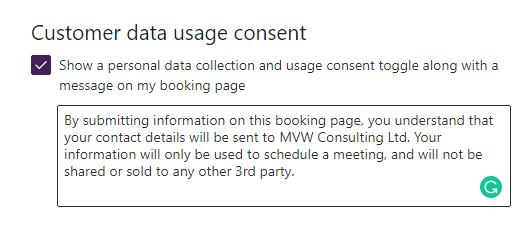
We can add a message that will be displayed and a customer must agree to when they are making a booking. You will need to put something that explains what might happen with their data that they are submitting in the fields to place the booking, and what the data will be used for.
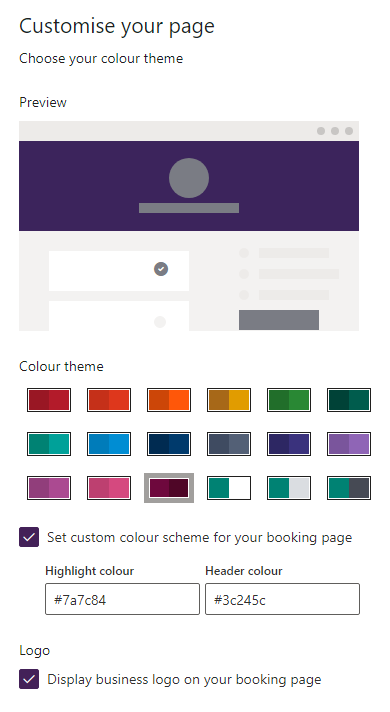
Next we can customise the theme for the page. We have three elements we can control. We have a highlight colour, which you can see as the grey colour below, the header colour which has been set as a purple, and if the business logo should be displayed on the page. You can select one of the colour schemes provided, or use hex numbers so that it’s a little closer to your own organisations branding.
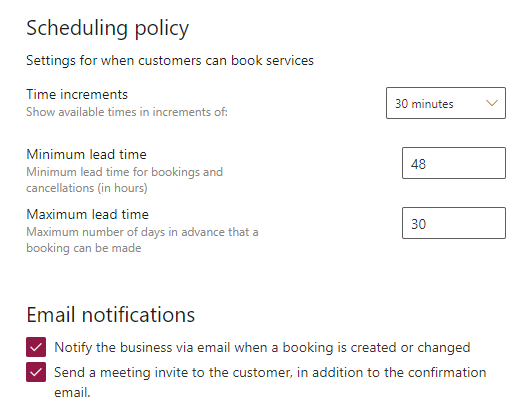
Next we can set the scheduling policy. We need to set when customers can book services. See the table below with the different settings and the explanation of what each setting means.
| Policy | Explanation |
| Time increments | Determines the intervals between appointments. You can set your time increments from 5 minutes to 4 hours. You can also set your own customized time increments. An interval of 15 minutes, for example, means a customer could schedule a 60-minute appointment at 8:00, 8:15, 8:30, and so on. Conversely, a 60-minute interval means that appointments are only available on the hour. |
| Lead time in hours | You build your staffing plan based on the appointments that are scheduled so it’s important to know in advance how many customers are coming in for service on any particular day. The lead time policy enables you to specify the number of hours in advance that customers should book or cancel an appointment. |
| Maximum days in advance | If you want to limit how far in advance customers can book appointments, then this is the setting for you! You can set the maximum for 365 days or more. |
| Notify when a booking is created or changed | Select this option when you want to receive an email any time a customer books an appointment or changes an existing one. The email will go to the mailbox specified on the Business information page. |
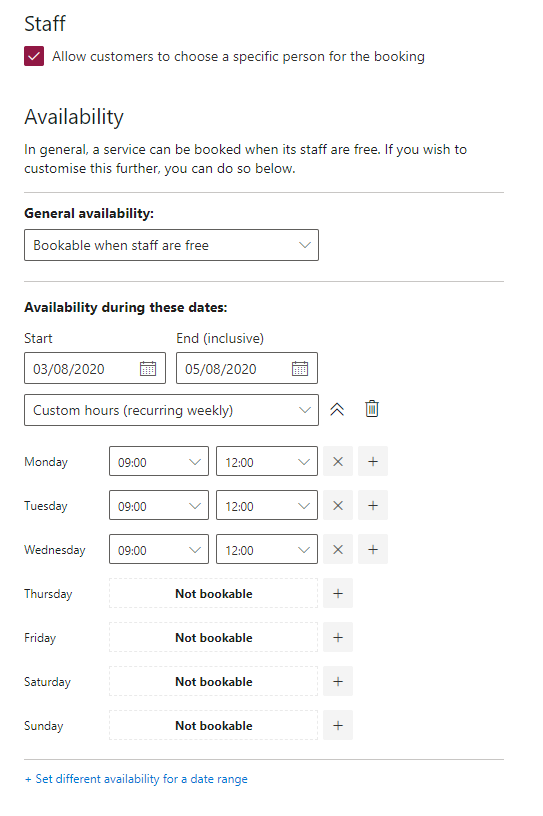
If you want to allow a customer to choose a specific person for the booking, that can be selected. This would be good if someone is booking a hair appointment, or personal training session, and wants to meet with a specific person. We can then select when a service can be booked. Typically you would set that as when staff are free, but it can be customised with different hours. We can also set up different availability for a specific date range. This might be needed if you have staff training going on, or the business will be closed for another reason.
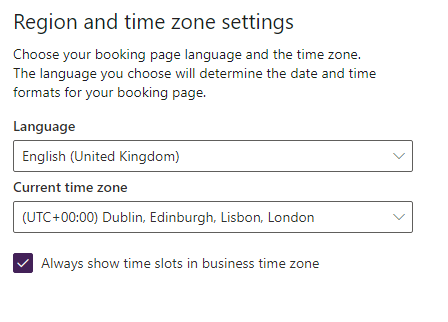
Then determine the region and time zone settings so that your time slots are shown accurately to the customer.
Finally, once you are finished, save and publish the booking page. Once that is done, you will see the status change and you can open the page.

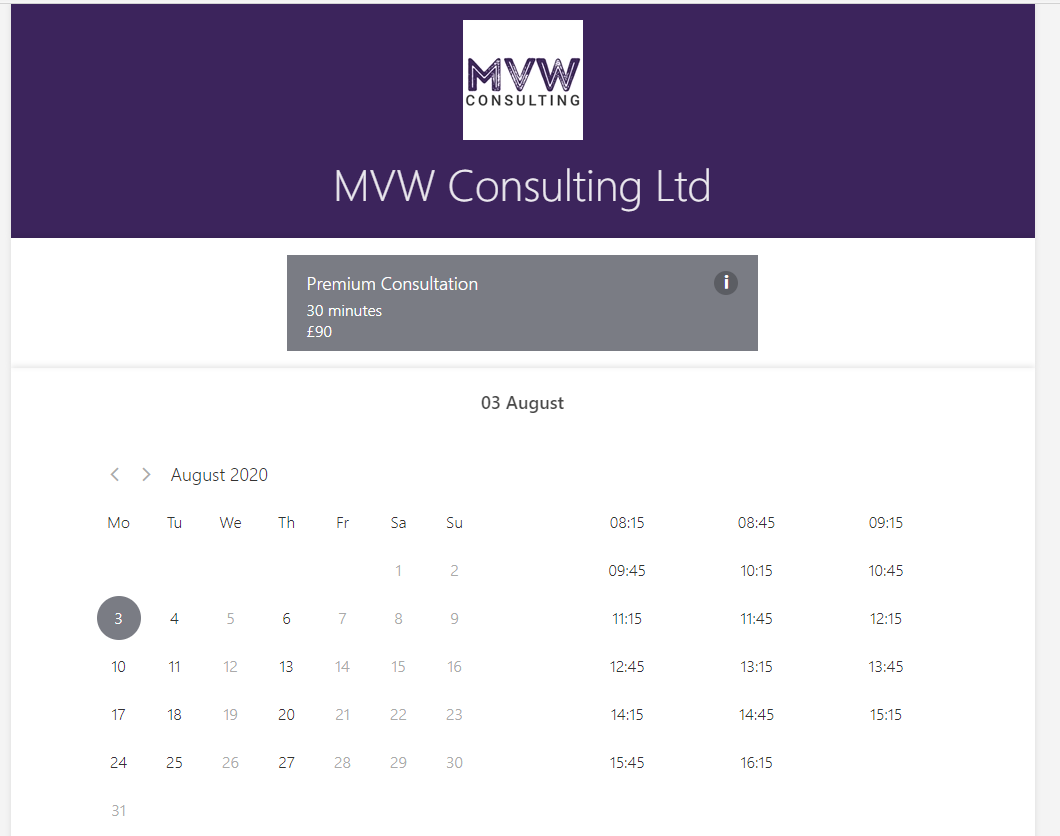
Now we can see the booking page, with the colour scheme that was chosen, the logo (if selected to display) and all of the services available.

If required, you can also share links direct to book a specific service. From one of the services, you should now see a booking page URL specific for that service.
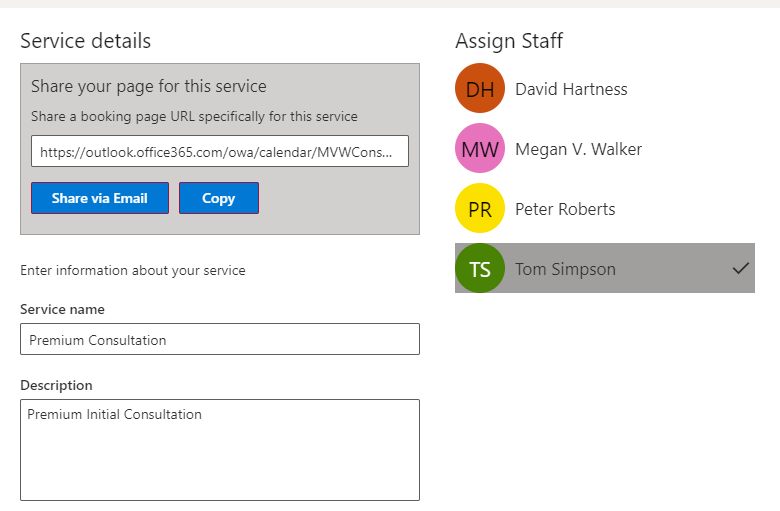
Using that service specific link will mean that’s the only service displayed at the top of the booking page.
Now we are up and running, we will look at the booking experience for Customers and Staff in the next post in this series. You can watch the video to go along with this post here.
Check out the latest post:
Use Custom Event Registration Questions To Branch Your Journeys In Customer Insights
This is just 1 of 603 articles. You can browse through all of them by going to the main blog page, or navigate through different categories to find more content you are interested in. You can also subscribe and get new blog posts emailed to you directly.