*** NOTE: ALL INFORMATION IS ACCURATE AT DATE OF PUBLISHING ***
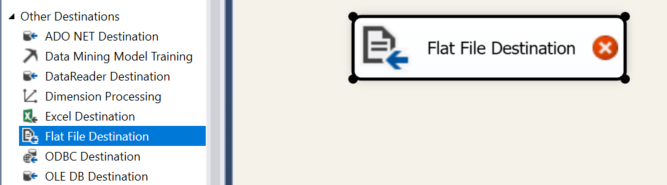
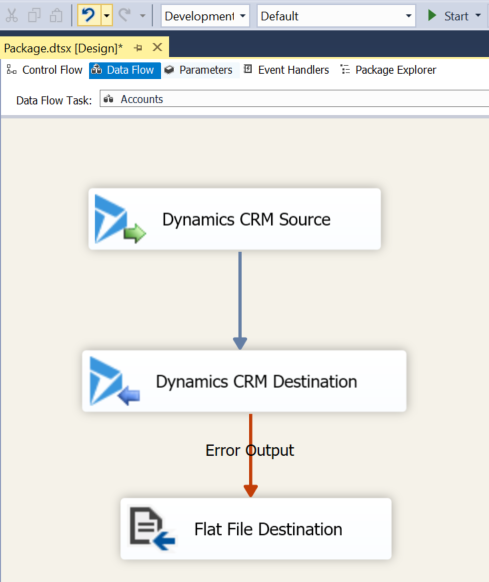
Now we will continue on from Part One of this series. Once you’ve indicated on the destination CRM environment that the error handling should go to an error output, you need to set where those errors will go. From the menu on the left, scroll down to the section for Other Destinations. Click on the Flat File Destination and drag over to the Data Flow area underneath your CRM Destination.
From the CRM Destination, click on the red arrow and drag it to link to the Flat File Destination. When you do this, a Configure Error Output window will pop up. Click OK.

Next, click on the New button to determine the flat file connection manager. Leave the option set as Delimited and click OK.

Give your connection manager a name. This is what will be displayed in the Connections Manager area. Next, click on the Browse button next to the File name.
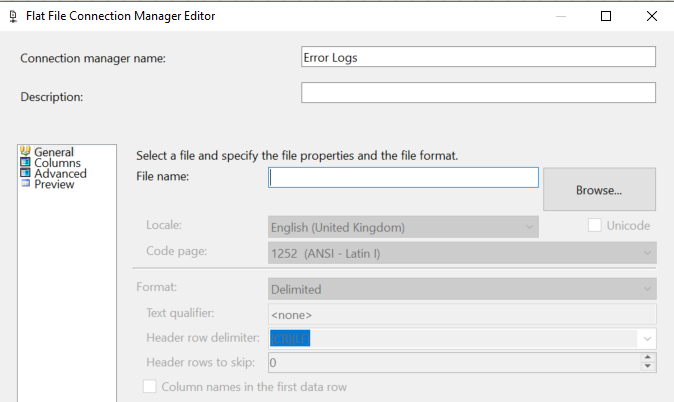
If this is the first file you are creating type in the name you want to give the file and click Open.

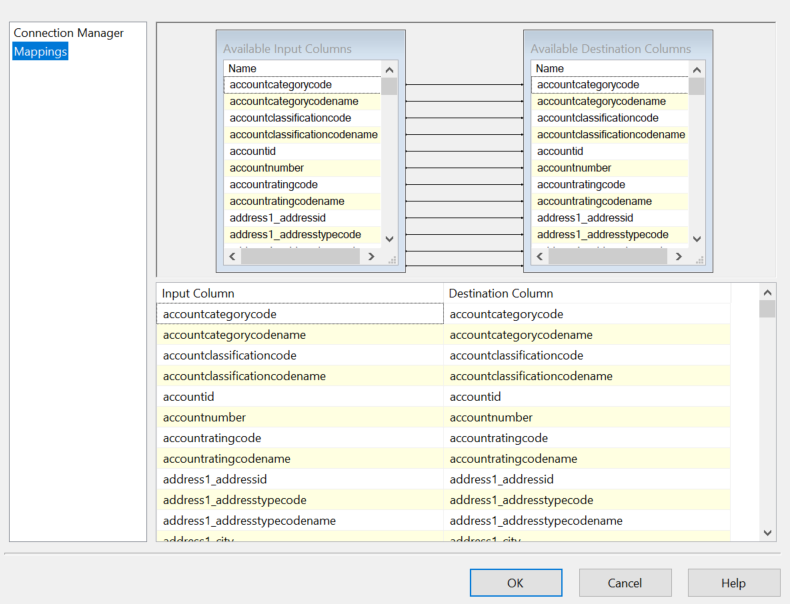
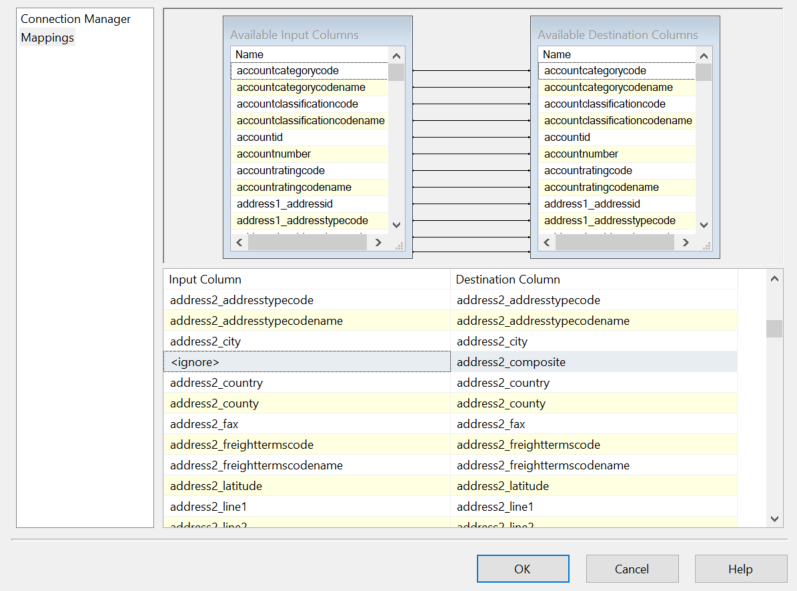
Now click on the Mappings option from the menu on the left. This will then map the input columns to the destination columns so that you will be able to see the values in your error log (if you indeed end up with errors!). Click OK.
Once you have closed out of the screen, you might notice a red X on the Flat File Destination step. Clicking on the error list from the bottom will show you more details. In this instance, there are errors relating to the address composite fields. These will cause in issue if we are trying map them to the error file, so we can actually remove them and have them ignored. Double click on the Flat File Destination step to open it.
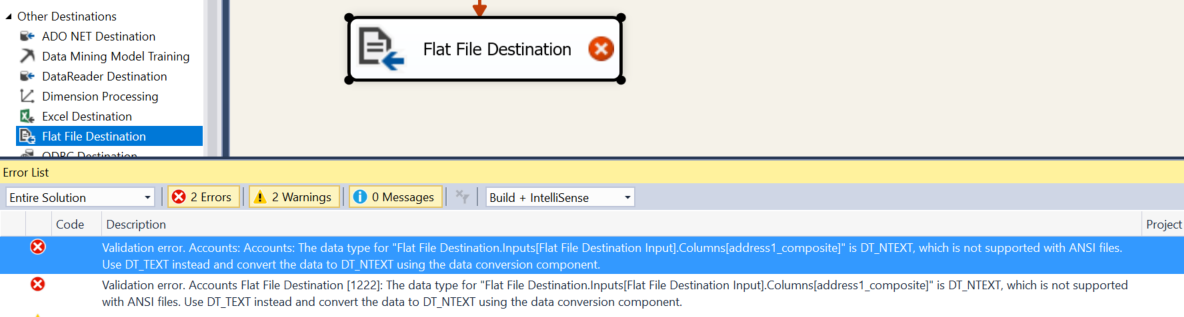
In the Mappings area, scroll to the field(s) referenced, and change the Input Column to be ignored. This will mean it won’t end up in your error log file. Once you have changed this, click OK.
Your final data flow should look something like this. Finally, click on the Start button at the top.
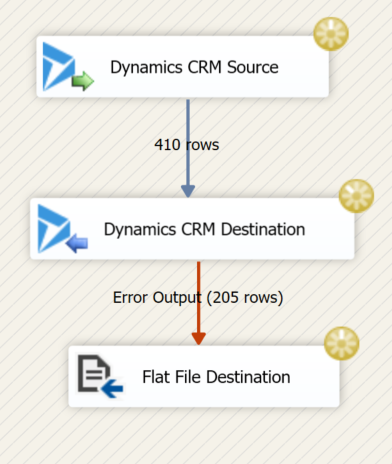
You will start to see a yellow spinning circle which indicates your data flow is running. You will also start to see the number of rows that have been selected from the Source database which will be attempted to move in to the Destination database. You will also start to see the number of errors that are being sent to the error log. At this point you can’t open the error log unless you stop the data flow.
Opening the error log will show you what might have gone wrong. For the most part, the errors make sense, although every now and then it can be confusing or misleading! In this situation, there is an issue with the currency being mapped. It’s been mapped from transactioncurrencyid to transactioncurrencyid. Obviously in the two environments the id’s will be different. You could map on name, OR if you only have one currency in each instance, just set it to ignore in the mapping on the Destination step of your data flow.

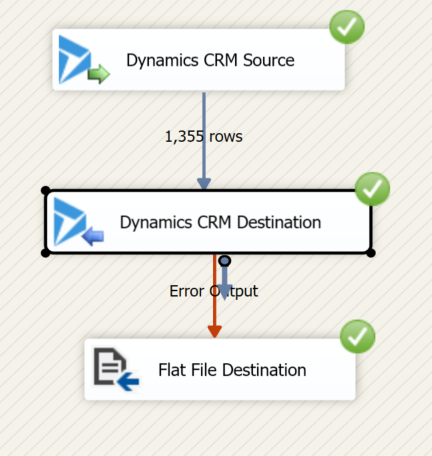
Once you have fixed any issues, start the data flow. Once it’s finished gathering all of the records from the source, there will be a green tick that appears. Then, once all of the records have been sent in to the destination, a green tick will appear for that step. Finally, once any rows have been sent to the error log file, another green tick will appear. This is how we know it’s finished. Nice work!
Check out the latest post:
Use Custom Event Registration Questions To Branch Your Journeys In Customer Insights
This is just 1 of 603 articles. You can browse through all of them by going to the main blog page, or navigate through different categories to find more content you are interested in. You can also subscribe and get new blog posts emailed to you directly.