*** NOTE: ALL INFORMATION IS ACCURATE AT DATE OF PUBLISHING ***
A few years ago I came across Microsoft Bookings. Thought it seemed pretty cool, but didn’t have a need for it, and neither had I done much in the Power Platform world… so I left it alone and kind of forgot about it. More recently I’ve noticed people using services like Calendly and SimplyBook.me, with links in their email signatures to allow people to book meetings and calls with them. This got me thinking about Bookings, and just how robust the service might be. It’s designed for small businesses to provide their customers with a way to book and manage appointments.
In this series, I’m going to dig into Microsoft Bookings in depth. The first few posts will be about using it and setting it up with out of the box functionality. For me, the real fun and excitement will be reviewing how it can be used in some crossover examples to take this ‘Office 365’ product and combine with the ‘Power Platform’ and see how we can add some extra power. First, check your current plan to see if it’s already included:
- Office 365 E3 and Office 365 E5
- Microsoft 365 Business Standard (formerly Office 365 Business Premium)
- Microsoft 365 Business Premium (formerly Microsoft 365 Business)
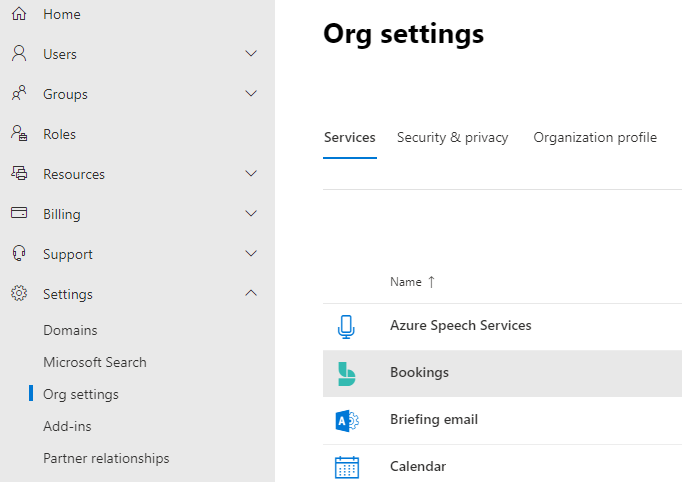
If you aren’t using one of the plans above, you can easily purchase it as an add on to your plan. Log in to the Microsoft 365 Admin Center, and then go to Settings > Org settings. Then find and click on Bookings from the list.
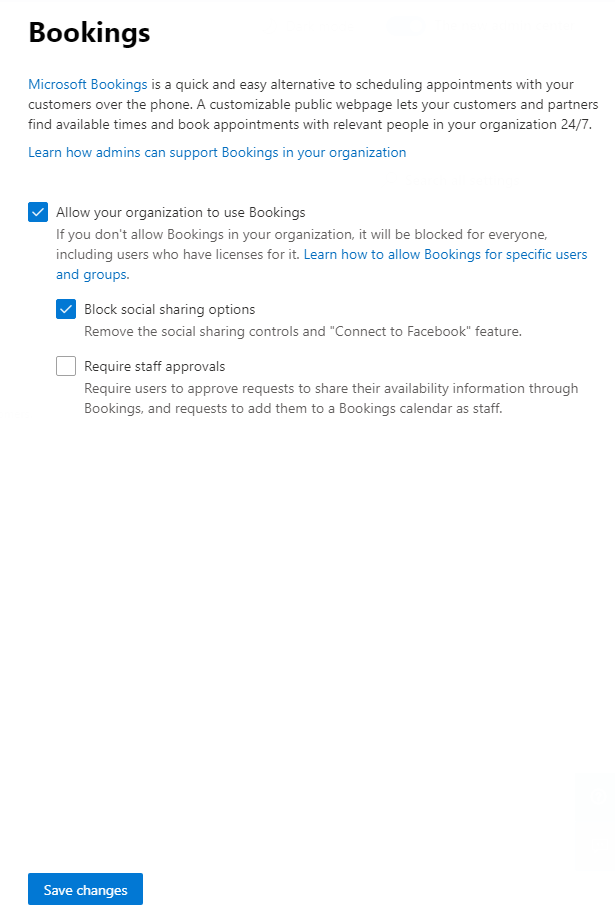
There just a couple of settings here. First, do you want to allow your organisation to use Bookings at all? You can switch it on or off from here. Once set to allow, you can block the social sharing options (shown in a future blog) and an option with details on how to connect to Facebook. You can also select to require staff approvals. This means they will have to approve it any time you try and add them to a Bookings calendar as a staff member. This setting being used is really going to depend on how you run your business and if it should be up to them to make that decision.
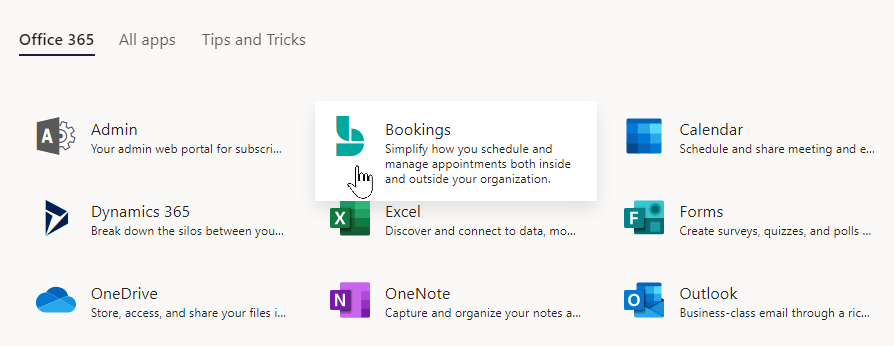
Once that’s taken care of, we can now set up Bookings. Navigate to Office 365, and then look for Bookings in the Apps area.
This first time this is selected, you will see a screen similar to this. Clicking on ‘Get it now’ allows you to continue on to adding a booking calendar.
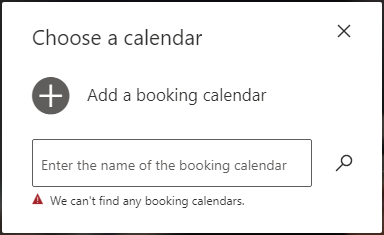
We don’t have any booking calendars for the organisation yet, so our only option is to add a new one. Note, once the first one has been added for the organisation, any subsequent users accessing Bookings will see a list of those calendars to select from.
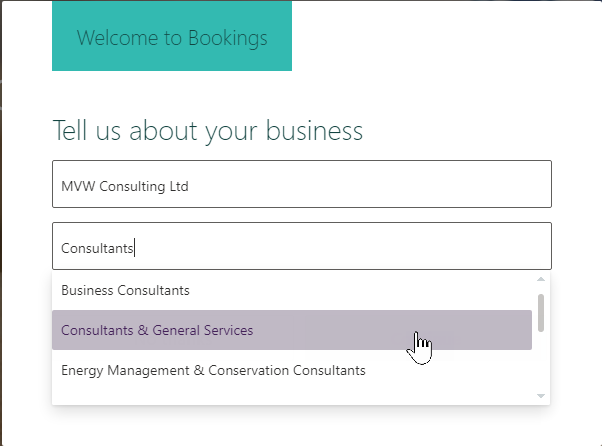
Adding our new booking calendar, we need to fill out some fields. First we add the name of the business, then we search for and select the most appropriate category for the type of business.
As soon as we have done this, Bookings will create a new user in the Microsoft 365 admin centre. This user doesn’t have any licenses, and is used when sending out email notifications to staff and customers.
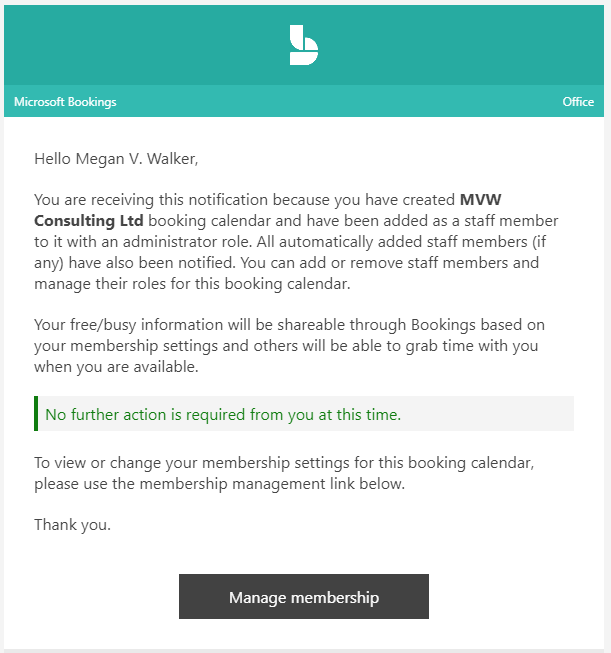
An email will be sent to all staff members linked to the calendar. Initially this will be anyone with a license for Microsoft Bookings. You will also be sent an email confirming you have created the new calendar.
The first thing we can do is add an image using the Add Logo option from the top left of the calendar. Simply browse out and select your image file.
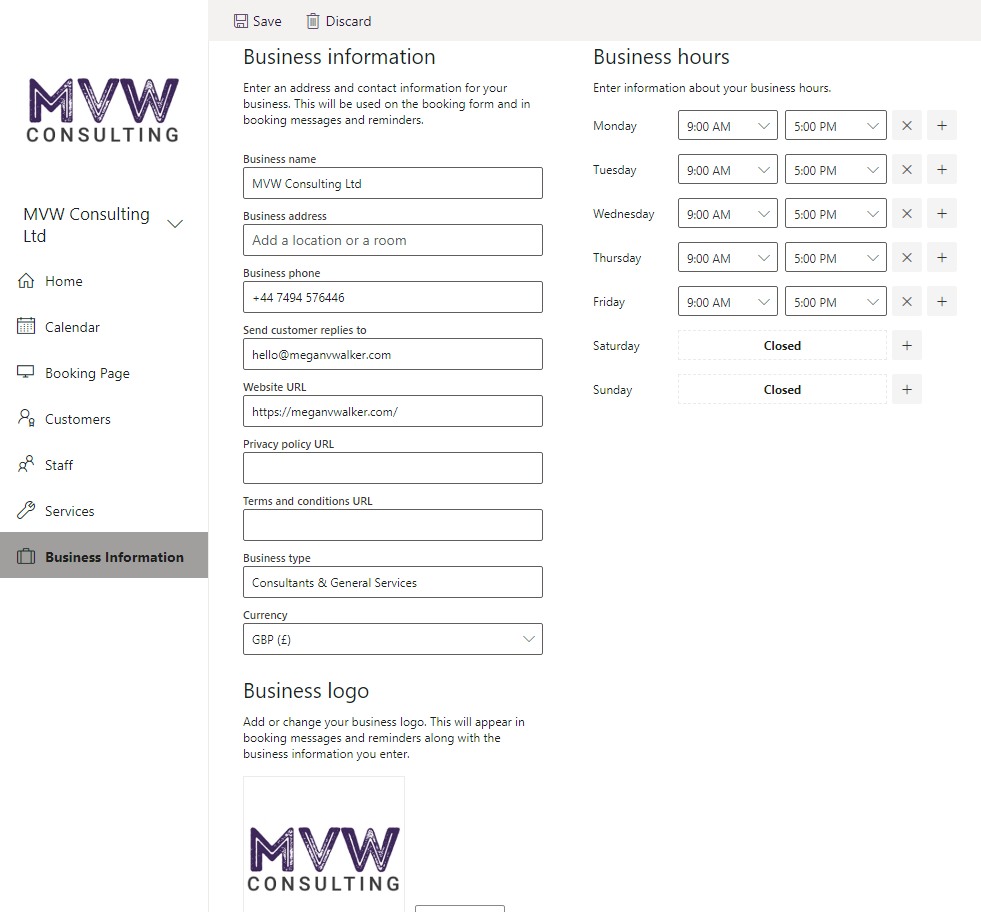
Once you’ve added this, we can review the Business information for the calendar. This is also where you can update the business logo if it ever needs changing. Fill out as much detail as you can or is needed for your organisation. From here we can set the business address, phone number, email and website. The contact details will be used for the bottom of the communication and confirmation emails sent out to staff and customers. You can add links to your privacy policy and your terms and conditions too. Finally, we can add in the business hours. These will be used to make sure only appointments within those business hours can be offered to customers on the Microsoft Bookings page online.
So that gets us started with Microsoft Bookings. We will look at setting up the services you want to add to the Bookings page in the next post. You can watch the video to go along with this post here.
Check out the latest post:
Wave 2 2024 Customer Insights Journey Chat With Amey Holden
This is just 1 of 462 articles. You can browse through all of them by going to the main blog page, or navigate through different categories to find more content you are interested in. You can also subscribe and get new blog posts emailed to you directly.

