*** NOTE: ALL INFORMATION IS ACCURATE AT DATE OF PUBLISHING ***
Forms Pro is built on the Common Data Service. This means that all of the entities (survey, survey response, survey invites, survey questions etc.) are all accessible if you have a license to create Power Apps. If you are a Dynamics 365 Customer Engagement customer, you hopefully already know this. The entities were all locked though, which meant no adding of new fields, and no modifying the forms. Until now…..
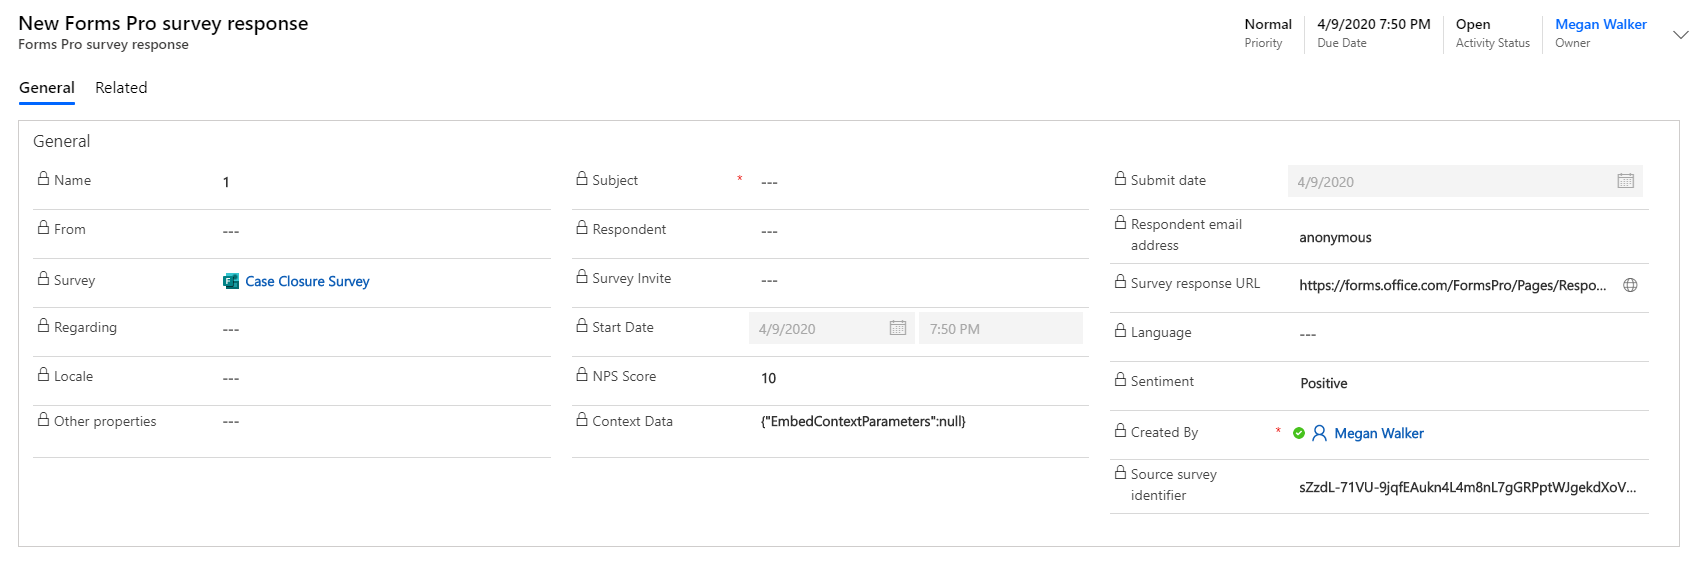
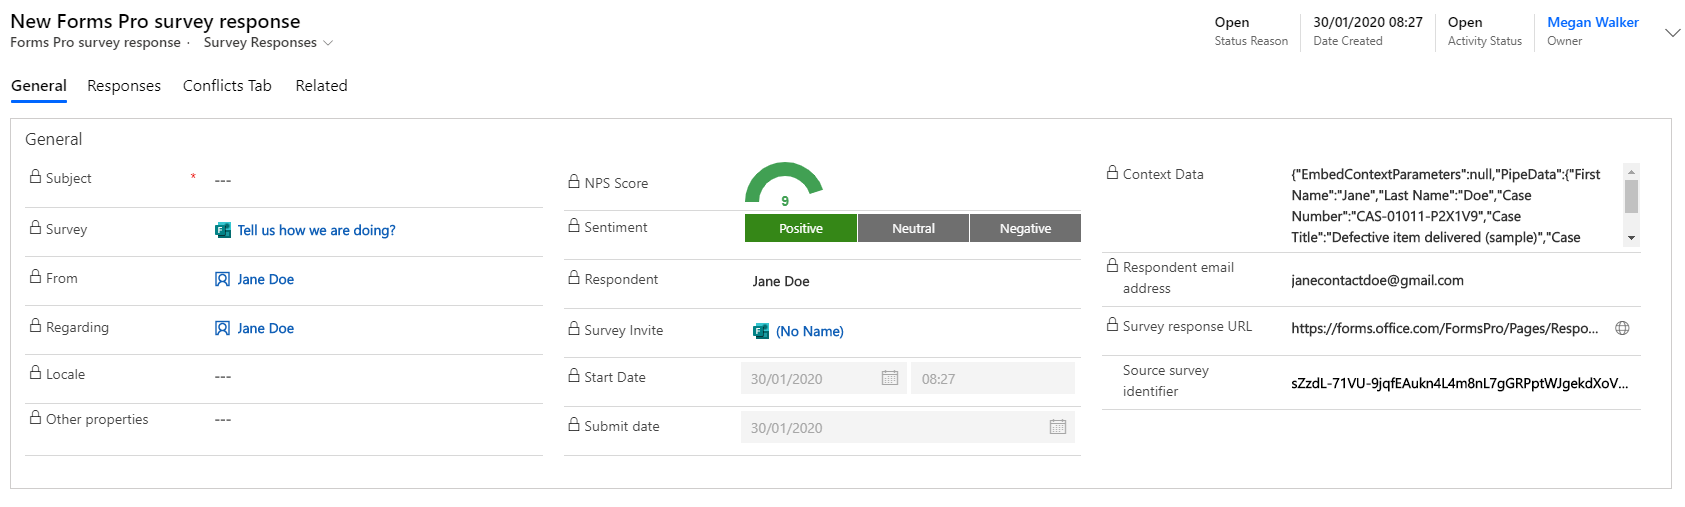
This is what the standard Survey Response form looks like. There are fields on there you might have no interest in, and for me, things are not necessarily in a logical order. So let’s change things around a bit.
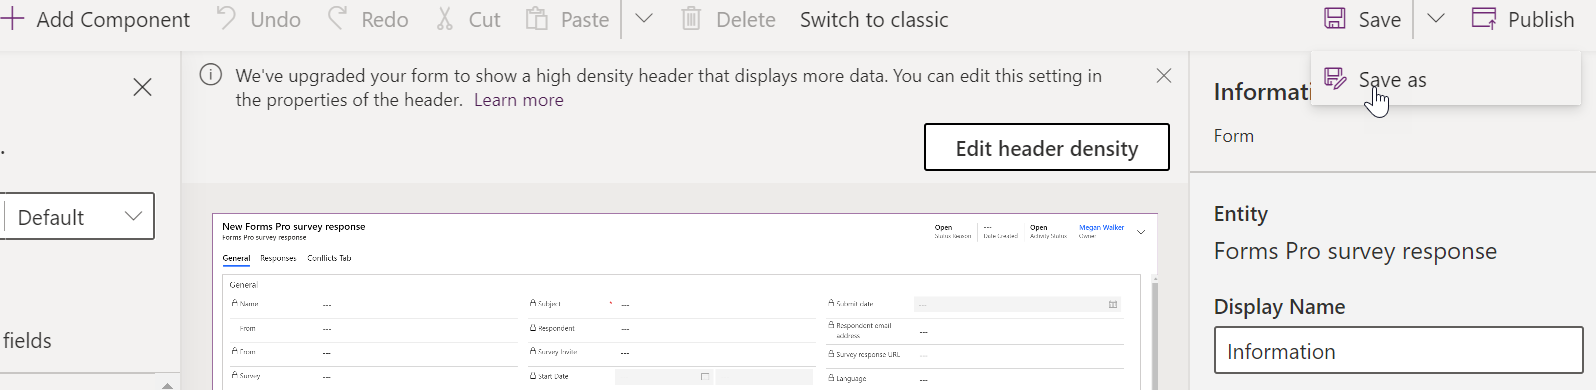
First things first, go to https://make.powerapps.com/ and make sure you are in the environment you wish to make changes to. Clicking on Solutions from the navigation on the left, then click New solution to get started. Then we can add in existing entities. I’m going to pick the Forms Pro survey response entity. After clicking next, I am going to select to add existing components and add in the main Information form.

I’m not going to edit this one, but instead I’m going to make a copy of it by selecting Save as. Give it a new name.
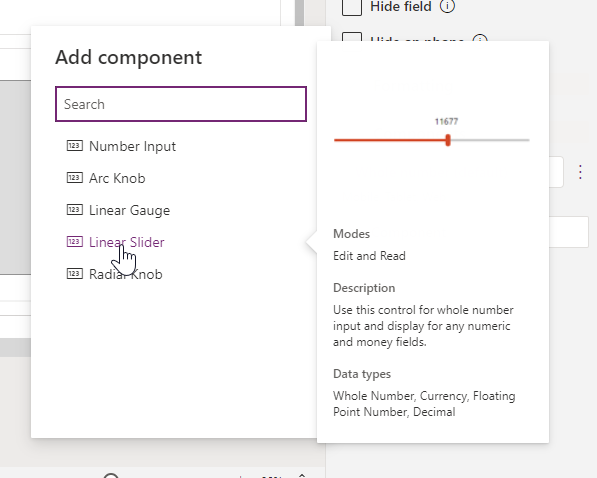
Now we can move things around and make changes to our new version of the form. The first thing I want to change is the way in which the NPS (Net Promoter Score) field is displayed. Click on the field, then on the right, click on Components, then the add new component button. Here we can see all of the options available.

Hovering your mouse over the different components will show details about the modes, the description and the data types it can be used on.
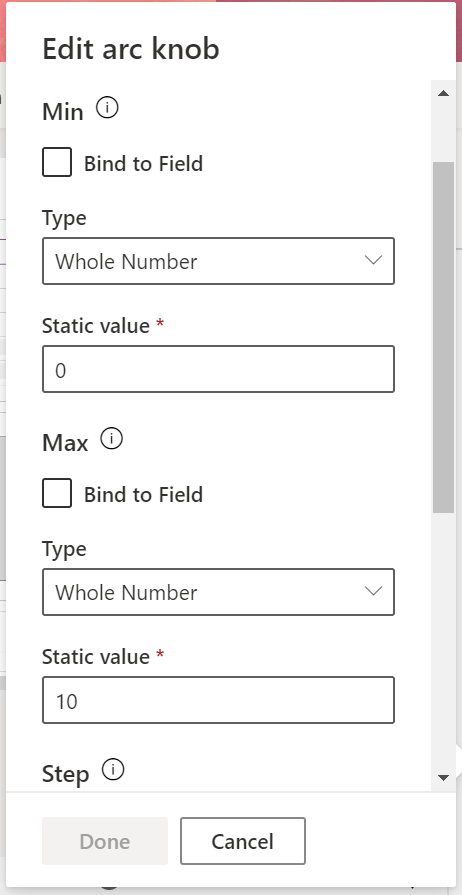
Once you’ve selected the component, a new window will open. Set the Min number to zero and the Max number to ten. In the Step value, leave this as zero.
Go ahead and save and publish your form. The next thing I want to change is the way the sentiment is displayed. This is an option set with three values, Positive, Neutral and Negative. There is a control we can use to change how the option set is displayed. At the moment, this can’t be added to the form within https://make.powerapps.com/. So, click on Switch to classic from the top of the form.
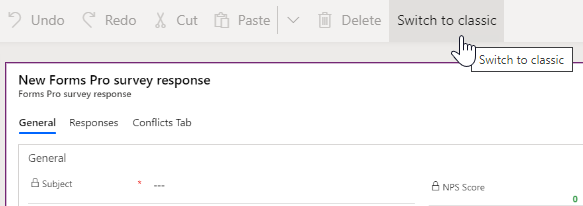
Once the form is open, click on the Sentiment field, and then click on Properties.
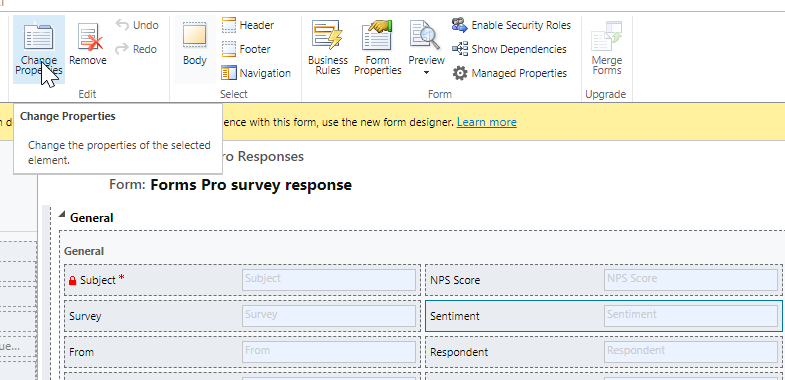
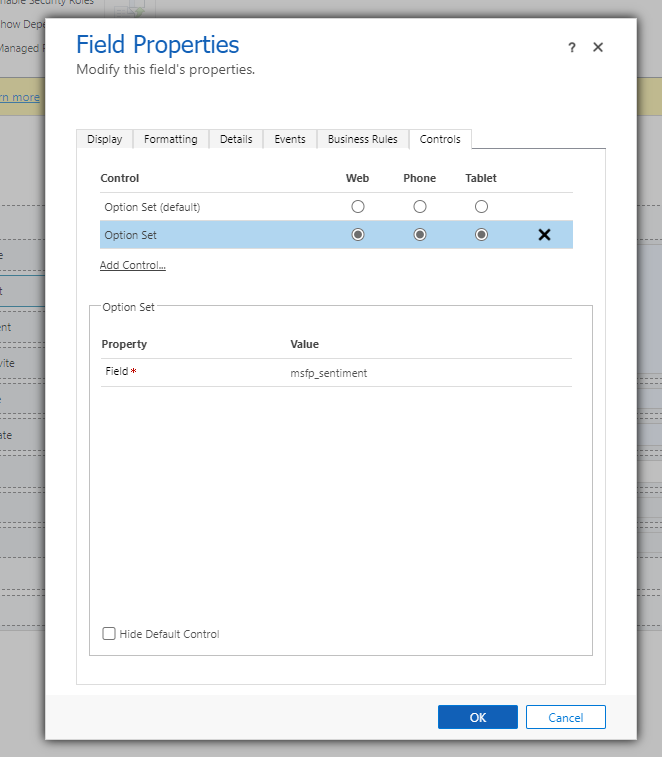
We can then click on the Controls tab, then Add Control, and then pick the Option Set control. Save and Publish the form again. You can now close out of this window.
A few other things we can do. Move the fields around, and make things bigger. For example, the Context Data is useful information to see and access, but by default it’s pretty small. So we can extend the number of rows that are displayed in the field height box.
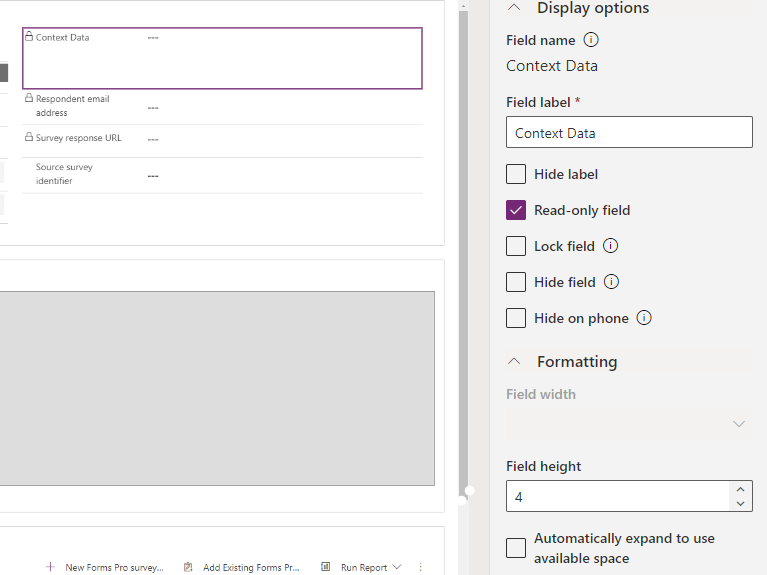
Once you’re finished with all of your changes, save and then publish the finished form.
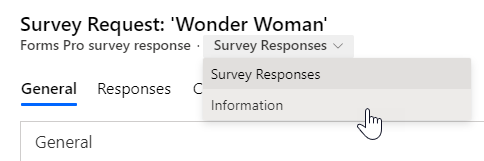
Don’t forget to change the Form from the top navigation when looking at your Survey Response. Once you are happy the the changes, you can then change the model-driven Power App to determine which of your forms are used, that way your users will not have to switch over to the new one.
Check out the latest post:
Use Custom Event Registration Questions To Branch Your Journeys In Customer Insights
This is just 1 of 603 articles. You can browse through all of them by going to the main blog page, or navigate through different categories to find more content you are interested in. You can also subscribe and get new blog posts emailed to you directly.
Hi Megan,
Can we also add custom fields to Customer Voice entities without disrupting any functionality?
Kind regards,
Kasper
Hi Kasper, you can add fields to the entities in Dataverse/D365, but the wouldn’t show up in Customer Voice.