*** NOTE: ALL INFORMATION IS ACCURATE AT DATE OF PUBLISHING ***
If you want to link your organisations’ domain in the Dynamics Marketing App, there are a couple of things to consider and understand. It’s important to know what you are linking, and why. There are two places where your domain is important, Authenticated Domains and Marketing Websites. Let’s look at both, and see how and why you should set them up.
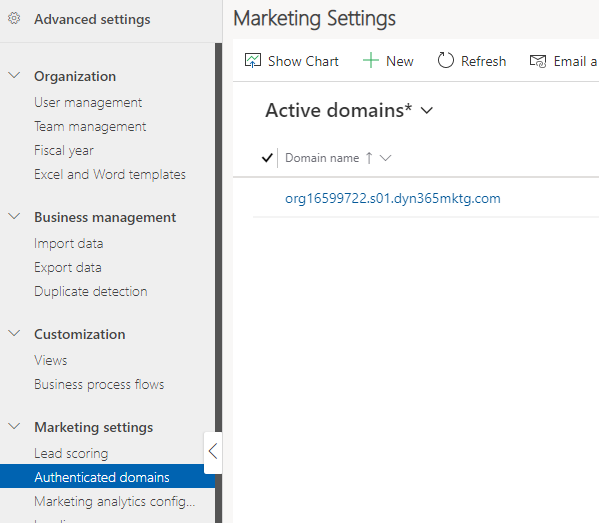
Authenticated domains are set up in the settings of the app, under the Marketing settings area. You’ll notice a domain already listed, which you can ignore, but don’t delete.
Click the New button to add your own domain. The reason for doing this is two fold. First, you need to prove that you actually own the domain, and second, you can set up authentication which will give you the ability to send emails from the domain without the risk of them being blocked or flagged as spam. Simpy type in the domain name, but without www or http or anything else before the actual name itself. Then save the record. You’ll then see some information added in the fields below.
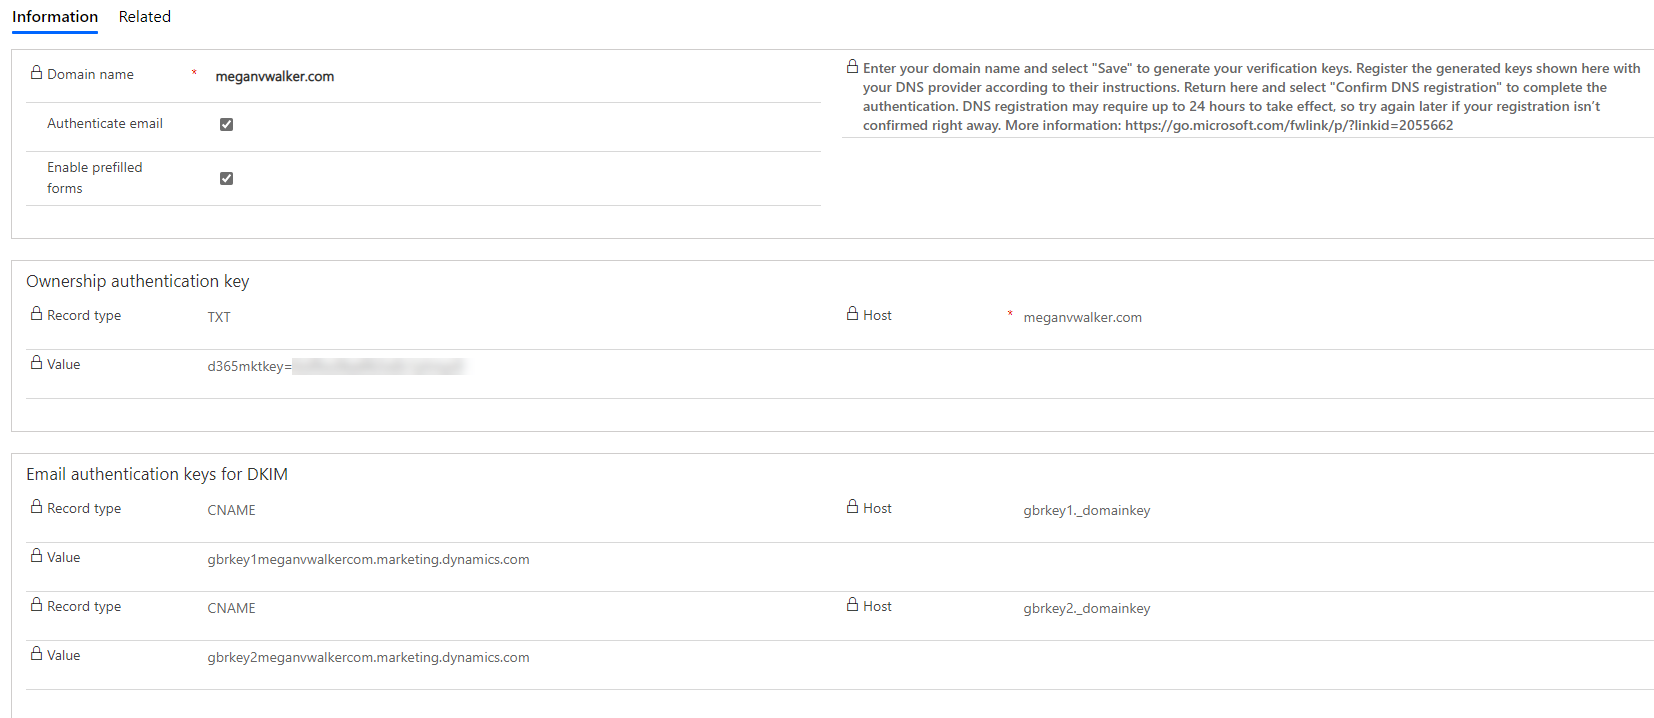
In order to do anything with the information, you will need to have access to your websites DNS records. This is typically something that your website administrator would do for you. A TXT record will need to be added in DNS. This proves to Microsoft that you do actually own the domain. Without this, anyone could possibly use your domain, and do whatever they pleased with it. So, this makes sure they can’t. One thing to note, the hostname provided is your domain name, but some hosting companies use the @ symbol to denote your domain. So, check first before adding the full domain.

Next, two CNAME records should be added using the information provided for email authentication. If you want to know why DKIM is important, and why adding these records is critical for your marketing emails, check out this post here. I realised not long ago that I didn’t have the right records in my own DNS, so my emails were going to junk. So DO NOT MISS OUT THIS STEP!

Once these DNS records have been added, click on the Confirm button at the top of the Authenticated domains record. It can take a few hours before this will show as confirmed.

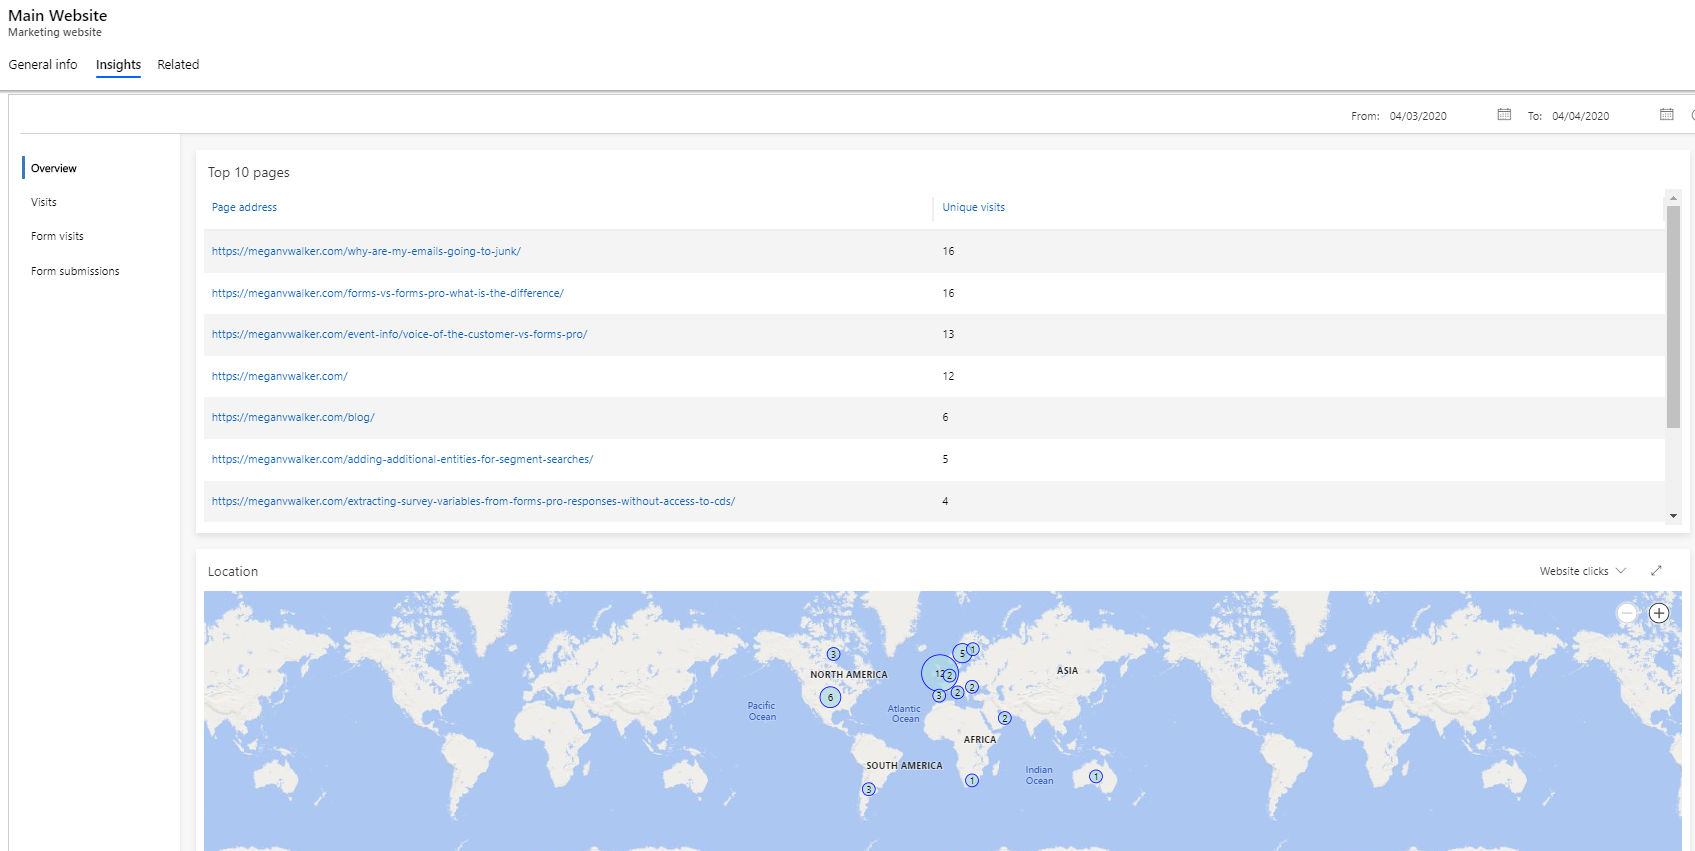
Next, we will add in a new Marketing website. This is found under the Internet marketing section of the app (not in the settings area). Adding a marketing website gives us tracking code we can add to the footer of our website pages. Again, check with your website administrator as they will know the best place to put this. If you have a WordPress website, you can add it to the footer.php file right before the </body> tag.

Once the code is added, it doesn’t take long to start seeing visits on the Insights tab of the marketing website record. You can see the number of visits per URL, and the countries where the visits are coming from.
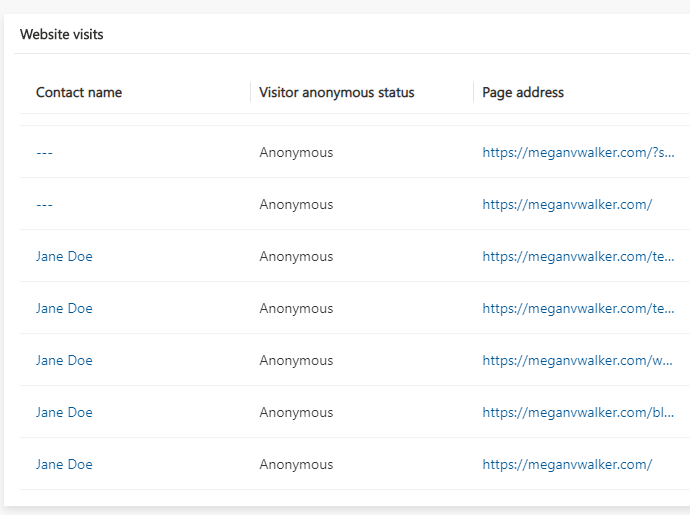
Once you have a Contact who has either filled out an online form, or clicked on a link from an email you’ve sent via a Customer Journey, their name will appear in the Contact name column and all previous visits will be linked to them based on the ip address.
Check out the latest post:
Create A Segment Using Unmapped Fields On Marketing Forms in Customer Insights Journeys
This is just 1 of 601 articles. You can browse through all of them by going to the main blog page, or navigate through different categories to find more content you are interested in. You can also subscribe and get new blog posts emailed to you directly.