*** NOTE: ALL INFORMATION IS ACCURATE AT DATE OF PUBLISHING ***
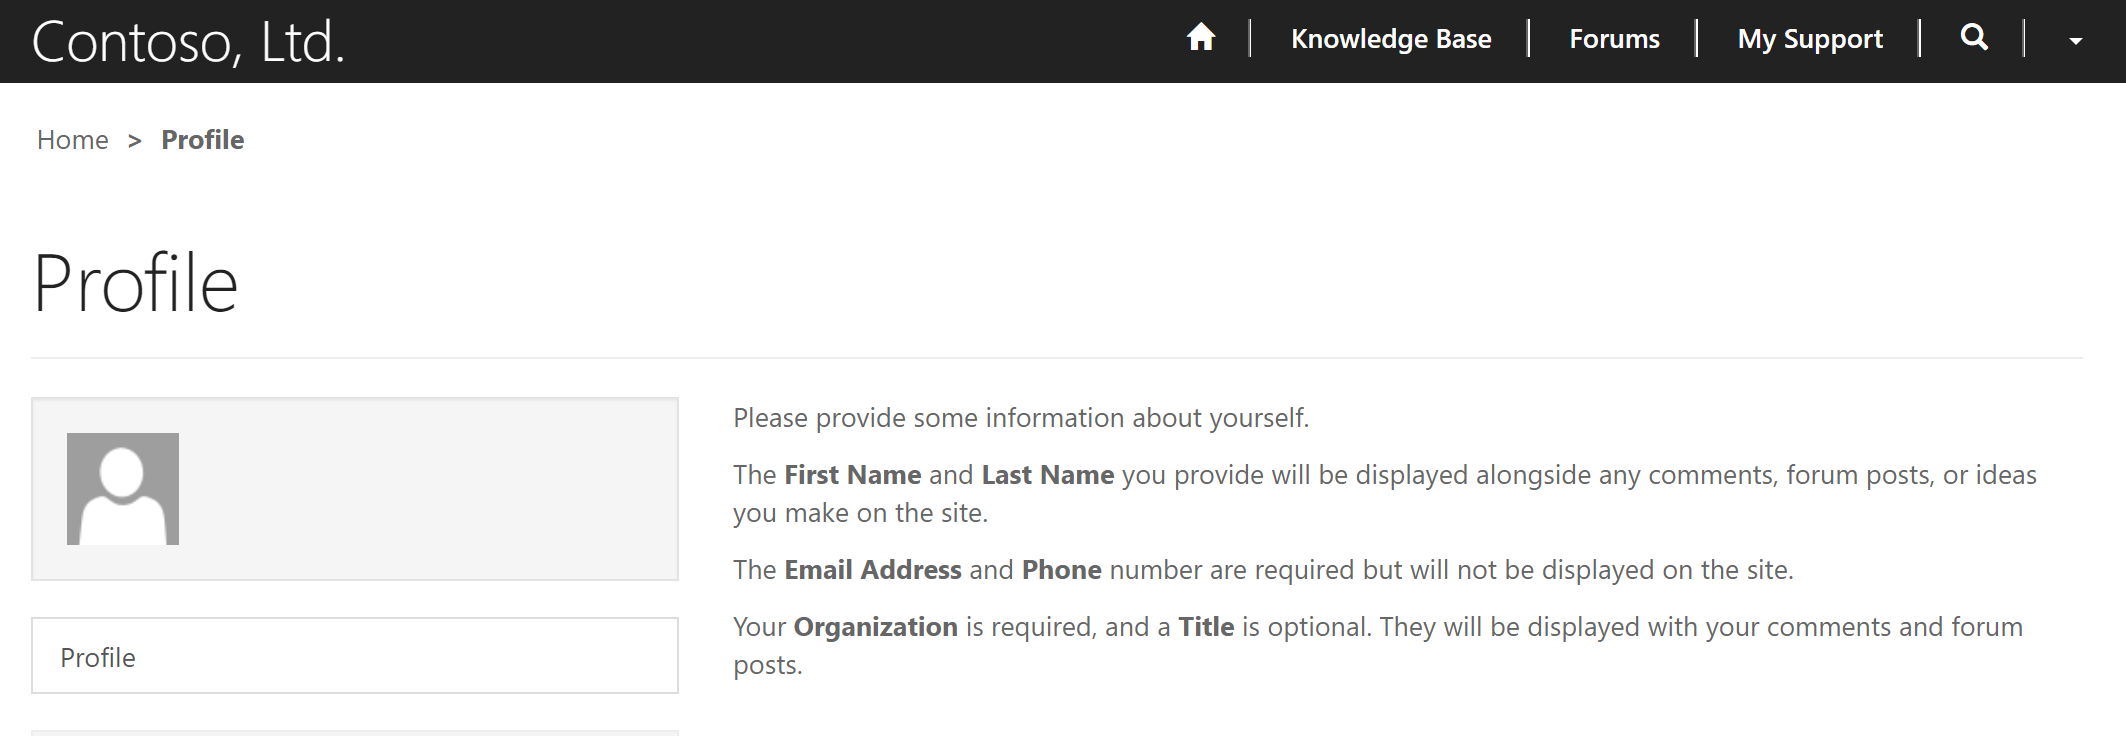
One thing about the Microsoft Portals that has always annoyed me slightly (even when using it when Adxstudios) is the Profile area. A user registers, then sees a little mystery person image but with no way to change it or upload their own photo. It isn’t tied to the Contact entity image, so that won’t display even if present on their record in D365 (CRM). This page from older Adxstudio documentation states that a Gravatar image will be displayed if the user has one tied to the email address they use to register. That doesn’t seem to be the case any longer, so how can we change the user experience, allow them to upload their own profile image, and have that update on their Contact record in D365? Let’s look at a process to do that.
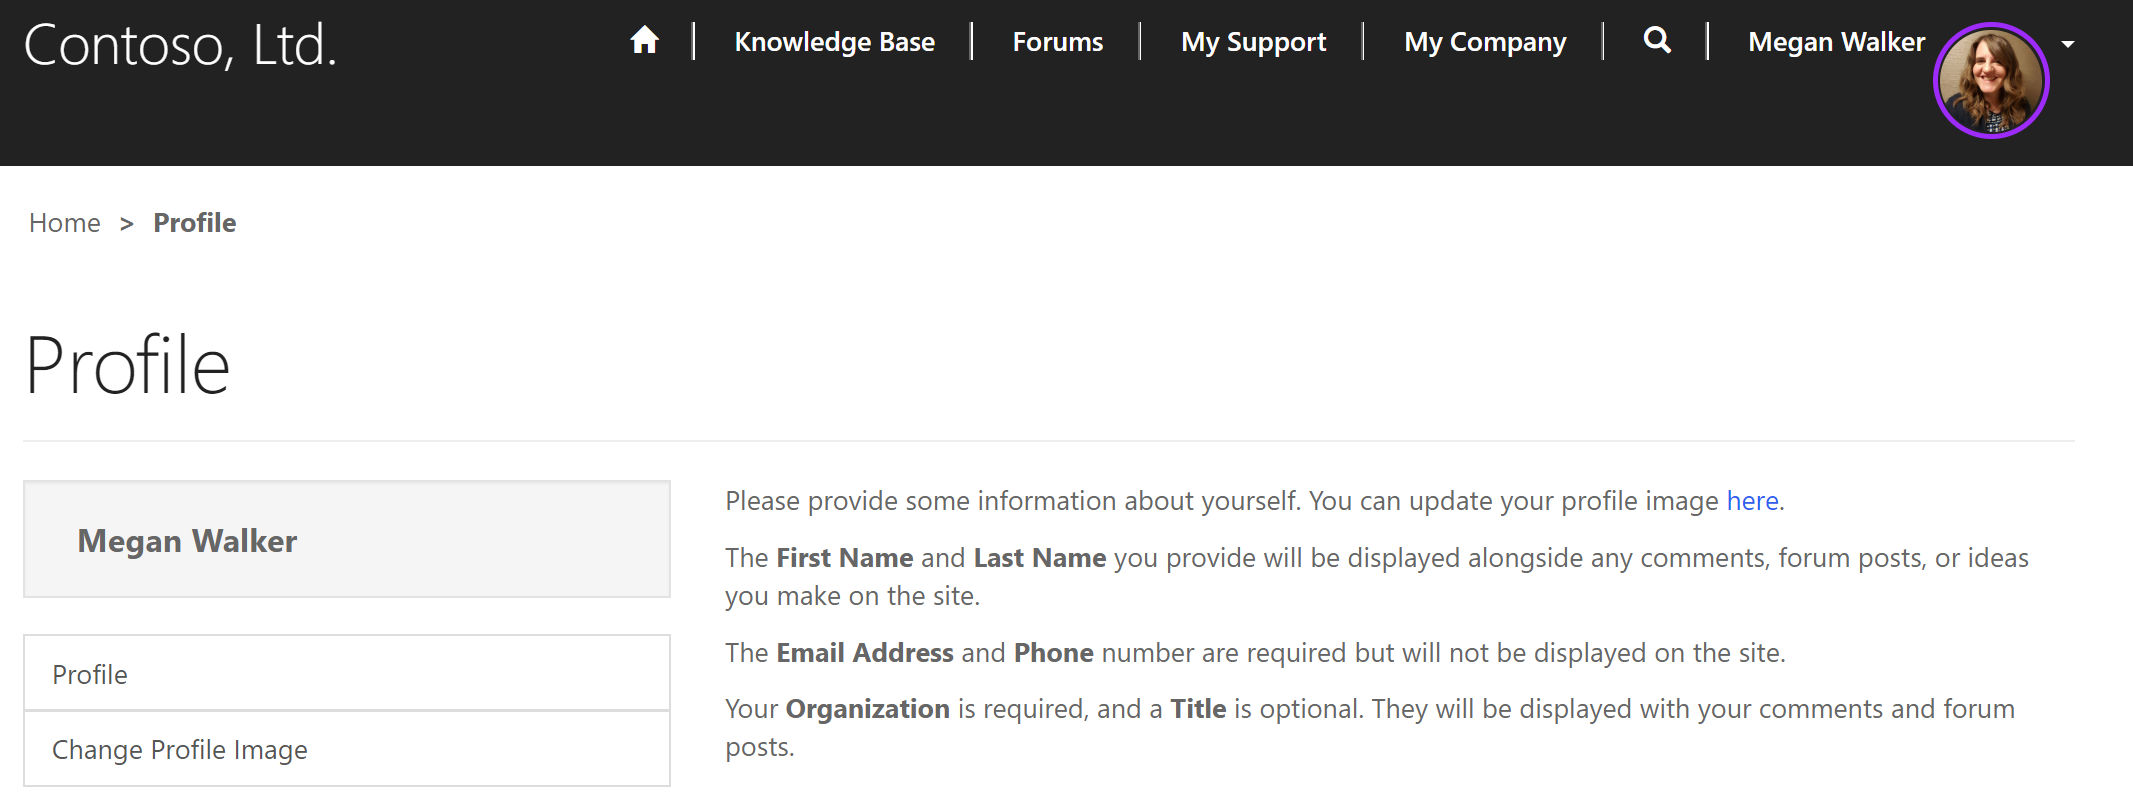
How about an experience more like this? The mystery person is gone, and instead, the users photo is displayed in the top right corner in the navigation. Better right?
The first thing we need to do is add a bit of styling using a new (or adjust a custom one already created) CSS file. You can create one using Notepad, and when you save it, just make sure you change to save using All files rather than a Notepad text file, and add .css to the end of the file name. That way it will save as a CSS file instead of a .txt file. The first thing we are doing below is changing the profile photo to make it a circle, and setting the size using the width and height elements. The next part is going to be used to set a specific colour border around the profile photo (more on that a bit later. Next, we need to do something about the mystery person image that displays. We can’t get access to the Profile page web template, so the only option is to hide it with CSS. The element is named well, so set the well img to display none, and change the font (where the users name shows) to be bold, and increased in size.

You can copy the code below and paste in to Notepad if you wish to use the same styling.
.profilephoto {
border-radius: 50%;
padding: 1px;
width: 65px;
height: 65px;
}
.blue-box {
border: 3px solid #0000FF;
}
.red-box {
border: 3px solid #C70039;
}
.green-box {
border: 3px solid #14C837;
}
.purple-box {
border: 3px solid #9D2BF9;
}
.yellow-box {
border: 3px solid #F8F158;
}
.orange-box {
border: 3px solid #F9892B;
}
.pink-box {
border: 3px solid #F557F7;
}
.well {
/* min-height: 20px; */
/* padding: 19px; */
/* margin-bottom: 20px; */
/* background-color: #f5f5f5; */
/* border: 1px solid #e3e3e3; */
/* border-radius: 0; */
/* -webkit-box-shadow: inset 0 1px 1px rgba(0,0,0,.05); */
/* box-shadow: inset 0 1px 1px rgba(0,0,0,.05); */
font-weight: bold;
font-size: 1.2em;
}
.well img {
display: none;
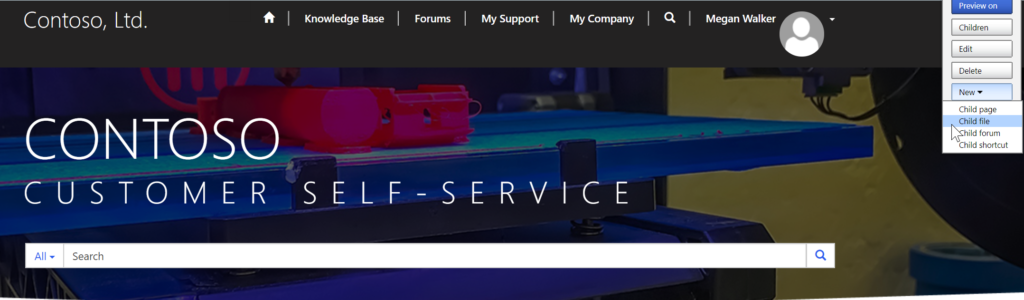
}If you’ve not added a custom style sheet before, simply log in to the portal as a user with the Administrator web role. Then go to the home page, and click the New button from the editor control on the right, and select Child file. Upload your new .css file and save.
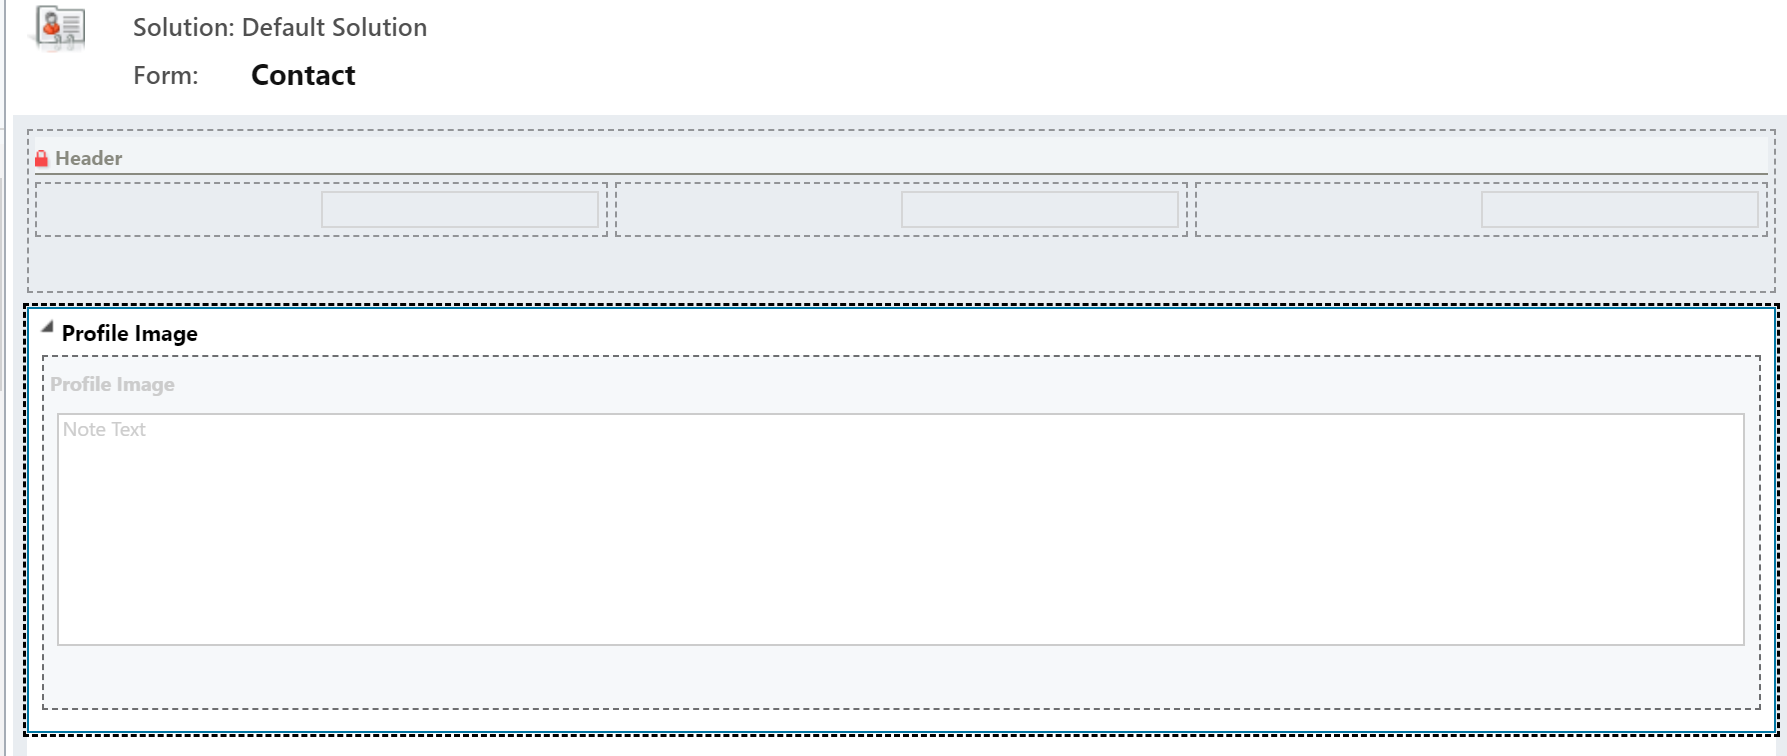
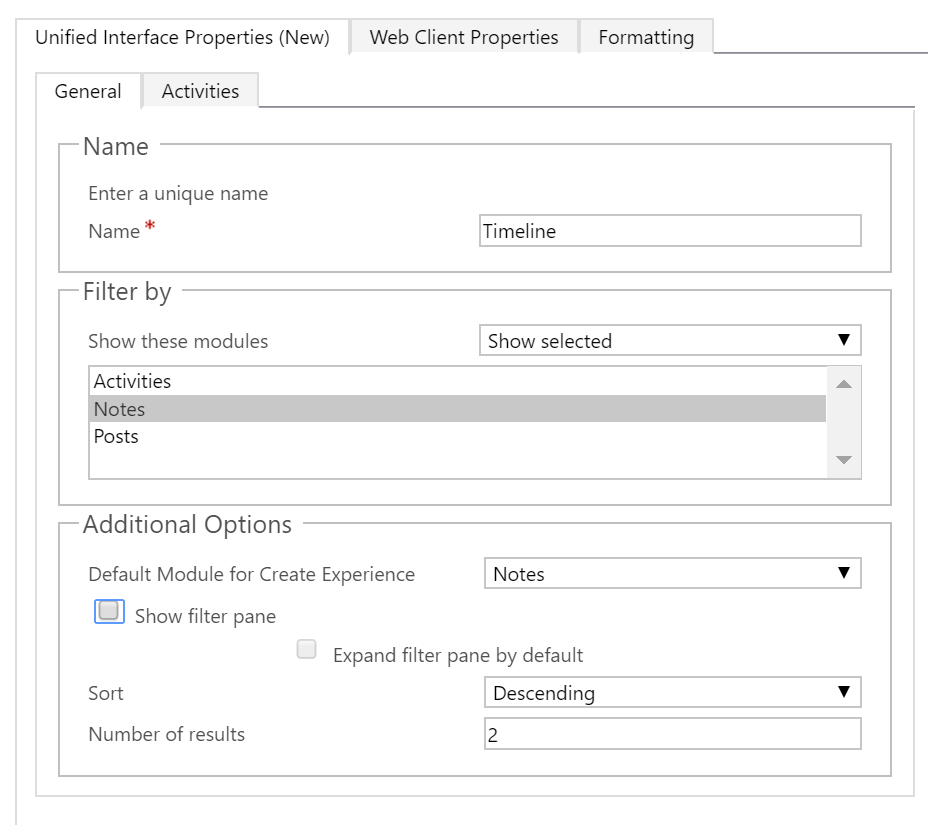
Next, we will need to add a new field on the Contact Entity called Image URL. Make it a single line of text, and set it as a URL field. Now, if you would like to utilise the CSS to determine the colour border to go around the users profile photo, add a new option set field with a list of colours in it. Ok, now that’s done, let’s move on to the different forms you will need to create in your solution. The first one is a Contact form for the Profile Image. All we are going to need on the form is a timeline section to display notes. This will show any of the images the user has uploaded previously, including their current one. You won’t be able to create a new blank form as their will be some fields required that you can’t move, so make sure the timeline is on a new tab, and name the tab with a logical name.
On the timeline properties, set it to show the Notes only.
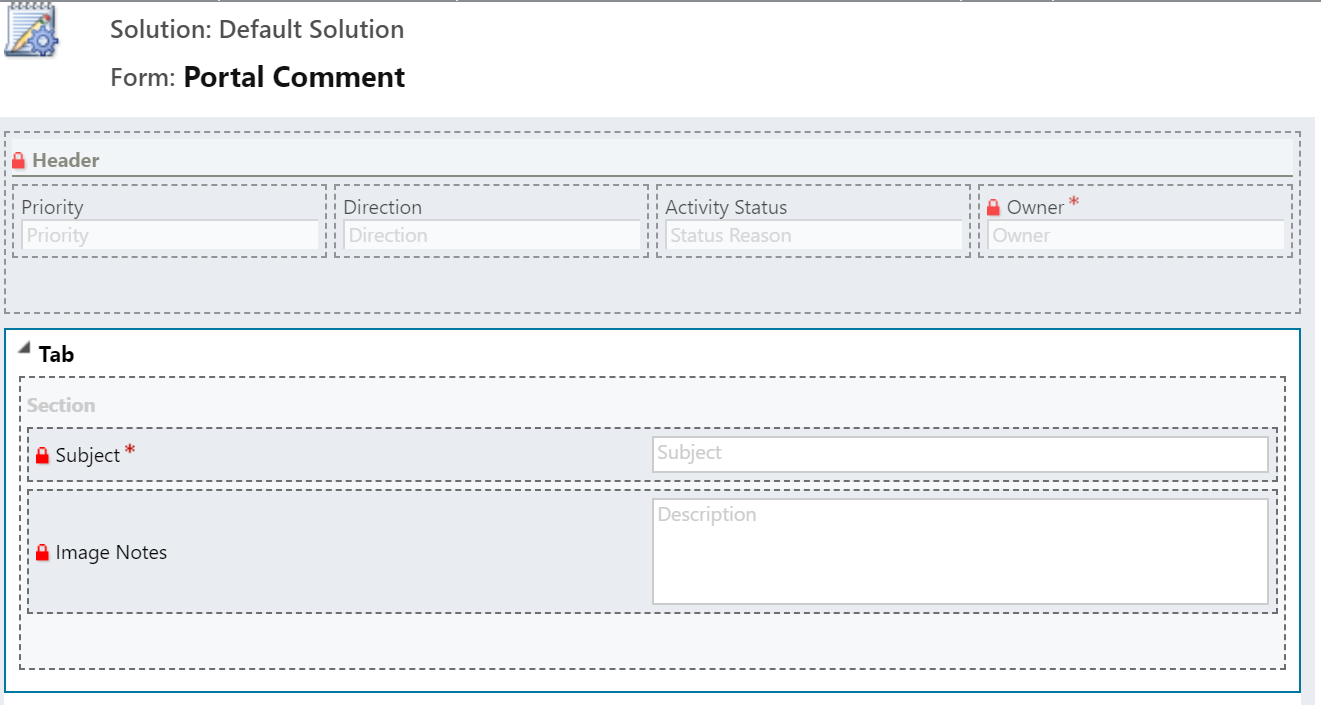
The next form we need is a new form on the Portal Comment entity. Again, you won’t be able to remove some of the items from form, so make sure everything is hidden on it. We don’t need to display anything on it at this point.
So, in Part One, we’ve looked at the issue, and what we want the end result to be. We’ve looked at the CSS required and added it to the portal, and we’ve looked at the new forms required. If you want to see how to do this, you can watch the videos below covering each section. Then, move on to Part Two in this series for the next three steps.
Check out the latest post:
Use Custom Event Registration Questions To Branch Your Journeys In Customer Insights
This is just 1 of 603 articles. You can browse through all of them by going to the main blog page, or navigate through different categories to find more content you are interested in.